137.219 specifications
The Craftsman 137.219 is a versatile and powerful table saw that appeals to both DIY enthusiasts and professional woodworkers alike. Known for its durability and precision, this tool is designed to deliver high-quality cuts while ensuring user safety and convenience.One of the standout features of the Craftsman 137.219 is its robust 15-amp motor, which provides ample power to cut through various types of wood, including harder materials. This high-performance motor ensures consistent and smooth operation, making it ideal for both detailed work and heavy-duty projects.
The saw features a 10-inch blade, which is perfect for making a wide range of cuts, from ripping to crosscutting. The blade can be easily adjusted for height and angle, allowing users to execute bevel cuts up to 45 degrees. This adaptability makes the Craftsman 137.219 suitable for a wide variety of applications, whether for furniture making or home improvement tasks.
Safety is a top priority with the Craftsman 137.219. It comes with a sturdy blade guard that provides protection during use, and an anti-kickback mechanism to help prevent accidents. The push stick included with the saw ensures that users can keep their hands at a safe distance from the blade while making precise cuts.
Additionally, the table is made from high-quality materials, ensuring stability and minimizing vibrations during operation. The large tabletop provides ample workspace, accommodating larger workpieces and offering sufficient support for detailed cutting tasks.
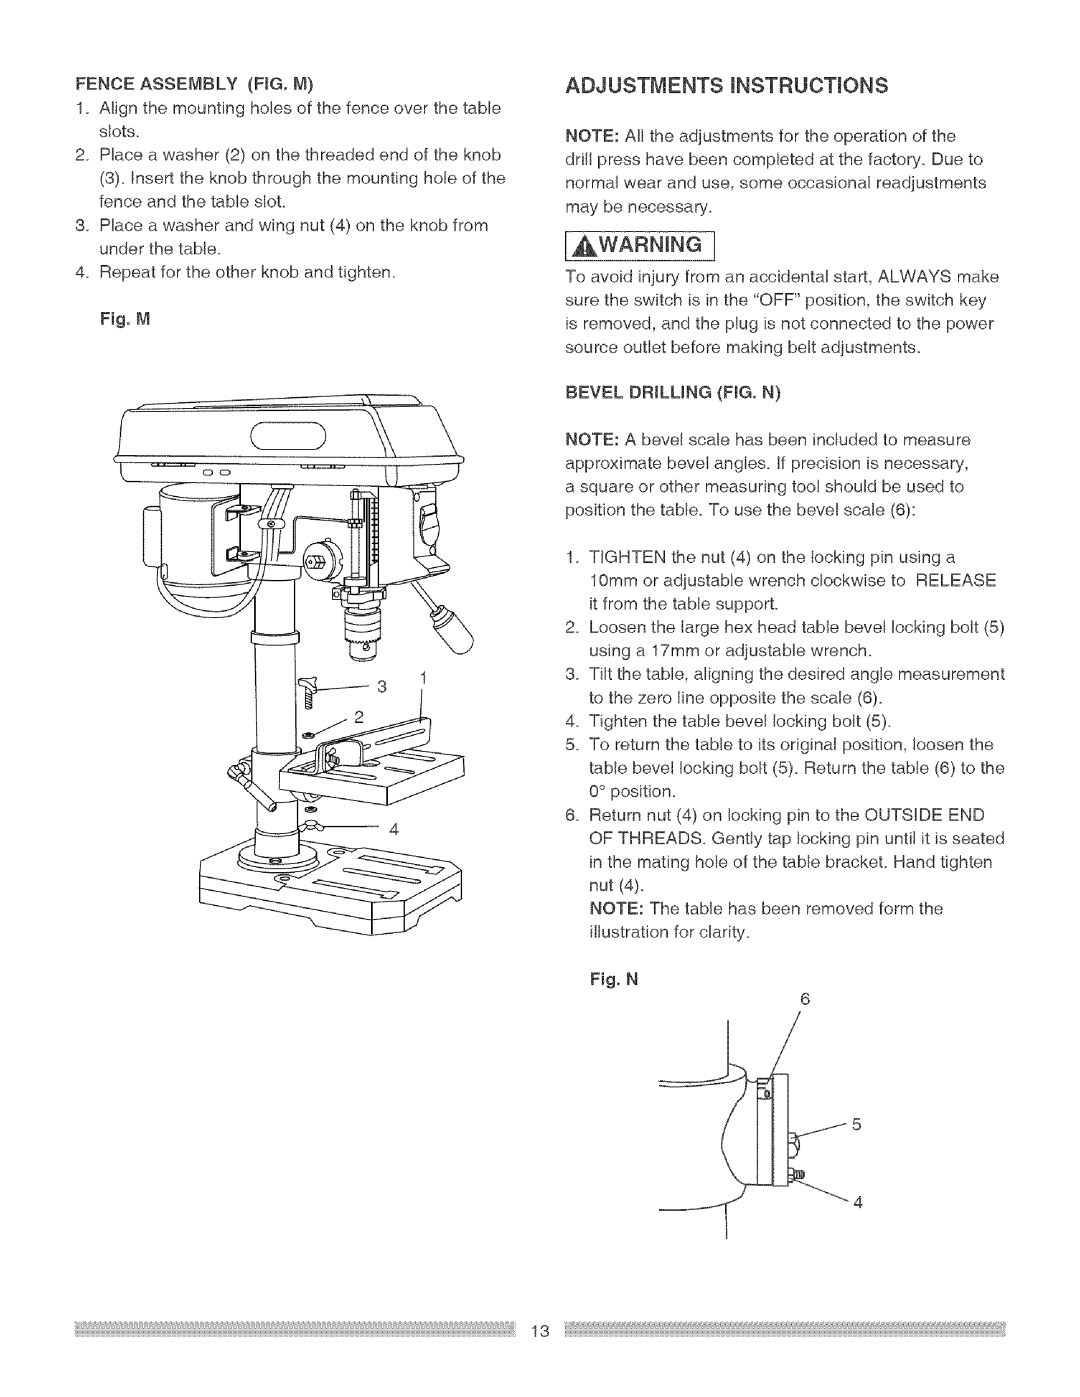
Another noteworthy characteristic is the included fence system, which allows for easy and accurate alignment, ensuring that cuts are straight and true. The fence can be adjusted smoothly, making repetitive cuts a breeze, thereby increasing efficiency in any woodworking project.
The compact design and built-in wheels make the Craftsman 137.219 portable, allowing woodworkers to move it easily between work sites. This feature is particularly useful for contractors and remodelers who need to transport their tools frequently.
Overall, the Craftsman 137.219 combines power, safety, and versatility, making it an excellent choice for anyone looking to enhance their woodworking capabilities. Whether you are a seasoned professional or a passionate hobbyist, this table saw is designed to meet and exceed your expectations while delivering precision and reliability in every cut.

