BASIC JOINTER--PLANER OPERATION
For your safety do not exceed a 1t16" deep cut on a planing operation for work pieces wider than
This
down resulting in a poor cut and poor chip discharge. The type of wood, wood grain, and moisture content of the wood all affect an
acceptable feed rate.
CAUTION: MAKE SURE ALL SIX BLADE LOCKING SCREWS
ARE TIGHTENED SECURELY BEFORE ATTEMPTING TO
TURN THE MACHINE "ON" OR ATTEMPTING ANY OPERA- TION.
For your own safety, ALWAYS use hold downlpush blocks when JOINTING wood that is NARROWER than 3 in. or when PLANING WOOD THAT IS THINNER than 3 in.
Do not plane, joint or bevel wood shorter than 12 in. Material this short is more difficult to control while being cut. Small pieces of wood can tip over on the tables or into the cutterhead and can be kicked back toward you,
For best results, take light cuts. For average planing, jointing, or beveling, a cut between 1/32 and 1/16 in. deep wil! produce the best results.
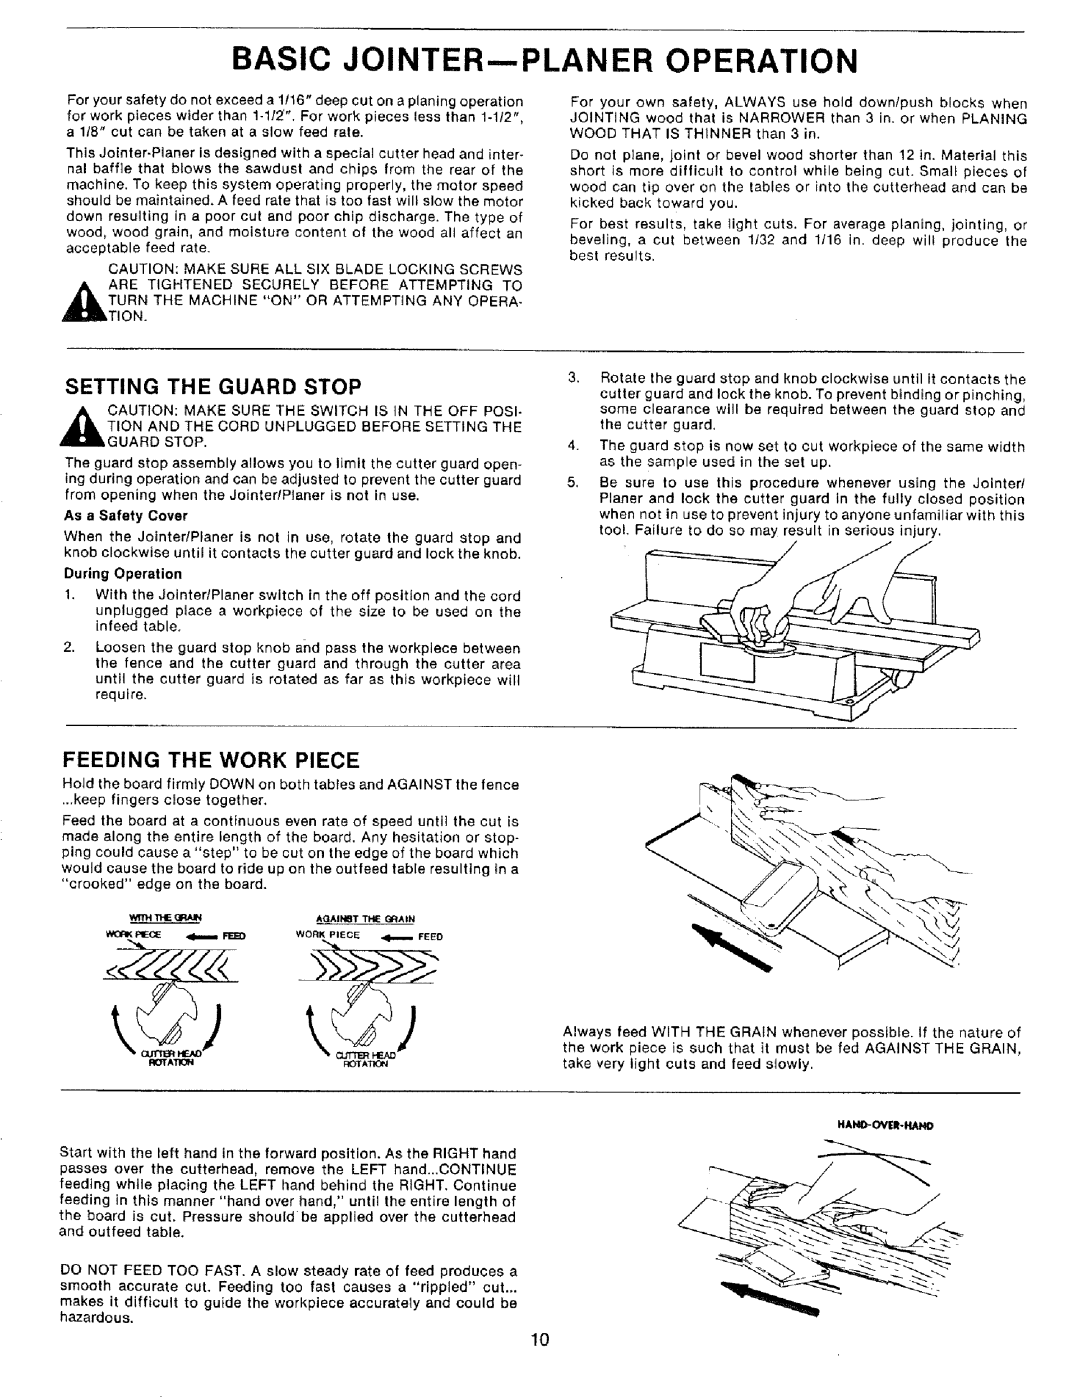
SETTING THE GUARD STOP
,_ CAUTION: MAKE SURE THE SWITCH IS IN THE OFF POSI-
TION AND THE CORD UNPLUGGED BEFORE SETTING THE GUARD STOP.
The guard stop assembly allows you to limit the cutter guard open- ing during operation and can be adjusted to prevent the cutter guard
from opening when the JointerlPtaner is not in use.
As a Safety Cover
When the JolntedPlaner is not in use, rotate the guard stop and knob clockwise until it contacts the cutter guard and lock the knob.
During Operation
1.With the JointerlPlaner switch in the off position and the cord unplugged place a workpiece of the size to be used on the infeed table.
2.Loosen the guard stop knob and pass the workpiece between the fence and the cutter guard and through the cutter area until the cutter guard is rotated as far as this workpiece will require.
4.
5,
Rotate the guard stop and knob clockwise until it contacts the
cutter guard and lock the knob. To prevent binding or pinching, some clearance will be required between the guard stop and the cutter guard.
The guard stop is now set to cut workpiece of the same width as the sample used in the set up.
Be sure to use this procedure whenever using the Jointer! Planer and lock the cutter guard In the fully closed position when not in use to prevent injury to anyone unfamiliar with this tool. Failure to do so may result in serious injury.
FEEDING THE WORK PIECE
Hold the board firmly DOWN on both tables and AGAINST the fence
...keep fingers close together.
Feed the board at a continuous even rate of speed until the cut is
made along the entire length of the board. Any hesitation or stop- ping could cause a "step" to be cut on the edge of the board which
would cause the board to ride up on the outfeed table resulting in a
"crooked" edge on the board.
t,_j t, j
ROTA_ROTATION
Start with the left hand in the forward position. As the RIGHT hand passes over the cutterhead, remove the LEFT hand...CONTINUE feeding while placing the LEFT hand behind the RIGHT. Continue feeding in this manner "hand over hand," until the entire length of
the board is cut. Pressure should be applied over the cutterhead and outfeed table.
DO NOT FEED TOO FAST. A slow steady rate of feed produces a
smooth accurate cut. Feeding too fast causes a "rippled" cut...
makes it difficult to guide the workpiece accurately and could be hazardous.
Always feed WITH THE GRAIN whenever possible, if the nature of the work piece is such that it must be fed AGAINST THE GRAIN, take very light cuts and feed slowly.
10