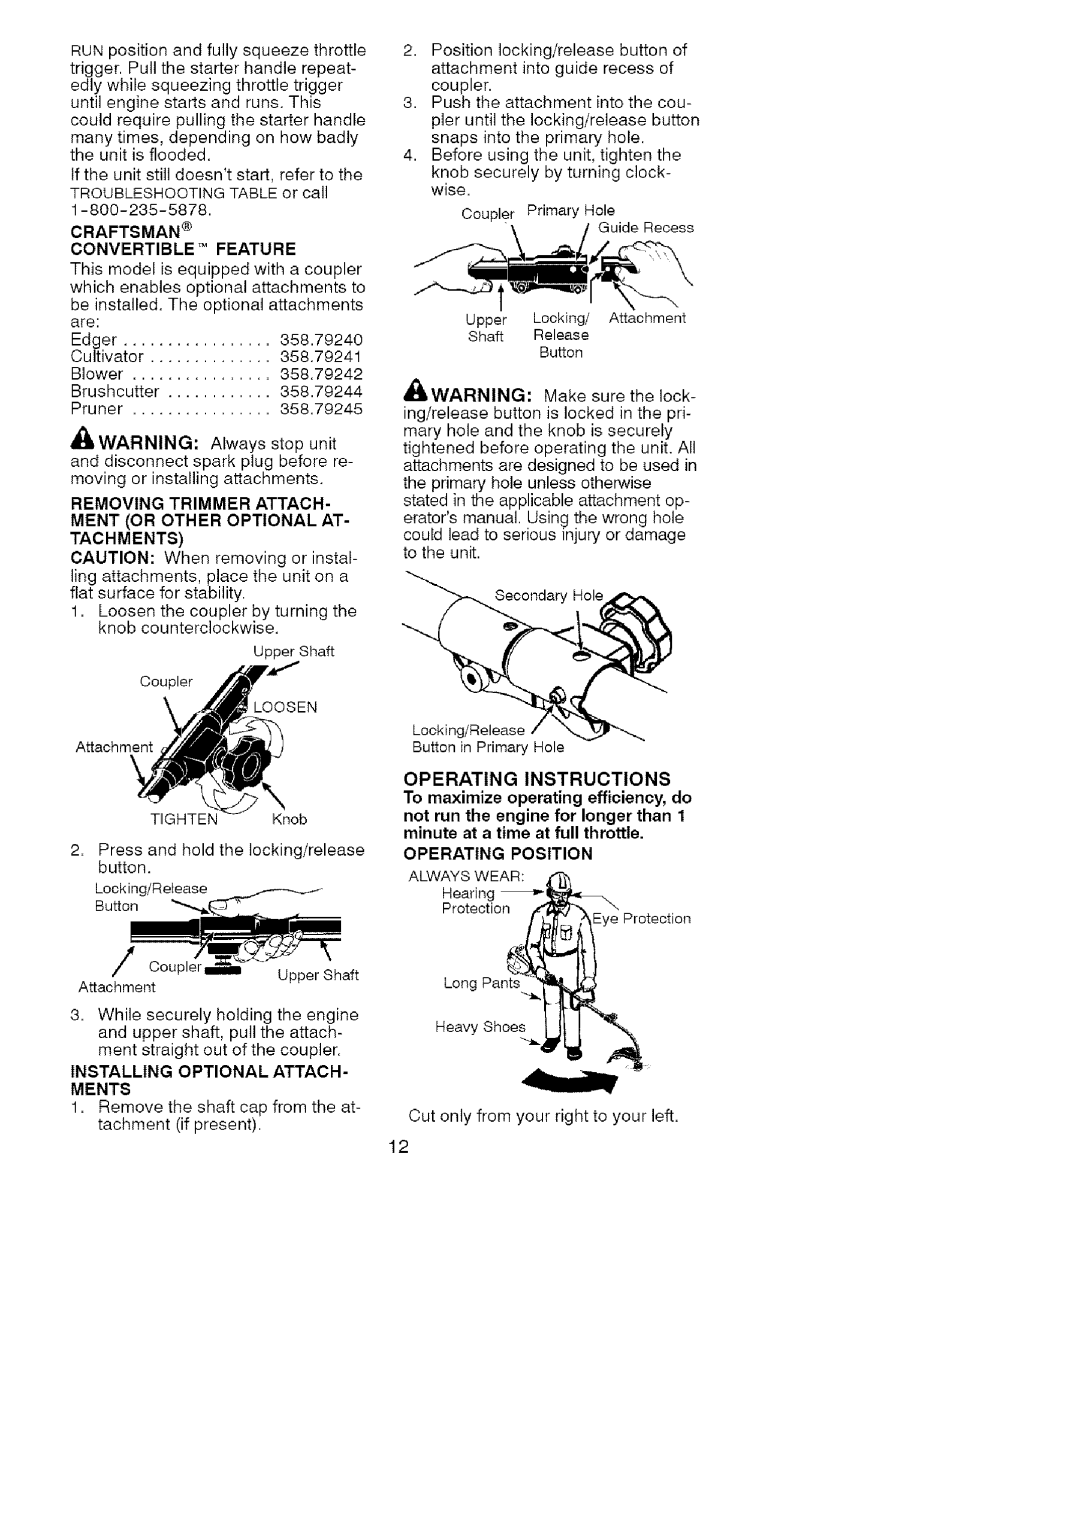
RUNpositionandfullysqueezethrottle triggerPullthestarterhandlerepeat.- edlywhilesqueezingthrottletrigger untilenginestartsandrunsThis. couldrequirepullingthestarterhandle manytimes,dependingonhowbadly theunitisflooded. Iftheunitstilldoesn'tstart,refertothe TROUBLESHOOTINGTABLEorcall
CRAFTSMAN®
CONVERTIBLE TM FEATURE
This model is equipped with a coupler which enables optional attachments to
be installed. The optional attachments are:
Edger | 358.79240 |
Cultivator | 358.79241 |
Blower | 358.79242 |
Brushcutter | 358.79244 |
Pruner | 358.79245 |
_WARNING: | Always stop unit |
and disconnect spark plug before re- moving or installing attachments.
REMOVING TRIMMER ATTACH-
MENT (OR OTHER OPTIONAL AT- TACHMENTS)
CAUTION: When removing or instal- ling attachments, place the unit on a flat surface for stability.
1= Loosen the coupler by turning the knob counterclockwise.
Upper Shaft
2.Position locking/release button of attachment into guide recess of coupler.
3.Push the attachment into the cou-
pler until the locking/release button snaps into the primary hole.
4.Before using the unit, tighten the
knob securely by turning clock- wise=
Coupler Primary Hole
Guide Recess
Upper Locking/ Attachment
Shaft Release
Button
£A
411WARNING: Make sure the lock- ing/release button is locked in the pri- mary hole and the knob is securely tightened before operating the unit. All attachments are designed to be used in the primary hole unless otherwise stated in the applicable attachment op- erator's manual. Using the wrong hole
could lead to serious injury or damage to the unit.
Secondary Hole
| Coupler | |
| .OOSEN | |
Attachment | Locking/Release | |
Button in Primary Hole | ||
|
TIGHTENKnob
2= Press and hold the locking/release button.
Locking/Release
Button
OPERATING INSTRUCTIONS
To maximize operating efficiency, do
not run the engine for longer than 1 minute at a time at full throttle.
OPERATING POSITION
ALWAYSrWEAR: _
/
Attachment
Upper Shaft
Protech°n_EyeProtection
3= While securely holding the engine and upper shaft, pull the attach- ment straight out of the coupler.
INSTALLING OPTIONAL ATTACH-
MENTS
1= Remove the shaft cap from the at- tachment (if present).
Long Pants.._._
Heavy She___
Cut only from your right to your left=
12
