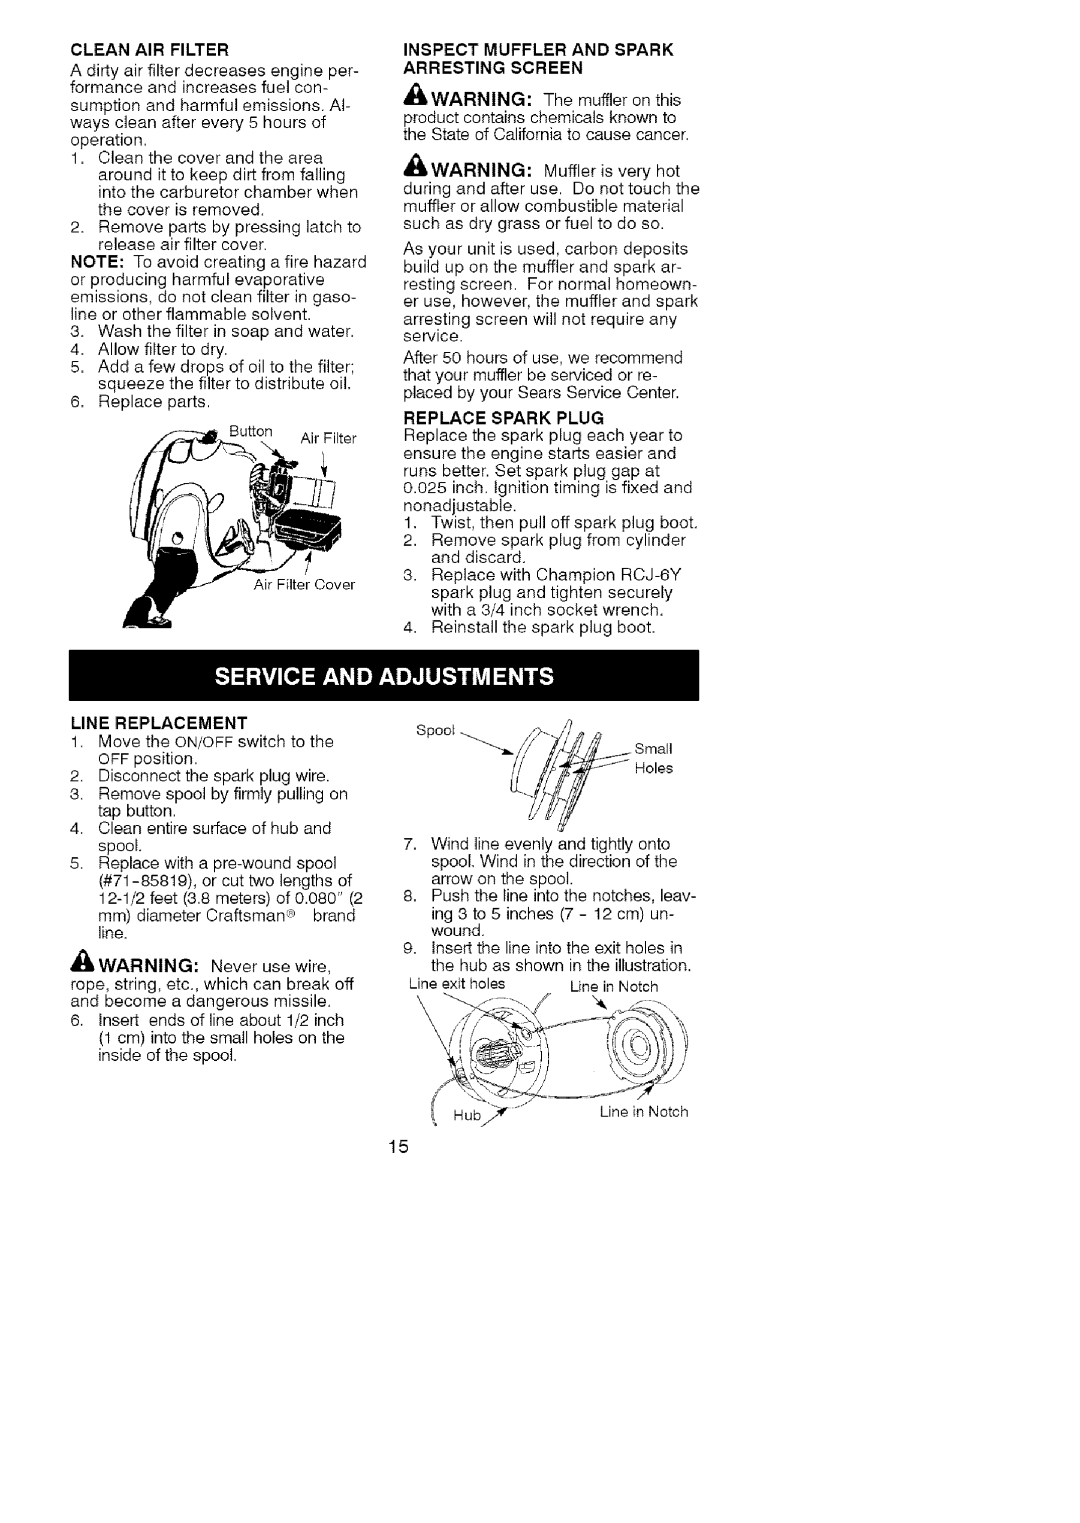
CLEANAIR FILTER
A dirty air filter decreases engine per- formance and increases fuel con-
sumption and harmful emissions. Al- ways clean after every 5 hours of
operation.
1= Clean the cover and the area
around it to keep dirt from falling into the carburetor chamber when
the cover is removed.
2= Remove parts by pressing latch to release air filter cover.
NOTE: To avoid creating a fire hazard or producing harmful evaporative
emissions, do not clean filter in gaso- line or other flammable solvent.
3.Wash the filter in soap and water. 4= Allow filter to dry=
5= Add a few drops of oil to the filter; squeeze the filter to distribute oil.
6= Replace parts.
Button Air Filter
Air Filter Cover
INSPECT MUFFLER AND SPARK ARRESTING SCREEN
AO&WARNING: The muffler on this
product contains chemicals known to the State of California to cause cancer.
_,WARNING: | Muffler is very hot |
during and after use. Do not touch the muffler or allow combustible material
such as dry grass or fuel to do so.
As your unit is used, carbon deposits build up on the muffler and spark ar- resting screen. For normal homeown- er use, however, the muffler and spark
arresting screen will not require any service.
After 50 hours of use, we recommend that your muffler be serviced or re- placed by your Sears Service Center.
REPLACE SPARK PLUG
Replace the spark plug each year to ensure the engine starts easier and runs better. Set spark plug gap at 0.025 inch. Ignition timing is fixed and nonadjustable.
1.Twist, then pull off spark plug boot.
2.Remove spark plug from cylinder and discard.
3.Replace with Champion
spark plug and tighten securely with a 3/4 inch socket wrench.
4.Reinstall the spark plug boot=
LINE REPLACEMENT
1= Move the ON/OFF switch to the OFF position.
2.Disconnect the spark plug wire.
3.Remove spool by firmly pulling on tap button.
4.Clean entire surface of hub and spool.
5.Replace with a
mm)diameter Craftsman _R) brand
line.
&WARNING: | Never use wire, |
rope, string, etc., which can break off and become a dangerous missile.
6.Insert ends of line about 1/2 inch (1 cm) into the small holes on the inside of the spool.
7= Wind line evenly and tightly onto spool. Wind in the direction of the
arrow on the spool.
8= Push the line into the notches, leav-
ing 8 to 5 inches (7 - 12 cm) un- wound.
9= Insert the line into the exit holes in the hub as shown in the illustration.
Line exit holes | Line in Notch |
\ |
|
\ Hub | Line in Notch |
|
15
