maintenance
CUSTOMER RESPONSIBILITIES
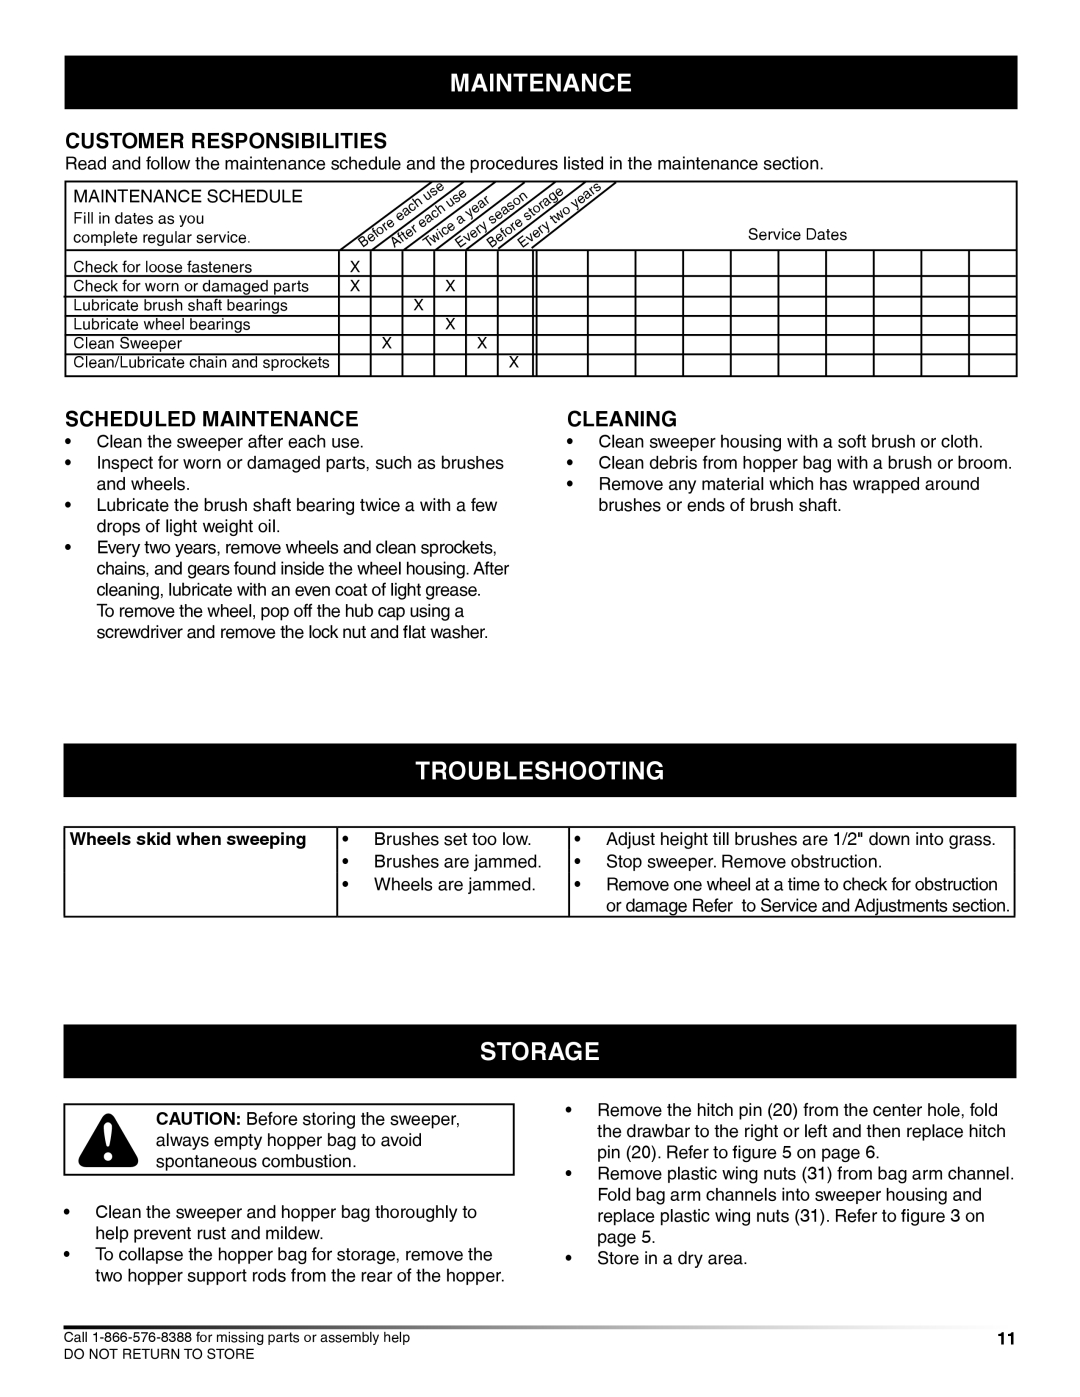
Read and follow the maintenance schedule and the procedures listed in the maintenance section.
MAINTENANCE SCHEDULE
Fill in dates as you complete regular service.
Check for loose fasteners
Check for worn or damaged parts Lubricate brush shaft bearings Lubricate wheel bearings Clean Sweeper Clean/Lubricate chain and sprockets
each | use use |
| storage | |||
| a |
| ||||
|
|
|
| season | two | |
BeforeAfter | each | year |
|
| ||
| TwiceEveryBeforeEvery |
| ||||
X
XX
X
X
X | X |
X
years
Service Dates
scheduled maintenance
•Clean the sweeper after each use.
•Inspect for worn or damaged parts, such as brushes and wheels.
•Lubricate the brush shaft bearing twice a with a few drops of light weight oil.
•Every two years, remove wheels and clean sprockets, chains, and gears found inside the wheel housing. After cleaning, lubricate with an even coat of light grease. To remove the wheel, pop off the hub cap using a screwdriver and remove the lock nut and flat washer.
Cleaning
•Clean sweeper housing with a soft brush or cloth.
•Clean debris from hopper bag with a brush or broom.
•Remove any material which has wrapped around brushes or ends of brush shaft.
troubleshooting
Wheels skid when sweeping | • | Brushes set too low. | • Adjust height till brushes are 1/2" down into grass. | |
| • | Brushes are jammed. | • | Stop sweeper. Remove obstruction. |
| • | Wheels are jammed. | • | Remove one wheel at a time to check for obstruction |
|
|
|
| or damage Refer to Service and Adjustments section. |
storage
CAUTION: Before storing the sweeper, always empty hopper bag to avoid spontaneous combustion.
•Clean the sweeper and hopper bag thoroughly to help prevent rust and mildew.
•To collapse the hopper bag for storage, remove the two hopper support rods from the rear of the hopper.
•Remove the hitch pin (20) from the center hole, fold the drawbar to the right or left and then replace hitch pin (20). Refer to figure 5 on page 6.
•Remove plastic wing nuts (31) from bag arm channel. Fold bag arm channels into sweeper housing and replace plastic wing nuts (31). Refer to figure 3 on page 5.
•Store in a dry area.
Call | 11 |
DO NOT RETURN TO STORE |
|
