
917.27384 specifications
The Craftsman 917.27384 is a powerful lawn tractor designed to deliver both efficiency and versatility for homeowners who strive for a pristine lawn. Known for its robust construction and functional design, this model is particularly favored for its ability to tackle various lawn care tasks with ease, making it an essential tool for anyone maintaining a sizeable outdoor area.One of the standout features of the Craftsman 917.27384 is its strong engine performance. It is typically powered by a reliable and efficient 19.5 HP Briggs & Stratton engine, designed to provide ample power to handle tough mowing conditions. This reliable engine ensures smooth operation and longevity, helping users complete their mowing tasks without interruptions for maintenance or repairs.
Another notable characteristic is its cutting deck. The Craftsman 917.27384 comes equipped with a 42-inch cutting deck, which allows for efficient mowing by covering a wide area with each pass. The deck is designed with multiple height adjustment options, providing flexibility to adapt to various grass types and desired cutting lengths. This feature not only enhances the overall appearance of your lawn but also promotes healthy grass growth.
Additionally, this lawn tractor boasts several user-friendly technologies that enhance the mowing experience. The model features a foot-controlled hydrostatic transmission, allowing for smooth acceleration and deceleration without the need for shifting gears. This is particularly beneficial for navigating around obstacles and adjusting speed quickly as needed.
Comfort is another important aspect of the Craftsman 917.27384. It is designed with an ergonomic seat and easy-to-reach controls, ensuring that operators can mow comfortably for extended periods. The 917.27384 also includes a large fuel tank that minimizes refueling frequency, ensuring that users can complete larger jobs without interruption.
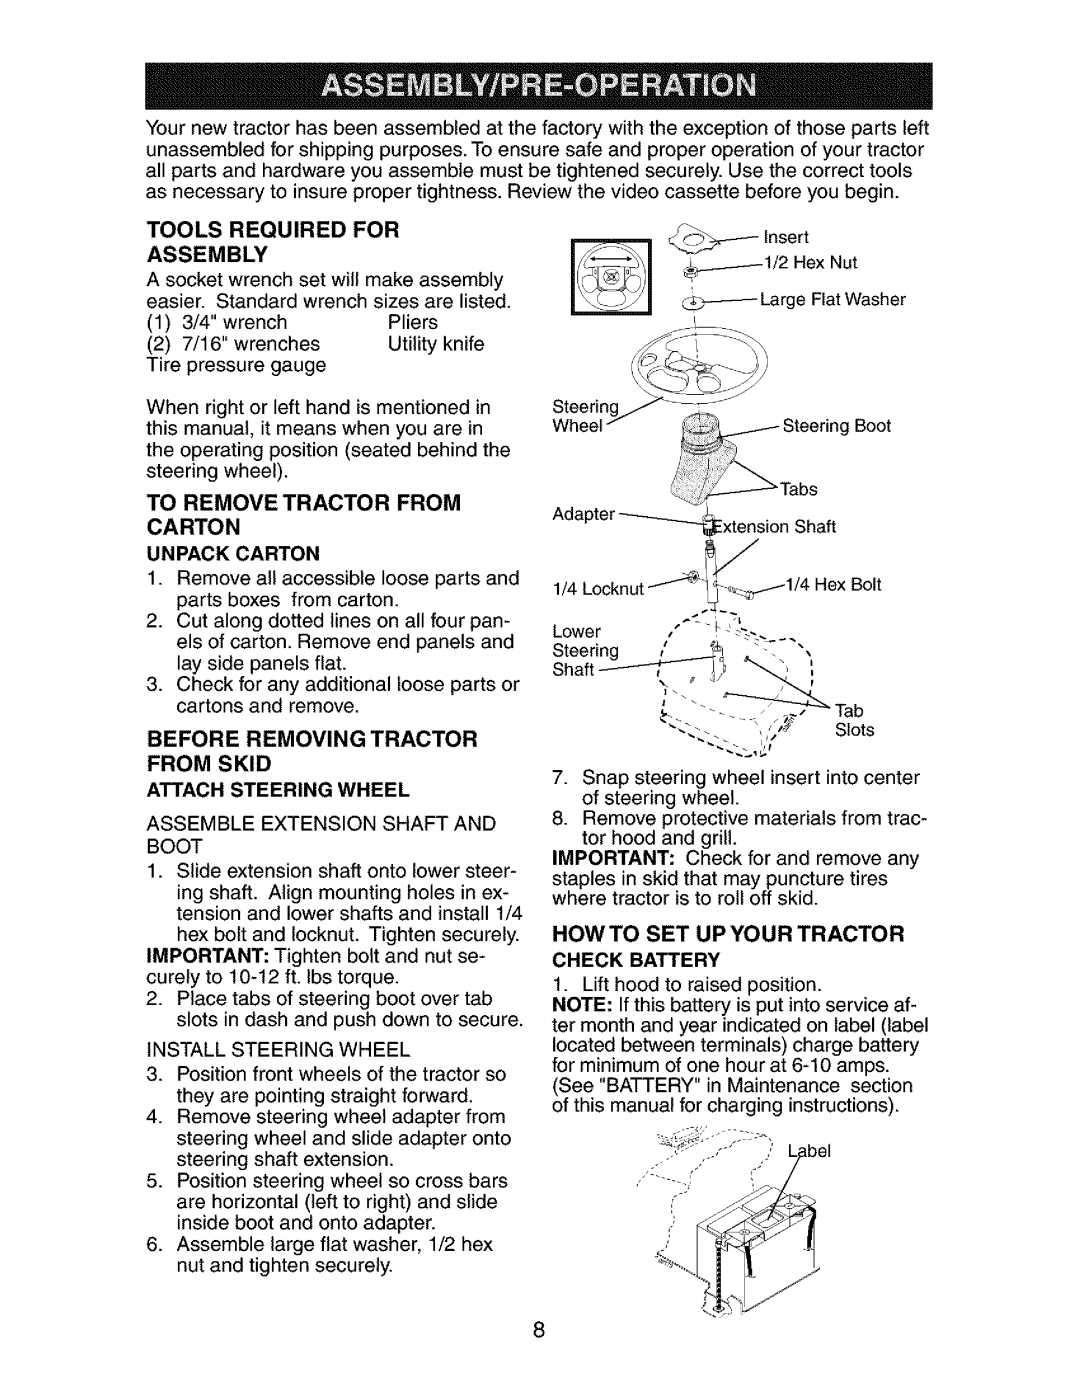
In terms of maintenance, the Craftsman lawn tractor is user-friendly, featuring easily accessible components for routine checks and servicing. This attention to detail makes it simple for homeowners to keep the tractor in optimal condition over the years.
Overall, the Craftsman 917.27384 combines power, ease of use, and comfort, making it an excellent choice for homeowners seeking a reliable lawn tractor capable of delivering impressive results. Whether you are mowing, bagging, or mulching, this model is designed to meet diverse lawn care needs effectively.