To Replace Regulator
1.Release all air pressure from air tank. See To Drain Tank in the Maintenance section.
2.Unplug compressor.
3.Remove shrouds.
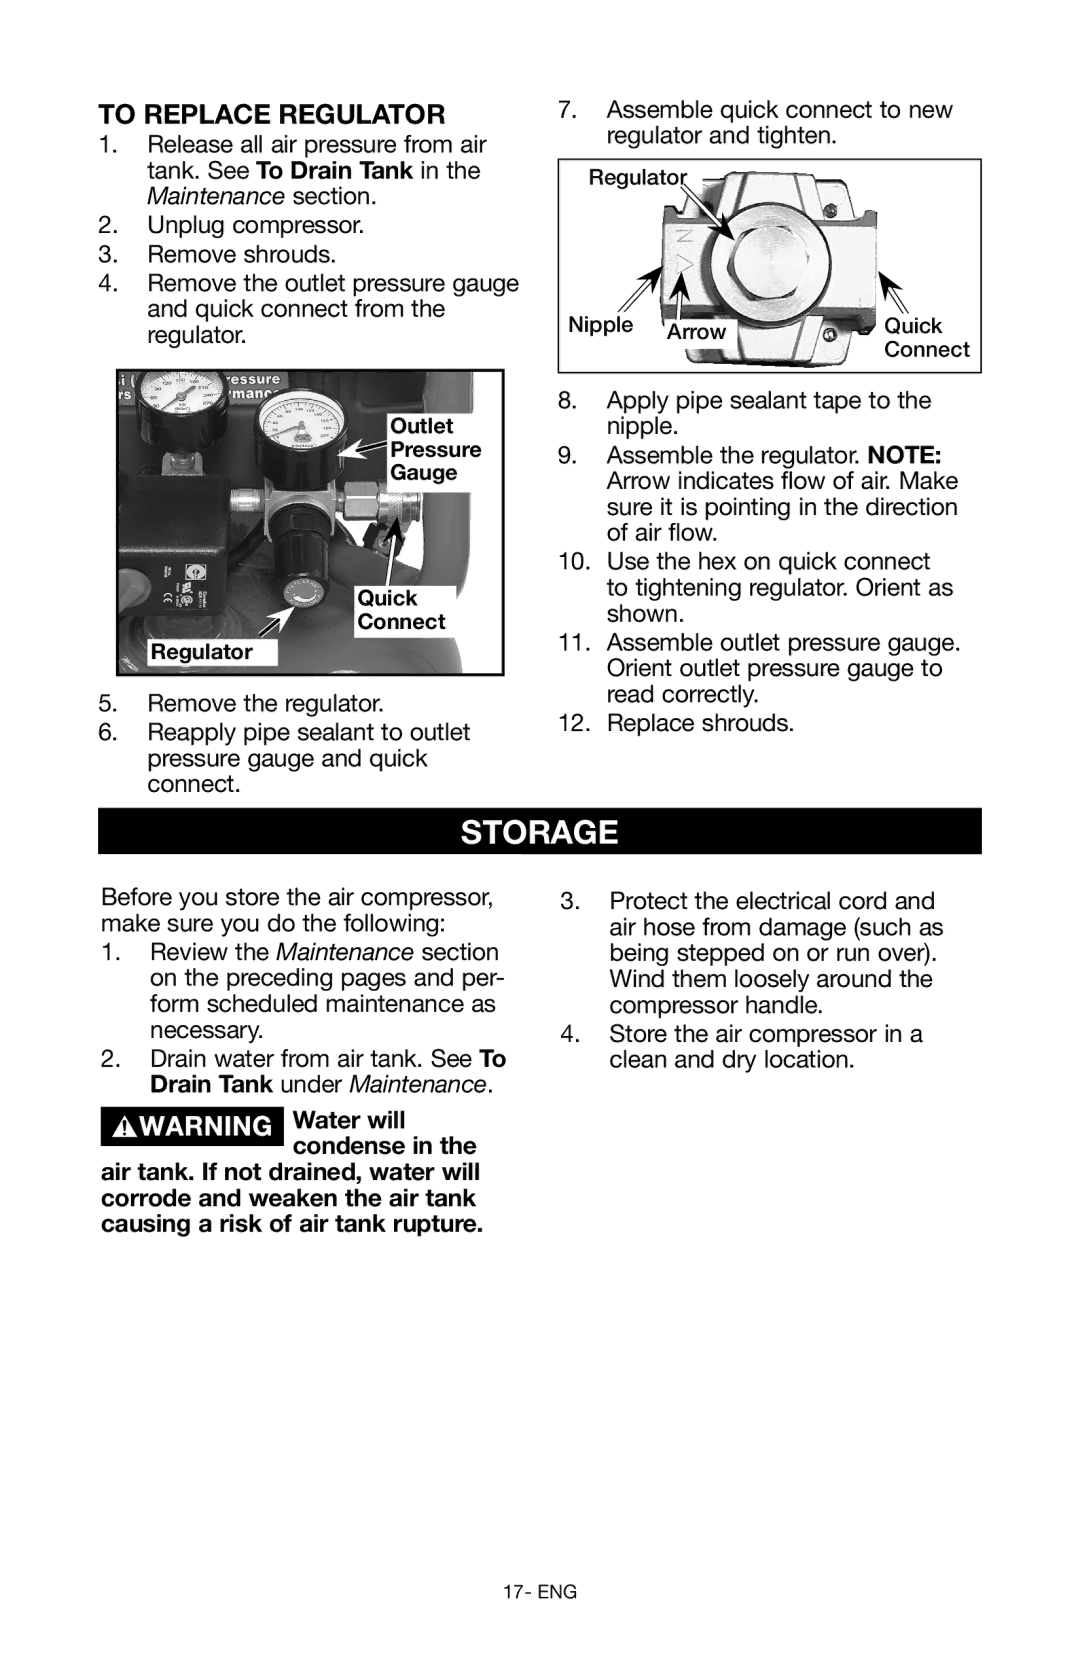
4.Remove the outlet pressure gauge and quick connect from the regulator.
Outlet
 Pressure
Gauge
Quick
Connect
Regulator
5.Remove the regulator.
6.Reapply pipe sealant to outlet pressure gauge and quick connect.
7.Assemble quick connect to new regulator and tighten.
Regulator
Nipple Arrow | Quick |
| Connect |
8.Apply pipe sealant tape to the nipple.
9.Assemble the regulator. NOTE: Arrow indicates flow of air. Make sure it is pointing in the direction of air flow.
10.Use the hex on quick connect to tightening regulator. Orient as shown.
11.Assemble outlet pressure gauge. Orient outlet pressure gauge to read correctly.
12.Replace shrouds.
STORAGE
Before you store the air compressor, make sure you do the following:
1.Review the Maintenance section on the preceding pages and per- form scheduled maintenance as necessary.
2.Drain water from air tank. See To Drain Tank under Maintenance.
Water will condense in the
air tank. If not drained, water will corrode and weaken the air tank causing a risk of air tank rupture.
3.Protect the electrical cord and air hose from damage (such as being stepped on or run over).
Wind them loosely around the compressor handle.
4.Store the air compressor in a clean and dry location.