
919.176830, 919.17683, 919.17673g, 919.176730 specifications
The Craftsman 919.176730, 919.17673G, 919.17683, and 919.176830 are a series of versatile and highly efficient air compressors designed to meet the demands of both DIY enthusiasts and professional contractors. Known for their reliability and performance, these models offer a range of features and technologies that cater to a wide variety of tasks.One of the standout features of these air compressors is their powerful motor, which delivers impressive horsepower for efficient air delivery. The 919.176730 and its counterparts come equipped with an exceptionally durable pump, often oil-lubricated, providing longevity and reduced wear over time. This characteristic is crucial for those who require a dependable tool for continuous use.
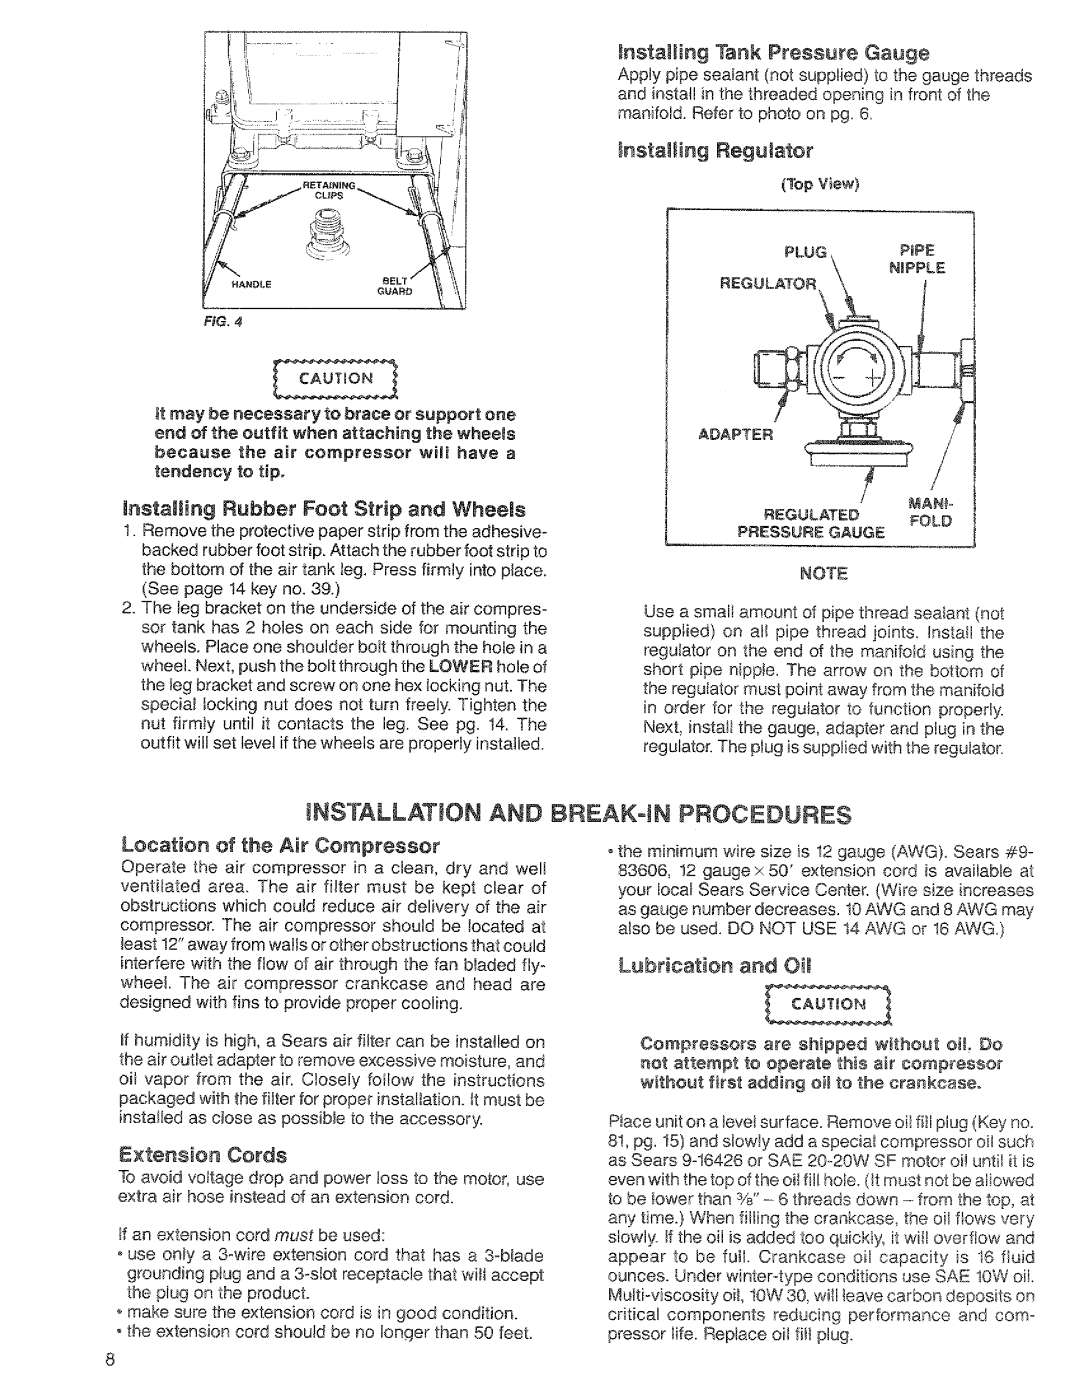
The compressors boast a user-friendly design, featuring easy accessibility to vital components for maintenance. This is complemented by an intuitive control panel that allows for straightforward adjustments and monitoring of pressure levels—essential for users who need precise control for different applications. The large capacity tanks, typical in models like the 919.17683 and 919.176830, allow for extended operation without frequent cycling, making them ideal for tasks such as spray painting, powering nail guns, and other pneumatic tools.
Another key aspect is the portability of these models. Most are designed with durable wheels and rugged handles for easy transport, enabling users to move the compressor between job sites or around the home with minimal effort. This feature does not compromise stability or performance, as they are built to withstand the rigors of diverse working environments.
Safety features abound in the Craftsman air compressors as well. Each unit is designed with built-in thermal overload protection, which automatically shuts off the machine if it becomes too hot, ensuring user safety and preventing damage to the compressor. Additionally, the integrated pressure gauges provide real-time feedback on air levels, preventing over-inflation of tools and accessories.
In terms of noise levels, these compressors are engineered to operate more quietly than many traditional models, making them suitable for residential use without disturbing neighbors. This focus on user comfort is a testament to Craftsman's commitment to providing effective and customer-friendly solutions.
In summary, the Craftsman 919.176730, 919.17673G, 919.17683, and 919.176830 air compressors are remarkable tools that combine power, durability, and safety features. With their advanced technologies and thoughtful design, they stand out as excellent choices for anyone looking to enhance their tool collection. Whether for hobby projects or professional work, these compressors deliver reliable performance time and again.