SAFETY REQUIREMENTS cont’d.
DAMAGE REQUIRING SERVICE
Stop using the unit immediately and have it inspected by an authorised service centre whenever:..
1.The power supply cord or plug has been damaged.
2.Liquid has been spilled into the unit.
3.The unit has been exposed to rain.
4.The unit does not operate properly.
5.The unit has been dropped or damaged.
6.Smoke or any unusual smell is detected from the unit.
CAUTION:
TO REDUCE THE RISK OF ELECTRIC SHOCK, DO NOT REMOVE COVER. NO
REAR PANEL
CONNECTING TO OTHER EQUIPMENT
INTERCONNECT CABLES
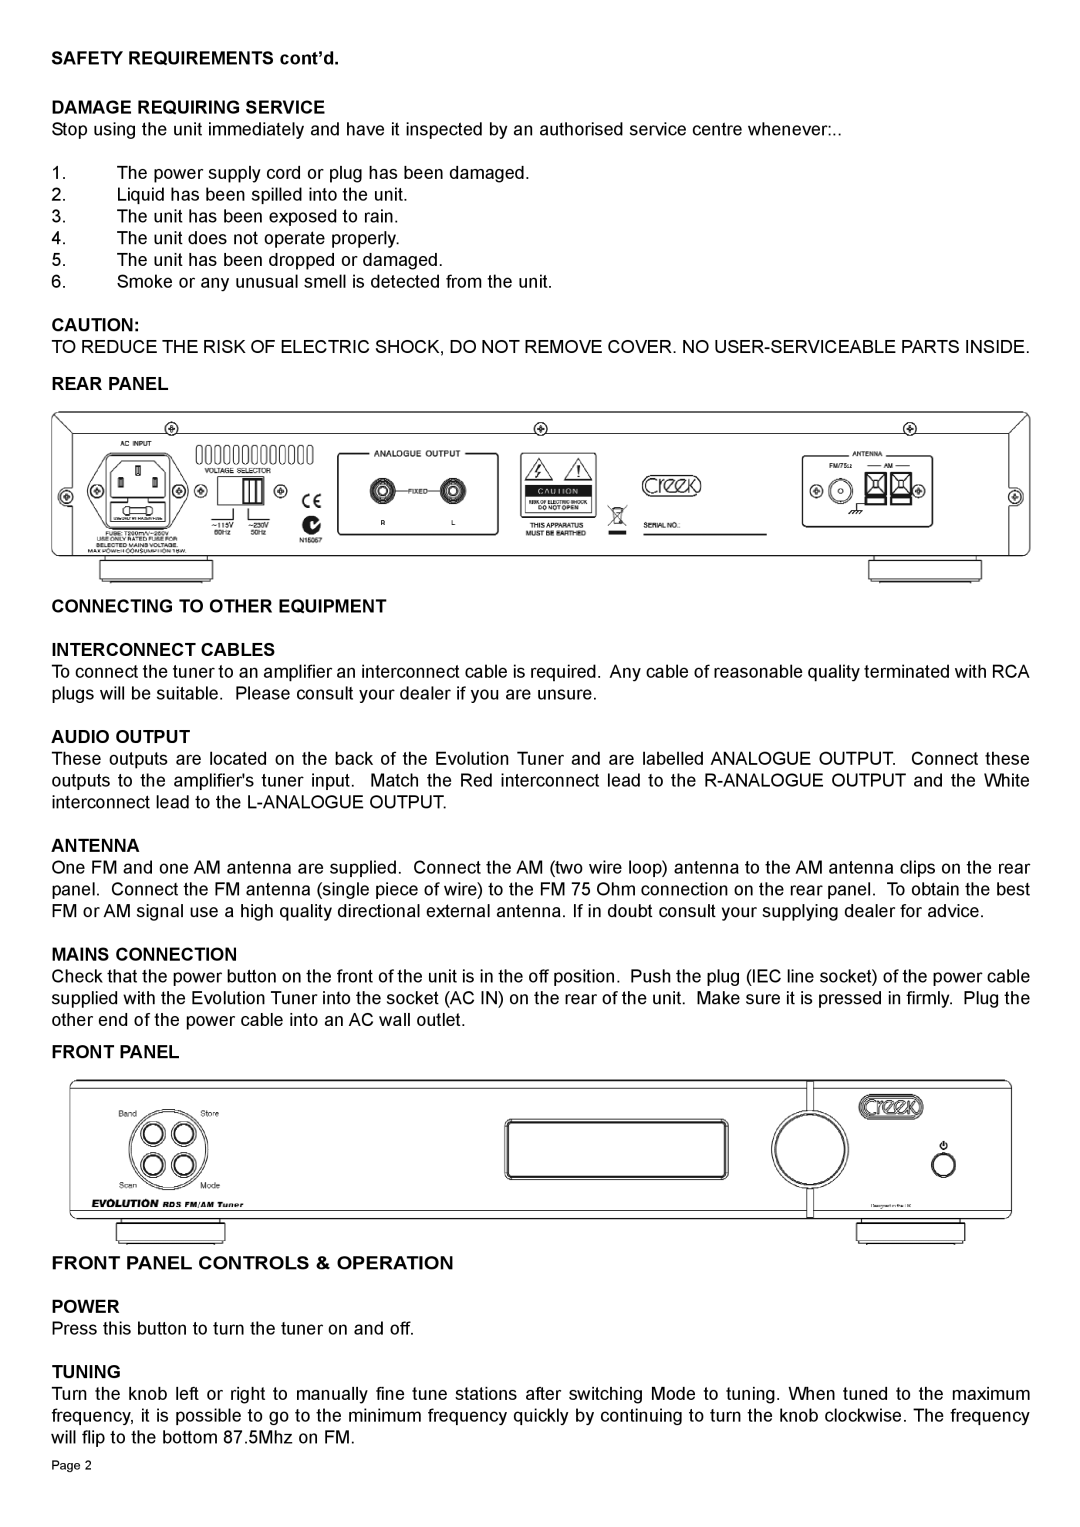
To connect the tuner to an amplifier an interconnect cable is required. Any cable of reasonable quality terminated with RCA plugs will be suitable. Please consult your dealer if you are unsure.
AUDIO OUTPUT
These outputs are located on the back of the Evolution Tuner and are labelled ANALOGUE OUTPUT. Connect these outputs to the amplifier's tuner input. Match the Red interconnect lead to the
ANTENNA
One FM and one AM antenna are supplied. Connect the AM (two wire loop) antenna to the AM antenna clips on the rear panel. Connect the FM antenna (single piece of wire) to the FM 75 Ohm connection on the rear panel. To obtain the best FM or AM signal use a high quality directional external antenna. If in doubt consult your supplying dealer for advice.
MAINS CONNECTION
Check that the power button on the front of the unit is in the off position. Push the plug (IEC line socket) of the power cable supplied with the Evolution Tuner into the socket (AC IN) on the rear of the unit. Make sure it is pressed in firmly. Plug the other end of the power cable into an AC wall outlet.
FRONT PANEL
FRONT PANEL CONTROLS & OPERATION
POWER
Press this button to turn the tuner on and off.
TUNING
Turn the knob left or right to manually fine tune stations after switching Mode to tuning. When tuned to the maximum frequency, it is possible to go to the minimum frequency quickly by continuing to turn the knob clockwise. The frequency will flip to the bottom 87.5Mhz on FM.
Page 2
