Stereo Amplifier specifications
The Crest Audio Stereo Amplifier has established a notable reputation in the audio industry, particularly among professionals seeking dependable and high-performance amplification solutions. Renowned for its robustness and exceptional sound quality, this amplifier is a popular choice for both live sound applications and studio settings.One of the standout features of the Crest Audio Stereo Amplifier is its outstanding power output, which ensures that it can drive a wide range of loudspeakers with ease. Typically available in various power ratings, these amplifiers can provide significant wattage, allowing them to handle high-demand audio situations without distortion. This makes the Crest Audio amplifier an excellent choice for large venues, theaters, and event spaces.
The design of the Crest Audio Stereo Amplifier prioritizes efficiency and performance. Utilizing high-quality components, the amplifier is constructed with a rugged chassis and offers extensive heat dissipation to ensure longevity and reliability during prolonged use. This durability is particularly crucial in professional settings where equipment is often subjected to rigorous conditions.
In terms of technology, Crest Audio amplifiers incorporate advanced circuitry that enhances audio fidelity and minimizes noise. The use of Class AB amplification technology allows for a balanced performance that delivers both output power and audio clarity. This technology enables the amplifier to produce rich, warm tones, making it particularly effective for musical genres requiring dynamic range and precision, such as classical and jazz.
Another notable characteristic of the Crest Audio Stereo Amplifier is its comprehensive protection features. These amplifiers are designed with built-in thermal, short circuit, and overload protection, ensuring that the equipment can withstand potential hazards without compromising performance. The intuitive LED indicators provide visual feedback on the status of the amplifier, allowing users to monitor operation easily.
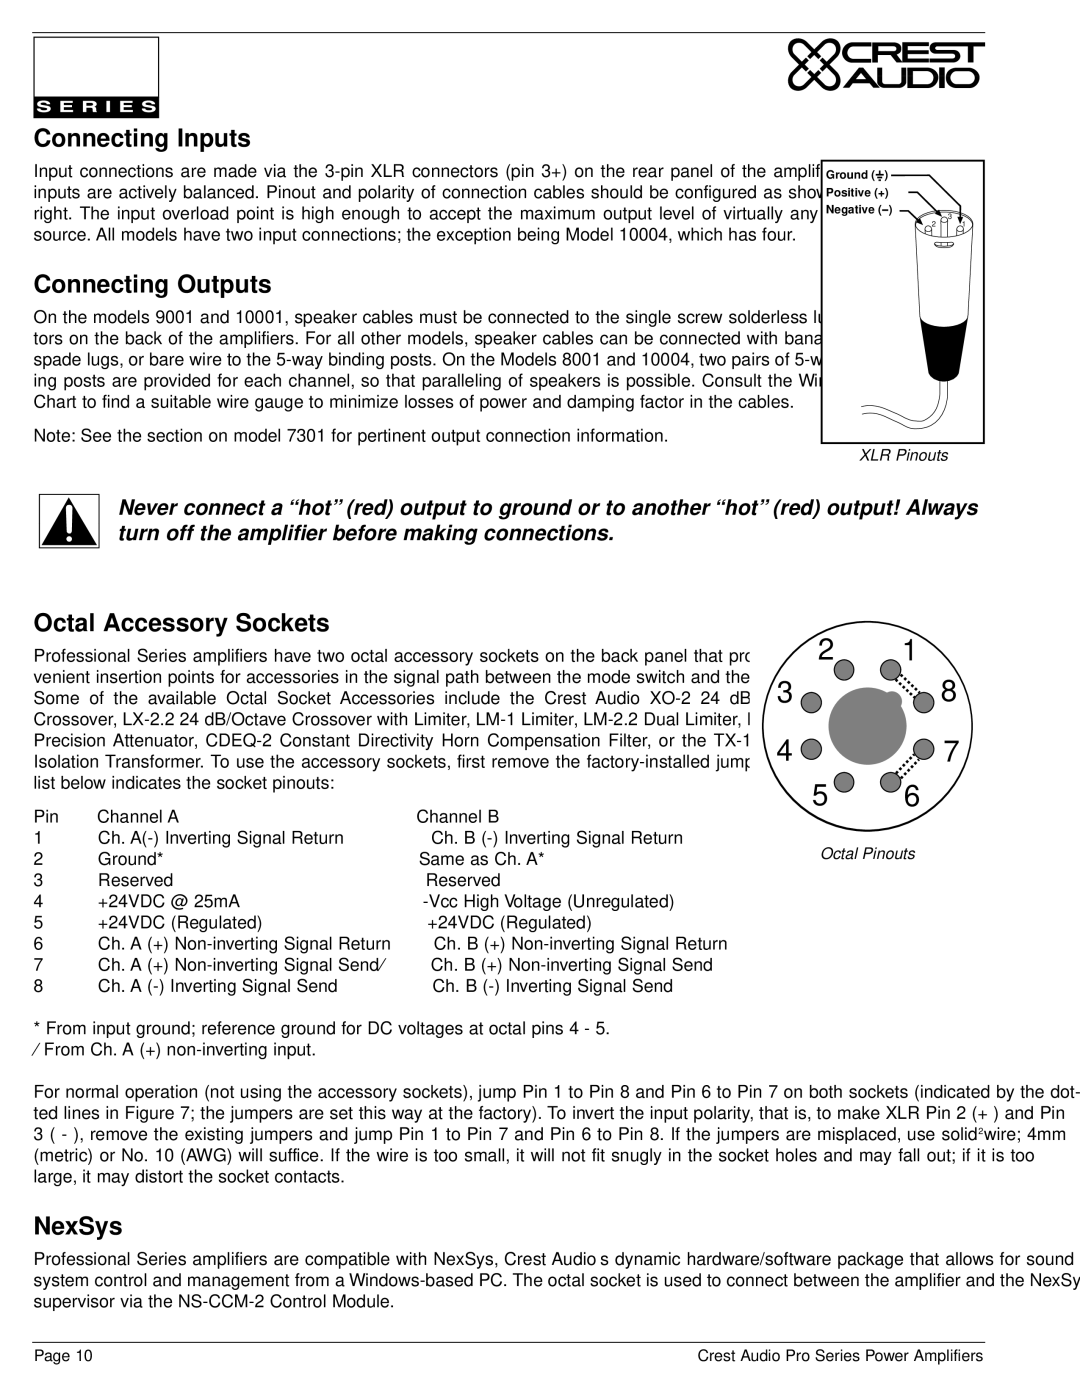
Connectivity is another essential factor, with Crest Audio amplifiers typically featuring a variety of input and output options. This flexibility enables integration with different audio systems, whether for simple stereo setups or complex multi-channel configurations. The professional-grade speakON and binding post outputs ensure secure connections to loudspeakers, promoting optimal performance.
Overall, the Crest Audio Stereo Amplifier is a reliable, high-performance solution for any audio professional. With its powerful output, sturdy construction, advanced technology, and user-friendly features, this amplifier continues to be a top choice for delivering exceptional sound quality in various applications. Whether in a studio environment or a live concert setting, the Crest Audio Stereo Amplifier stands out as a trusted tool for achieving audio excellence.

