DSL-500T ADSL Router User’s Guide
9.To save the changes made to Connection 1, click the Tools tab and then click on the System Commands button. Click on the Save All button to store the configuration settings. Click on Back button to return to the System Commands menu.
10.Check the WAN connection status. Click the Status tab and then the Connection Status button. Look under WAN to view the State of Connection 1, it should read Connected. If the WAN connection state does not appear to Connected after a few minutes, go back to the Connection 1 Setup menu, check the settings and make sure they are correct.
Change the Connection Type
The default connection protocol used for the Router is Point-to-Point Protocol over ATM (PPPoA). The menu used to configure a PPPoA connection is the first menu to appear when you click on the Connection 1 button in the Setup menu. The alternative connection types supported by the Router are the PPPoE (PPP over Ethernet), CLIP (Classical IP over ATM or IPoA), DHCP (for WAN), Static (IP for WAN), and Bridge connection types. There are two ways you may configure the WAN connection to use these alternative types. You can create a New Connection using the alternative connection type or you may configure the Connection 1 settings to use the connection type of choice. This section describes how to change the Connection 1 settings to use a different connection type. To change the Connection 1 settings to use a different connection type, follow the instructions below according to the type of connection you want to use. To create and configure a New Connection, skip ahead to Create a New Connection.
Configure Connection 1 for PPPoE
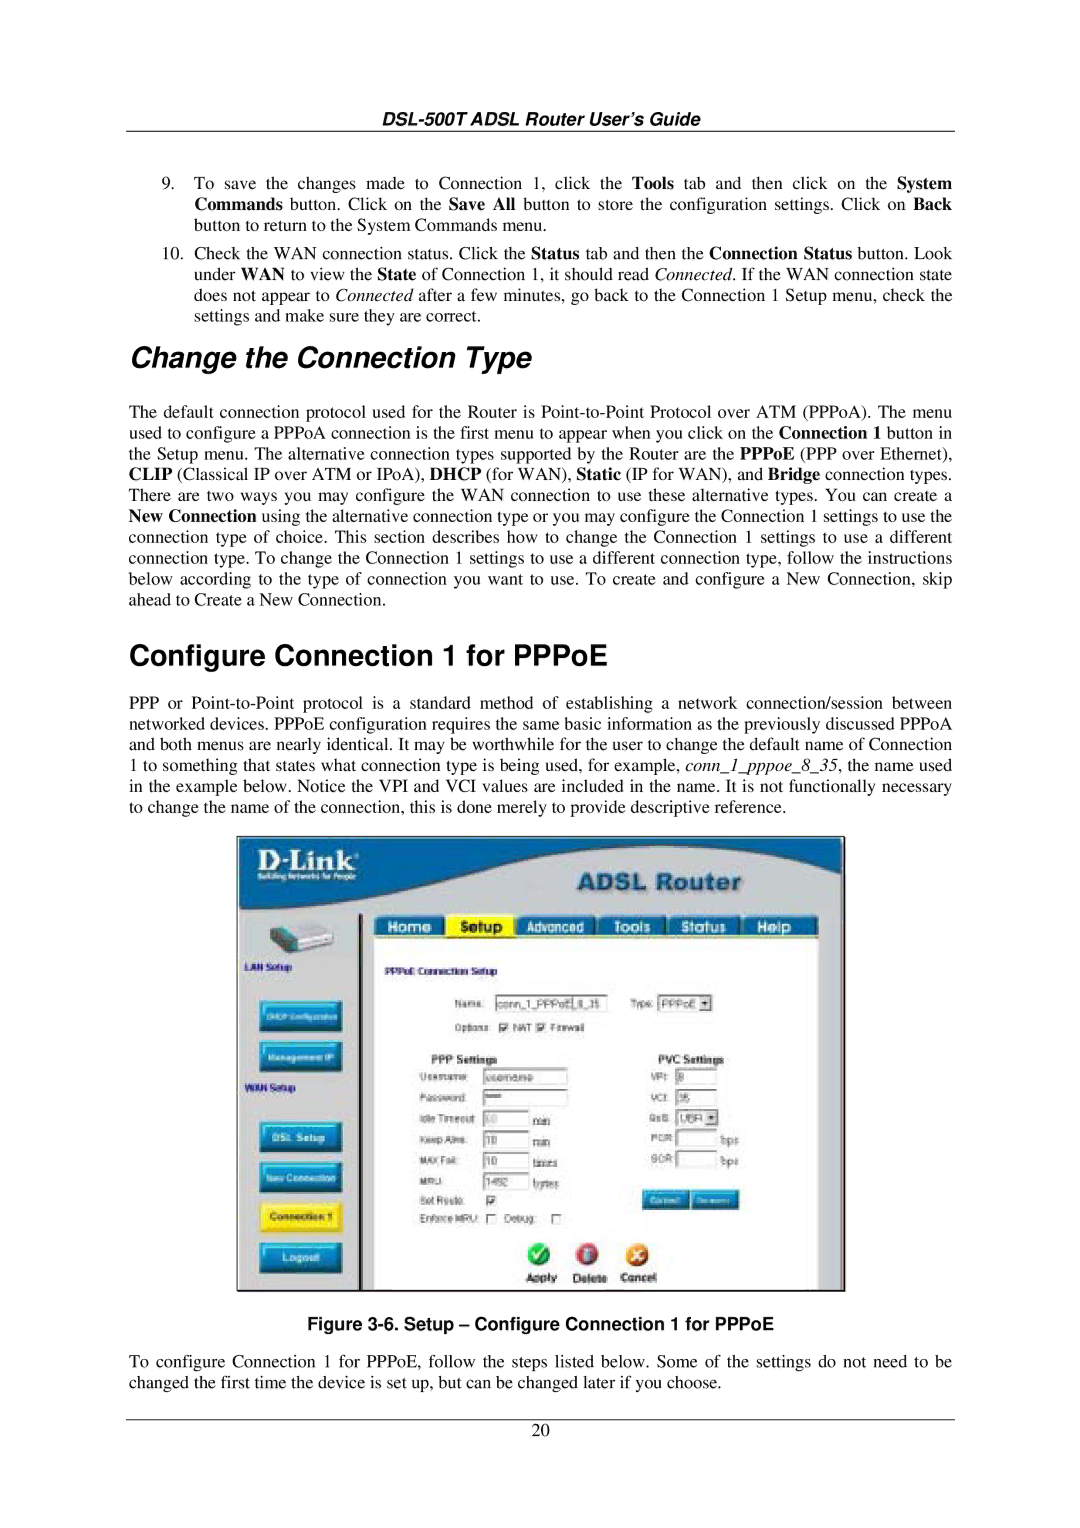
PPPor Point-to-Point protocol is a standard method of establishing a network connection/session between networked devices. PPPoE configuration requires the same basic information as the previously discussed PPPoA and both menus are nearly identical. It may be worthwhile for the user to change the default name of Connection 1 to something that states what connection type is being used, for example, conn_1_pppoe_8_35, the name used in the example below. Notice the VPI and VCI values are included in the name. It is not functionally necessary to change the name of the connection, this is done merely to provide descriptive reference.
Figure 3-6. Setup – Configure Connection 1 for PPPoE
To configure Connection 1 for PPPoE, follow the steps listed below. Some of the settings do not need to be changed the first time the device is set up, but can be changed later if you choose.
20

