DSL-504 specifications
The D-Link DSL-504 is a versatile and reliable ADSL modem/router that has been designed to meet the needs of both home and small office users. With its compact size and user-friendly interface, this device has garnered popularity among those who require stable internet connectivity without the complexity of managing multiple devices.One of the main features of the D-Link DSL-504 is its ADSL compatibility, which enables users to take full advantage of high-speed internet connections offered by ADSL service providers. This modem/router supports a wide range of ADSL standards, including ADSL2 and ADSL2+, providing users with robust performance and efficient bandwidth utilization. This means users can enjoy faster download speeds and improved upload rates, making it ideal for activities like streaming, online gaming, and video conferencing.
The D-Link DSL-504 is equipped with several Ethernet ports that allow for wired connections to multiple devices, ensuring that users have the ability to connect their PCs, laptops, and gaming consoles directly to the network for optimal performance. Additionally, the built-in wireless capability offers Wi-Fi connectivity, allowing users to connect their smartphones, tablets, and other devices without the need for cumbersome cables. The wireless transmission uses the 802.11g standard, providing speeds of up to 54 Mbps.
Security is a significant concern for home and business users, and the D-Link DSL-504 addresses this with a variety of security features. It supports encryption standards like WEP and WPA/WPA2, ensuring that wireless connections are secure from unauthorized access. The device also incorporates a built-in firewall, providing an additional layer of protection against external threats.
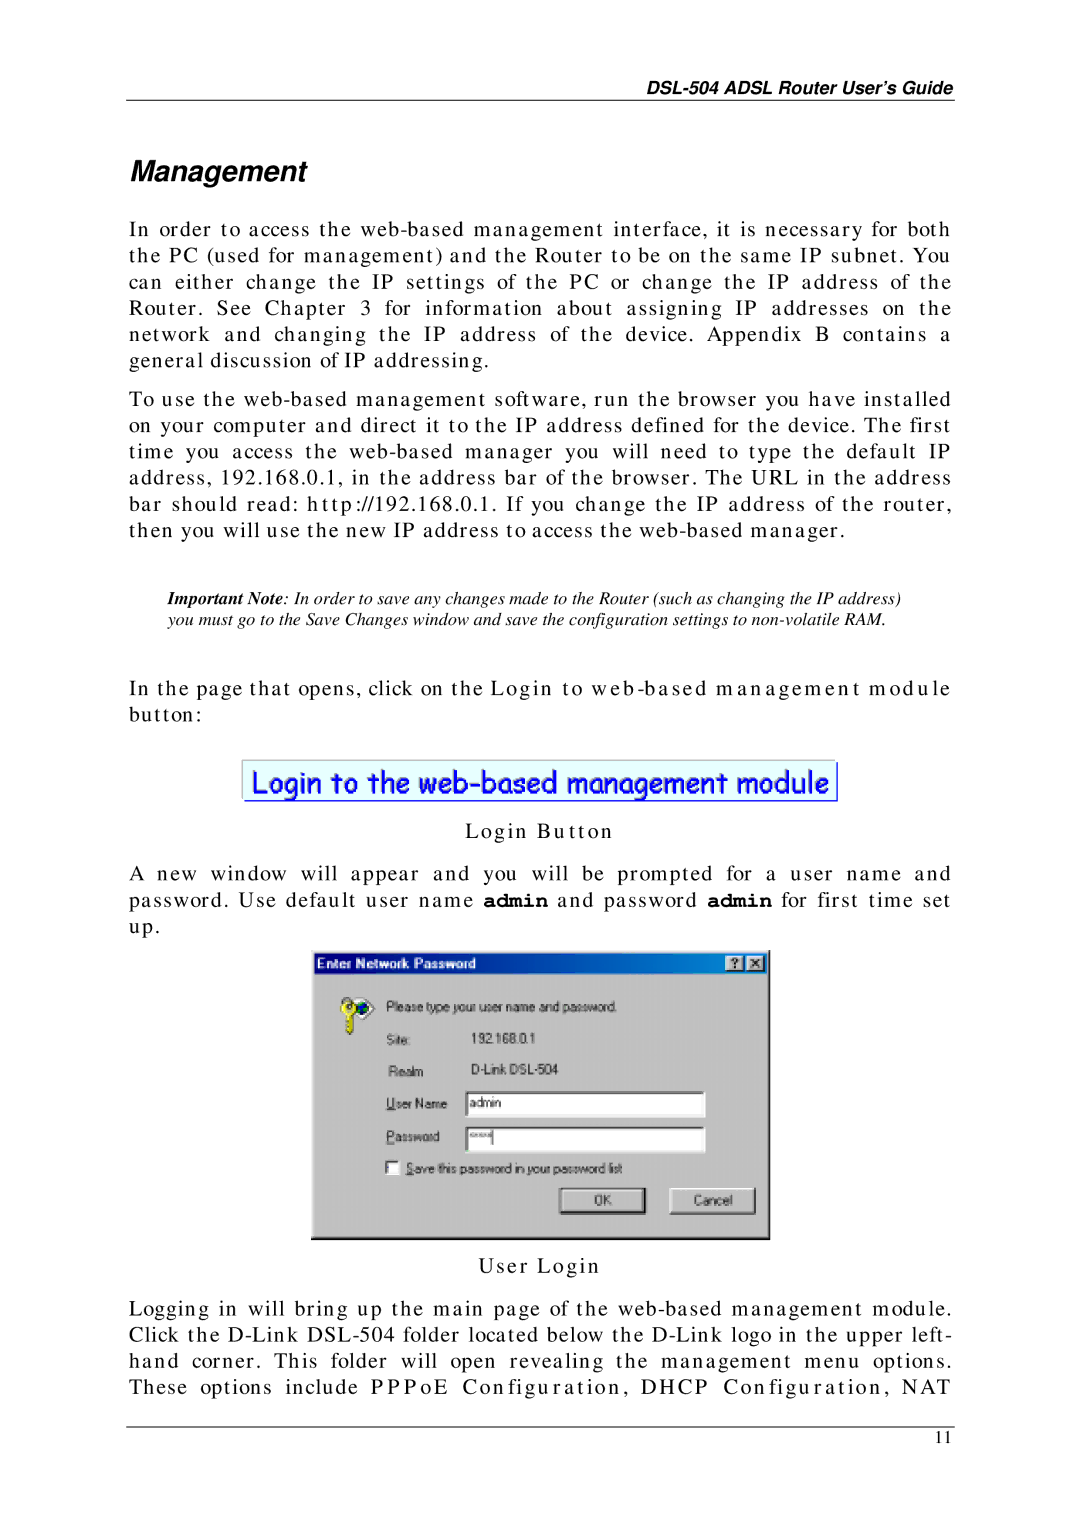
The DSL-504 offers easy setup and management through a web-based interface, allowing users to customize their network settings effortlessly. The intuitive configuration wizard guides users through the process, making it accessible even for those with minimal technical expertise.
In summary, the D-Link DSL-504 is a reliable ADSL modem/router that combines speed, security, and ease of use. Its compatibility with various ADSL standards, multiple Ethernet ports, built-in wireless functionality, and strong security features make it a compelling choice for anyone looking to establish a stable internet connection. Whether for home use or small office operations, the DSL-504 provides the necessary tools to enhance connectivity and productivity.

