Disc Manager
desired chapter number and then press [ENTER].
Edit Chapters
You can add a chapter marker anywhere in a title during playback.
Once the chapter is marked, you can use the chapter search feature as described above.
You can add/delete chapter markers or delete all chapter markers in a title.
Split Title
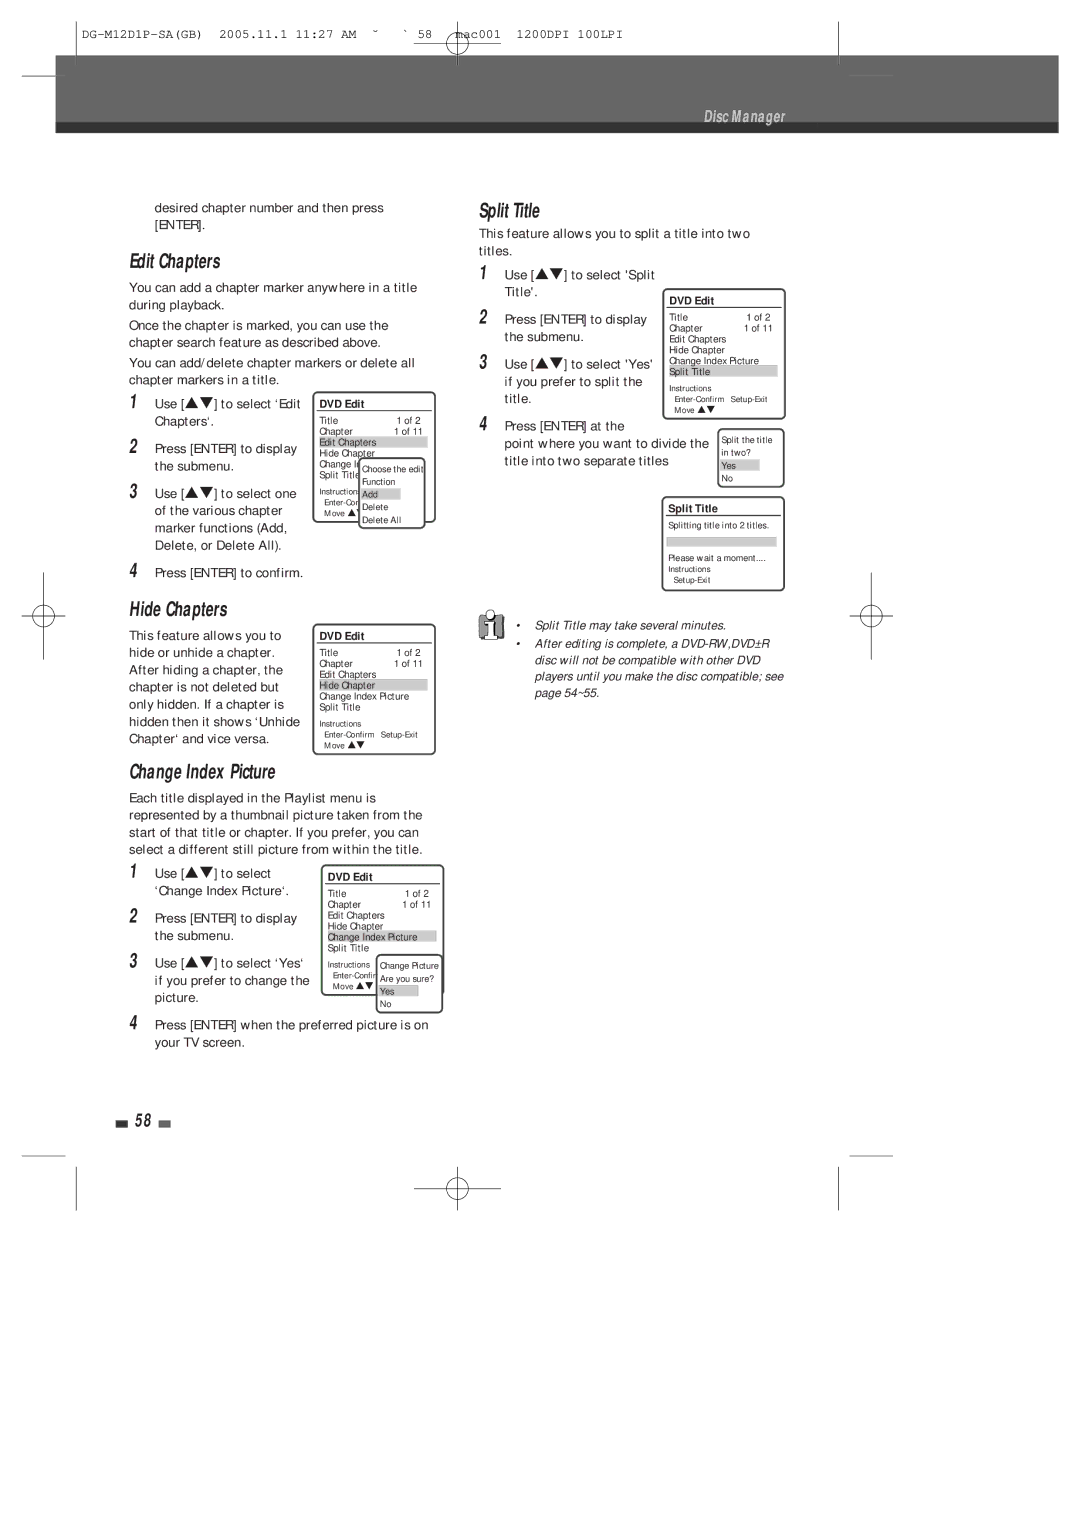
This feature allows you to split a title into two titles.
1 | Use [É ] to select 'Split |
|
|
|
|
| Title'. | DVD Edit |
|
| |
2 |
|
|
| ||
Press [ENTER] to display | Title | 1 of 2 |
| ||
| the submenu. | Chapter | 1 of 11 |
| |
| Edit Chapters |
|
| ||
3 |
| Hide Chapter |
|
| |
Use [É ] to select 'Yes' |
| Change Index Picture |
| ||
| if you prefer to split the |
| Split Title |
|
|
| Instructions |
|
| ||
1Use [É ] to select ‘Edit Chapters‘.
2Press [ENTER] to display the submenu.
3Use [É ] to select one of the various chapter marker functions (Add, Delete, or Delete All).
DVD Edit
Title | 1 of 2 |
Chapter | 1 of 11 |
Edit Chapters
Hide Chapter Change Index Picture Split Title Choose the edit
Function
InstructionsAdd
Move É DeleteDelete All
title. | |||
4 Press [ENTER] at the | Move É | ||
|
|
| |
point where you want to divide the Split the title | |||
title into two separate titles |
| in two? | |
| Yes |
| |
No
Split Title
Splitting title into 2 titles.
4Press [ENTER] to confirm.
Hide Chapters
This feature allows you to hide or unhide a chapter. After hiding a chapter, the chapter is not deleted but only hidden. If a chapter is hidden then it shows ‘Unhide Chapter‘ and vice versa.
DVD Edit
Title | 1 of 2 |
Chapter | 1 of 11 |
Edit Chapters |
|
Hide Chapter |
|
Change Index Picture Split Title
Instructions
Move É
Please wait a moment....
Instructions
• Split Title may take several minutes.
•After editing is complete, a
Change Index Picture
Each title displayed in the Playlist menu is represented by a thumbnail picture taken from the start of that title or chapter. If you prefer, you can select a different still picture from within the title.
1 Use [É ] to select ‘Change Index Picture‘.
2Press [ENTER] to display the submenu.
3Use [É ] to select ‘Yes‘ if you prefer to change the picture.
DVD Edit
Title | 1 of 2 |
Chapter | 1 of 11 |
Edit Chapters |
|
Hide Chapter |
|
Change Index Picture Split Title
Instructions Change Picture
Are you sure?
Move É Yes
No
4Press [ENTER] when the preferred picture is on your TV screen.
58