Screen Adjustment
Adjustment of the screen in the PC mode
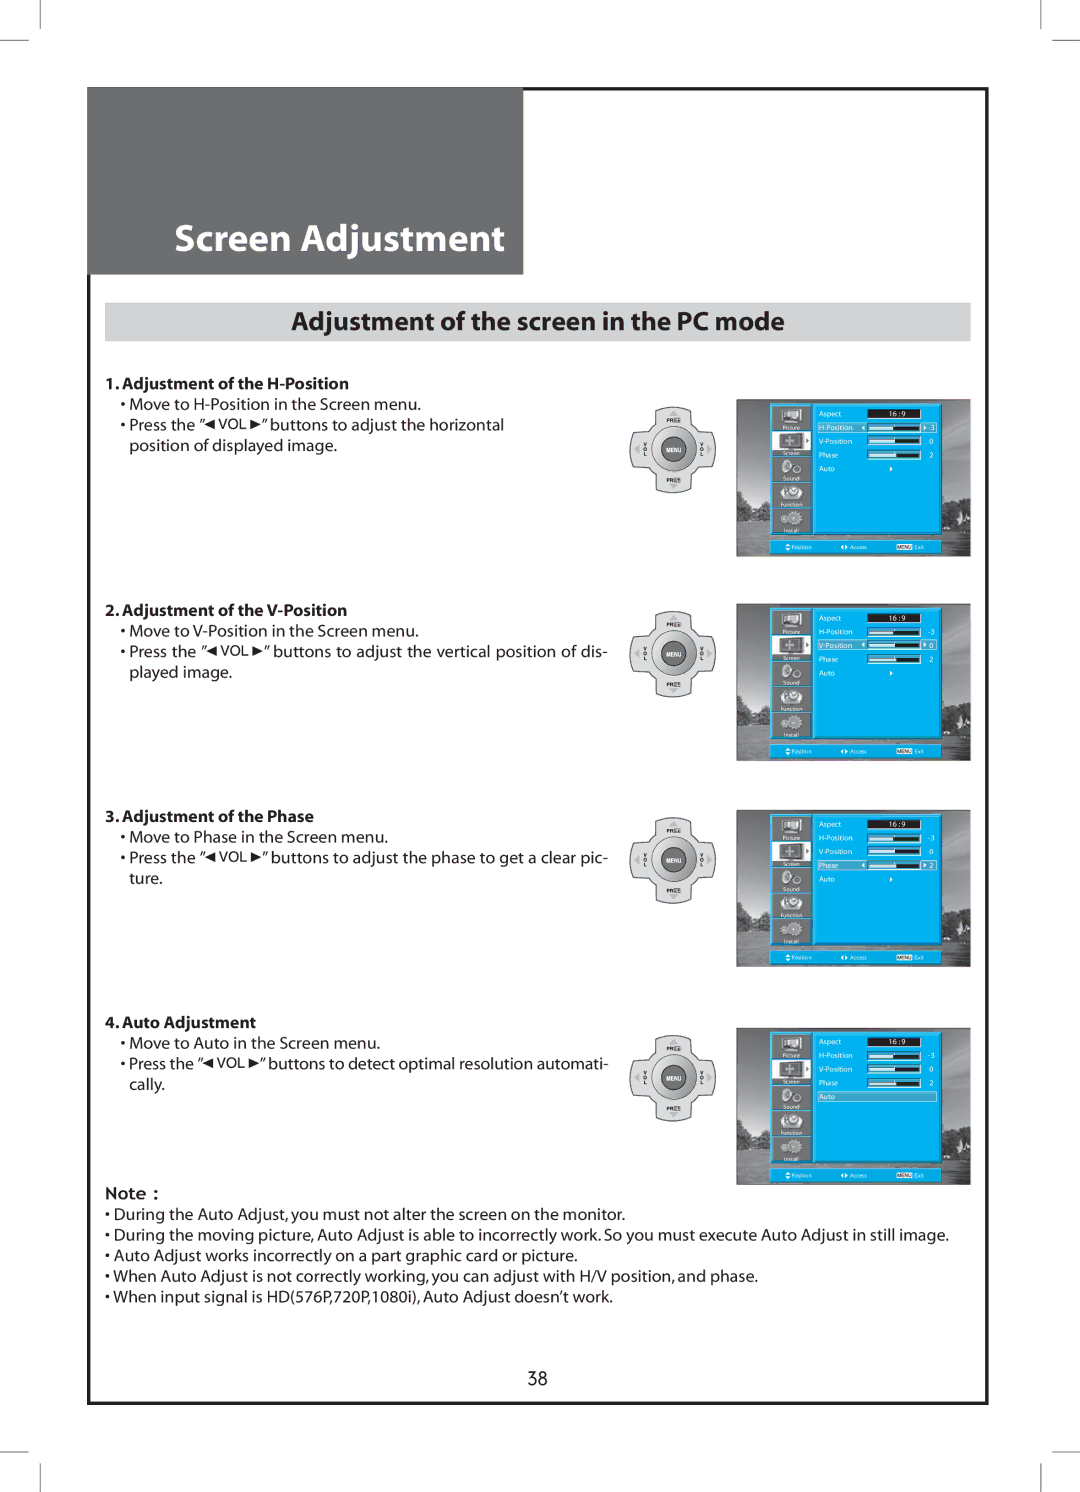
1.Adjustment of the
•Move to
•Press the ”![]()
![]()
![]()
![]()
![]() ”buttons to adjust the horizontal position of displayed image.
”buttons to adjust the horizontal position of displayed image.
Picture
Screen
Sound
Function
Install
Position
Aspect | 16 :9 |
|
| |
|
|
| ||
| 0 | |||
|
|
| ||
Phase |
| 2 | ||
|
|
| ||
Auto |
|
|
|
|
|
|
|
|
|
Access |
|
| Exit | |
|
| |||
2.Adjustment of the
•Move to
•Press the ”![]()
![]()
![]()
![]()
![]() ” buttons to adjust the vertical position of dis- played image.
” buttons to adjust the vertical position of dis- played image.
|
| Aspect | 16 :9 |
|
Picture |
| |||
|
|
|
|
|
Screen |
|
| 0 | |
| Phase |
| 2 | |
|
| Auto |
|
|
|
|
|
| |
Sound |
|
|
| |
Function
Install |
|
|
Position | Access | Exit |
3.Adjustment of the Phase
•Move to Phase in the Screen menu.
•Press the ”![]()
![]()
![]()
![]()
![]() ”buttons to adjust the phase to get a clear pic- ture.
”buttons to adjust the phase to get a clear pic- ture.
Picture
Screen
Sound
Function
Install
Position
Aspect | 16 :9 |
|
| |
| ||||
|
| |||
|
|
| 0 | |
Phase |
| 2 | ||
|
|
| ||
Auto |
|
|
|
|
|
|
|
|
|
Access |
|
| Exit | |
|
| |||
4.Auto Adjustment
•Move to Auto in the Screen menu.
•Press the ”![]()
![]()
![]()
![]()
![]() ”buttons to detect optimal resolution automati- cally.
”buttons to detect optimal resolution automati- cally.
|
| Aspect | 16 :9 |
|
Picture |
| |||
Screen |
|
| 0 | |
| Phase |
| 2 | |
|
| |||
|
|
|
|
|
|
|
|
|
|
|
| Auto |
|
|
Sound |
|
|
| |
Function
Install
Position ![]() Access
Access ![]()
![]() Exit
Exit
Note :
•During the Auto Adjust,you must not alter the screen on the monitor.
•During the moving picture,Auto Adjust is able to incorrectly work.So you must execute Auto Adjust in still image.
•Auto Adjust works incorrectly on a part graphic card or picture.
•When Auto Adjust is not correctly working,you can adjust with H/V position,and phase.
•When input signal is HD(576P,720P,1080i),Auto Adjust doesn’t work.
38