3 | Press the Volume “ VOL ” Buttons. | ||||||||
|
|
|
|
| PR |
|
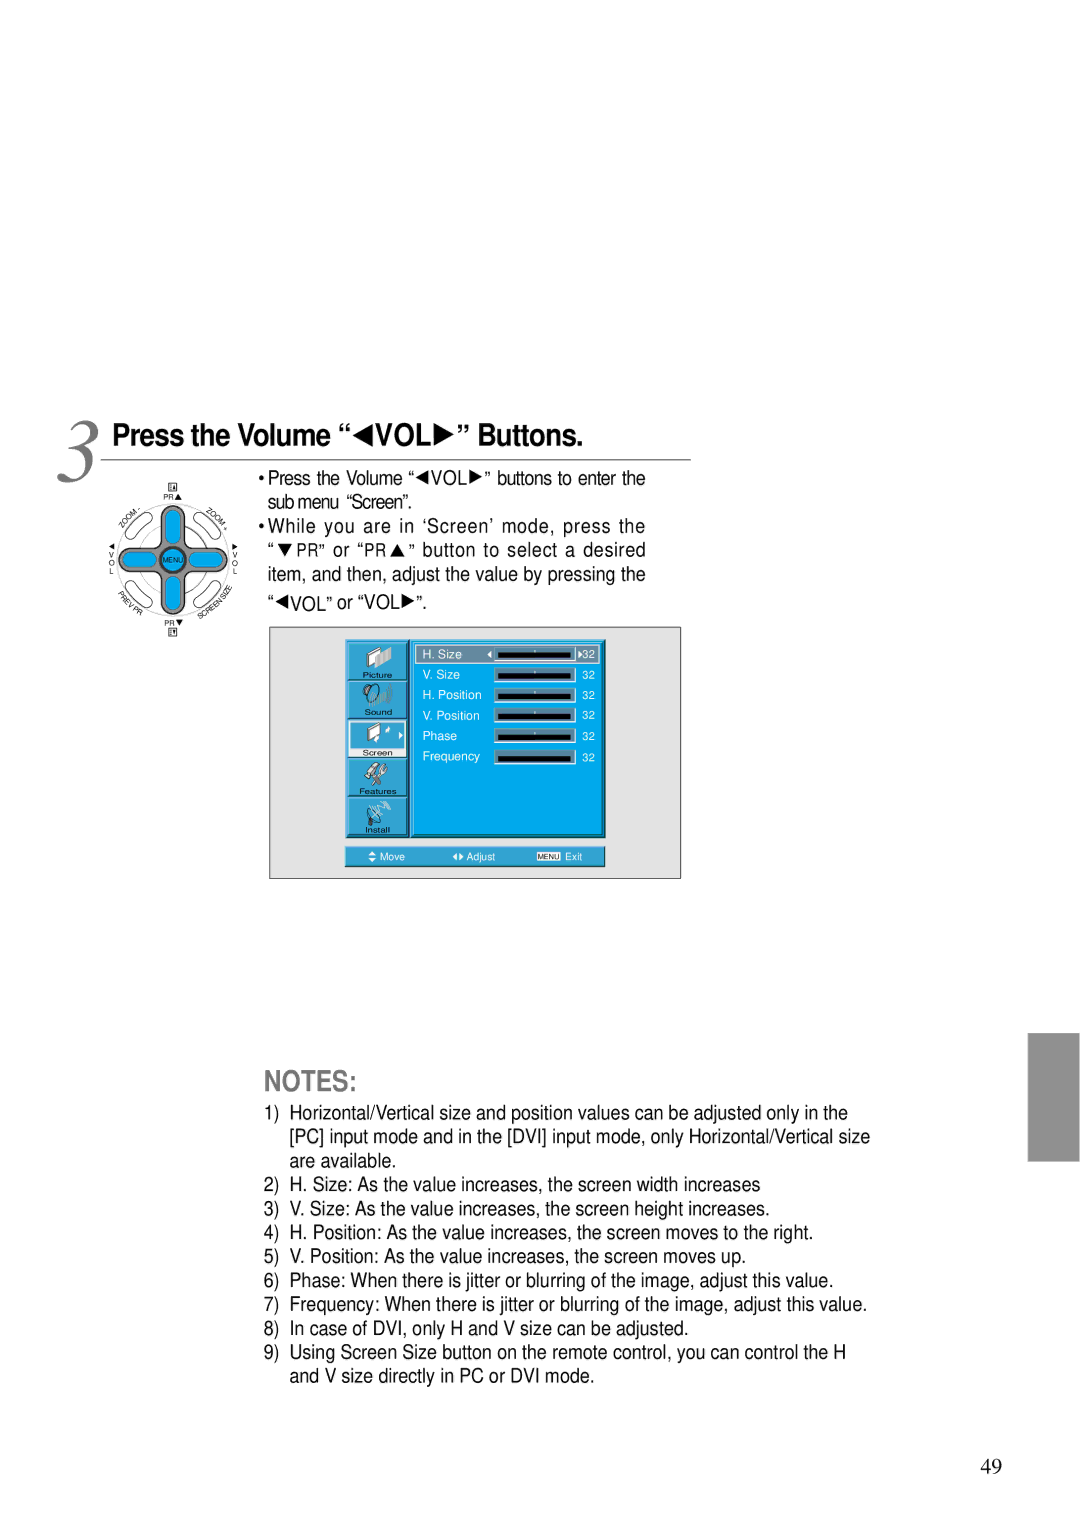
| • Press the Volume “ VOL ” buttons to enter the | |
|
|
|
|
| M | Z | O |
| sub menu “Screen”. |
|
|
|
| O |
| O |
| • While you are in ‘Screen’ mode, press the | |
|
| Z | O |
|
| M |
| ||
|
|
|
|
| + |
| |||
|
|
|
|
|
|
| |||
| V |
|
|
|
| MENU |
| V “ PR” or “PR ” button to select a desired | |
| O |
|
|
|
|
|
| O | item, and then, adjust the value by pressing the |
| L |
|
|
|
|
|
| L | |
P
R
E V PR
PR ![]()
|
| N |
| E | |
E |
| |
R |
|
|
C |
|
|
S |
|
|
S
I
Z
E
“ VOL” or “VOL ”.
”.
Picture
Sound
Screen
Features
Install
H. Size |
| 32 |
| ||
V. Size |
| 32 |
| ||
H. Position |
| 32 |
| ||
V. Position |
| 32 |
| ||
Phase |
|
|
| 32 | |
Frequency |
| 32 |
|
|
|
Move | Adjust | MENU | Exit |
NOTES:
1)Horizontal/Vertical size and position values can be adjusted only in the [PC] input mode and in the [DVI] input mode, only Horizontal/Vertical size are available.
2)H. Size: As the value increases, the screen width increases
3)V. Size: As the value increases, the screen height increases.
4)H. Position: As the value increases, the screen moves to the right.
5)V. Position: As the value increases, the screen moves up.
6)Phase: When there is jitter or blurring of the image, adjust this value.
7)Frequency: When there is jitter or blurring of the image, adjust this value.
8)In case of DVI, only H and V size can be adjusted.
9)Using Screen Size button on the remote control, you can control the H and V size directly in PC or DVI mode.
49
