6.Insert the new LED assembly through the hole where the original bulb and connector were. Be careful when feeding the wires through to avoid damaging insulation.
7.Feed the wires through the larger hole in the mounting plate. Guide the mounting plate to the bottom of the housing. The flat side of the mounting plate should be to the outside and the side with the slight raised center should go in toward the housing. This will align the mount in the original housing.
8.Now hold the LED assembly over the hole where the original bulb was and align the mounting plate from the bottom with the slot in the housing. Move the LED assembly so the screw holes line up.
9.Screw the mounting plate into the mount using the two previously removed 3/8” #6 screws. This will secure the LED assembly into the housing, you are now ready for reassembly.
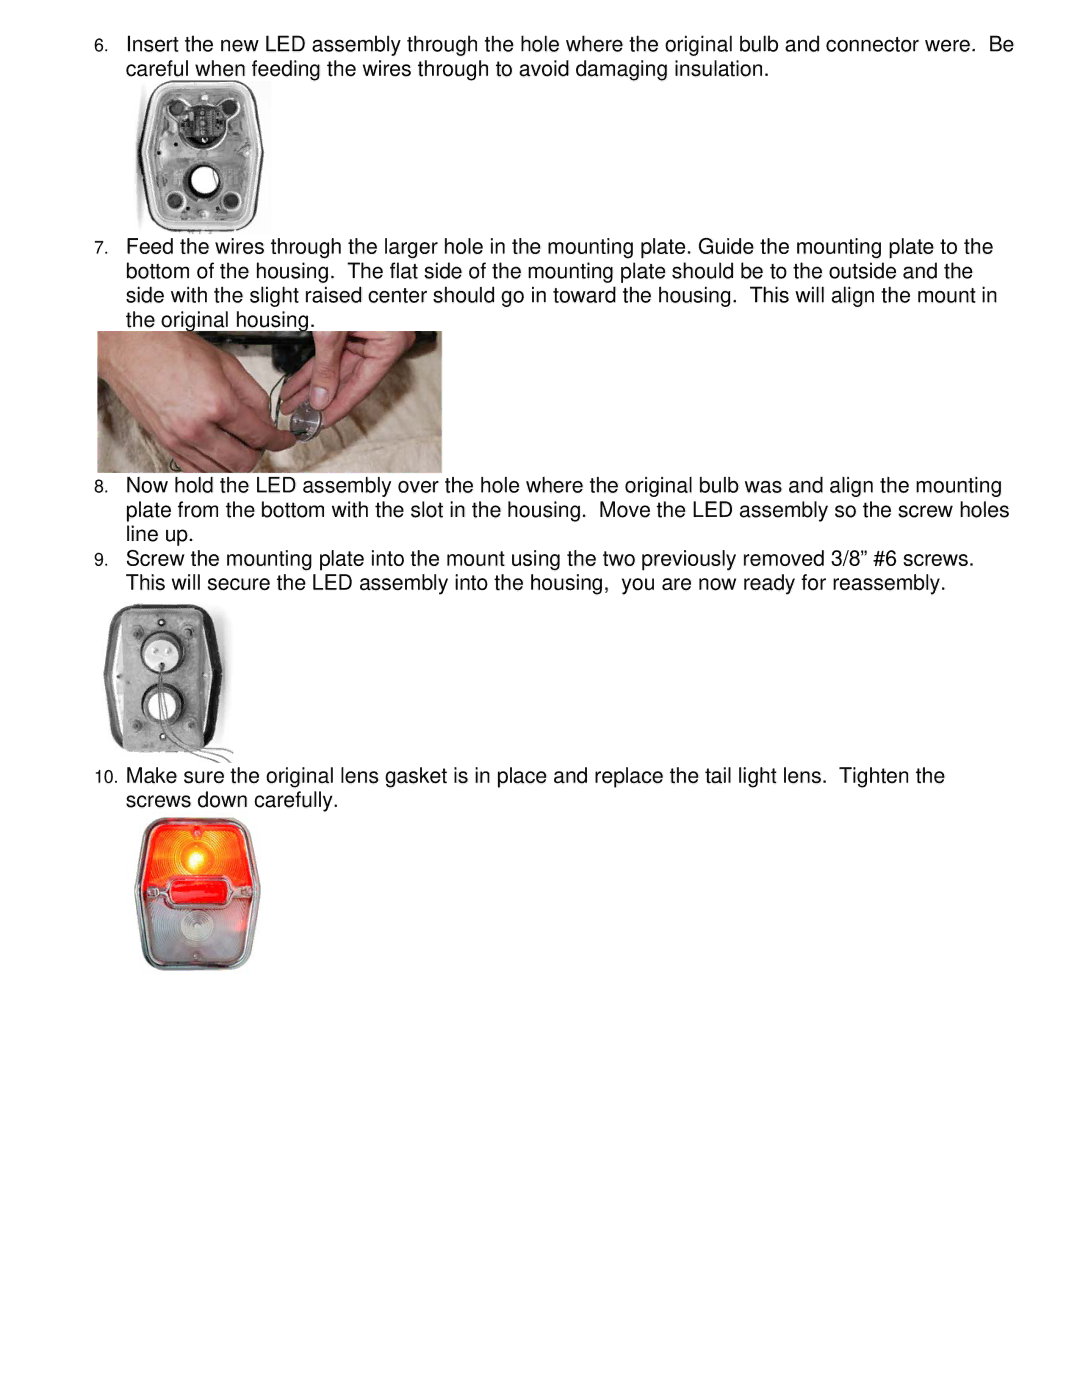
10.Make sure the original lens gasket is in place and replace the tail light lens. Tighten the screws down carefully.