Overview
This document describes the contents, installation, and use of the Thermal Transfer option for the H- Class printer. After verifying the kit contents and tools required, follow the steps below to install and begin using the option. A ribbon selection guide and a parts listing are also included, so keep this documentation for future reference.
| For your safety and to avoid damaging the equipment, turn ‘Off’ power and unplug the AC |
CAUTION | power cord from the printer before beginning this installation. |
|
Contents of the Thermal Transfer Option
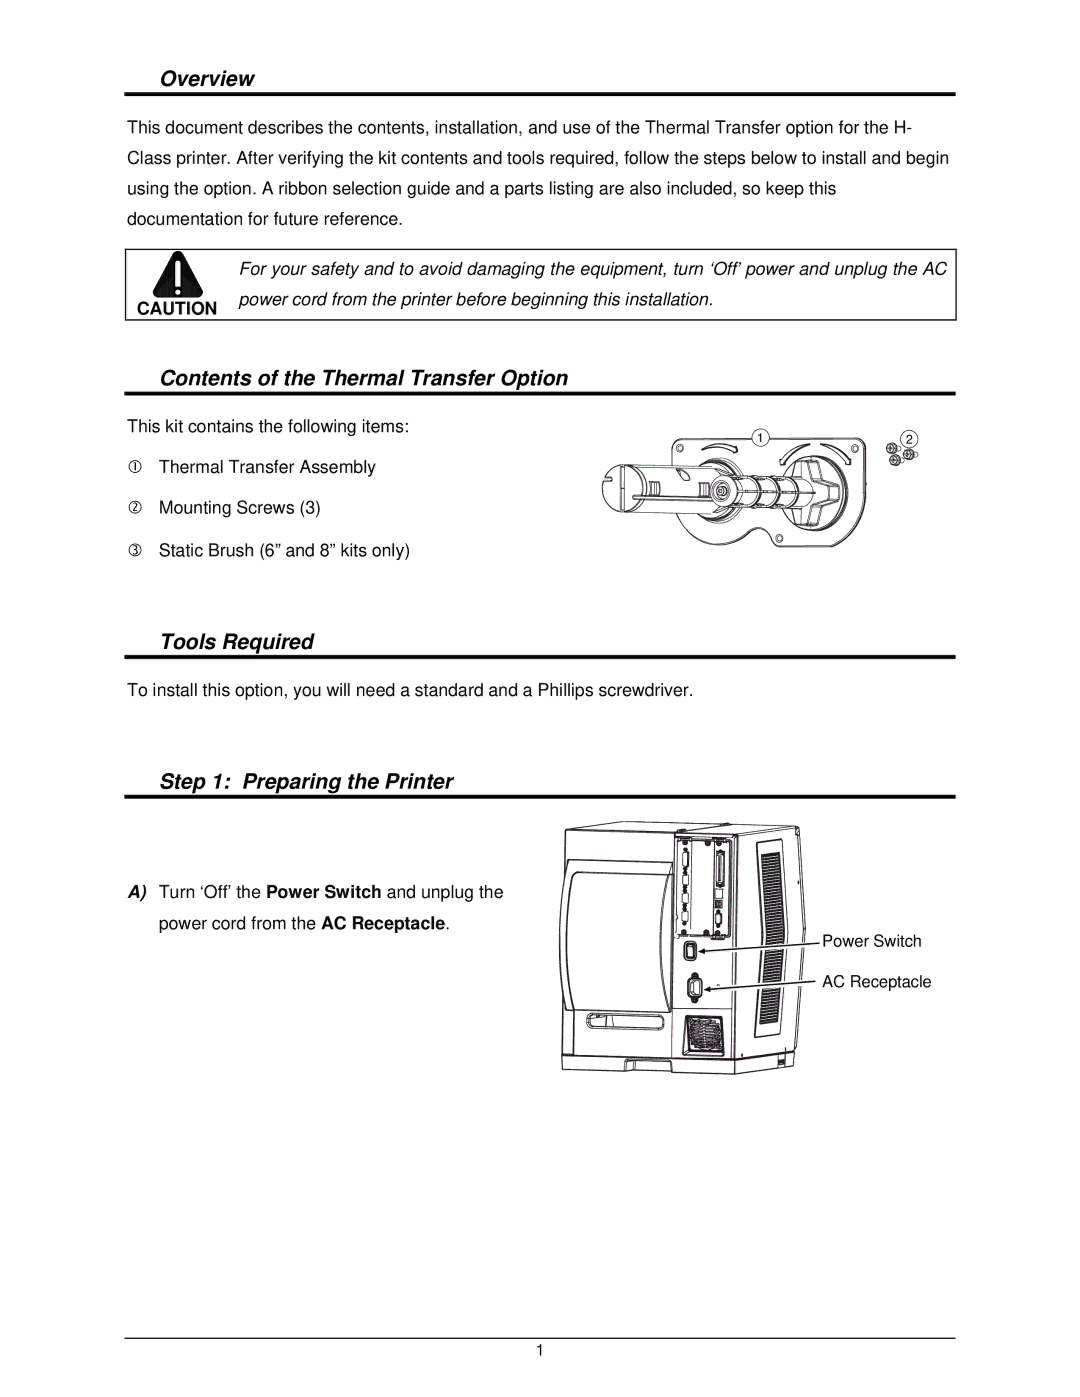
This kit contains the following items: | 1 | 2 |
|
Thermal Transfer Assembly
Mounting Screws (3)
Static Brush (6” and 8” kits only)
Tools Required
To install this option, you will need a standard and a Phillips screwdriver.
Step 1: Preparing the Printer
A) Turn ‘Off’ the Power Switch and unplug the power cord from the AC Receptacle.
Power Switch
AC Receptacle
1
