Vacuum Tube Microphone PreAmp specifications
The dbx Pro Vacuum Tube Microphone PreAmp is an exceptional piece of equipment tailored for audio professionals seeking to elevate their recordings with a touch of vintage warmth. This preamp artfully combines modern technology with classic tube circuitry, ensuring that each sound source is captured with clarity and character.At the heart of the dbx Pro Vacuum Tube Microphone PreAmp is its dual vacuum tube design, which contributes a rich harmonic distortion that is often sought after in high-end recording environments. The use of high-performance 12AX7 tubes allows the preamp to achieve a smooth sustain while introducing a subtle depth that enhances vocal and instrumental recordings alike.
One of the standout features of the dbx Pro is its dynamic range and low noise floor. With up to 60 dB of gain available, it is capable of amplifying even the quietest sources without introducing unwanted hiss or noise. This makes it a versatile choice for a variety of microphones, from sensitive condensers to more robust dynamic mics. The preamp also includes a 20 dB pad that can be engaged for high-SPL sources, preventing distortion and ensuring that recordings remain pristine.
Another critical aspect of this preamp is its integral EQ section. The dbx Pro offers a simple yet effective three-band EQ, allowing users to fine-tune frequencies before hitting the recording path. This can be particularly beneficial for shaping tone on the fly, making it easier to achieve the desired sound without the need for extensive post-processing.
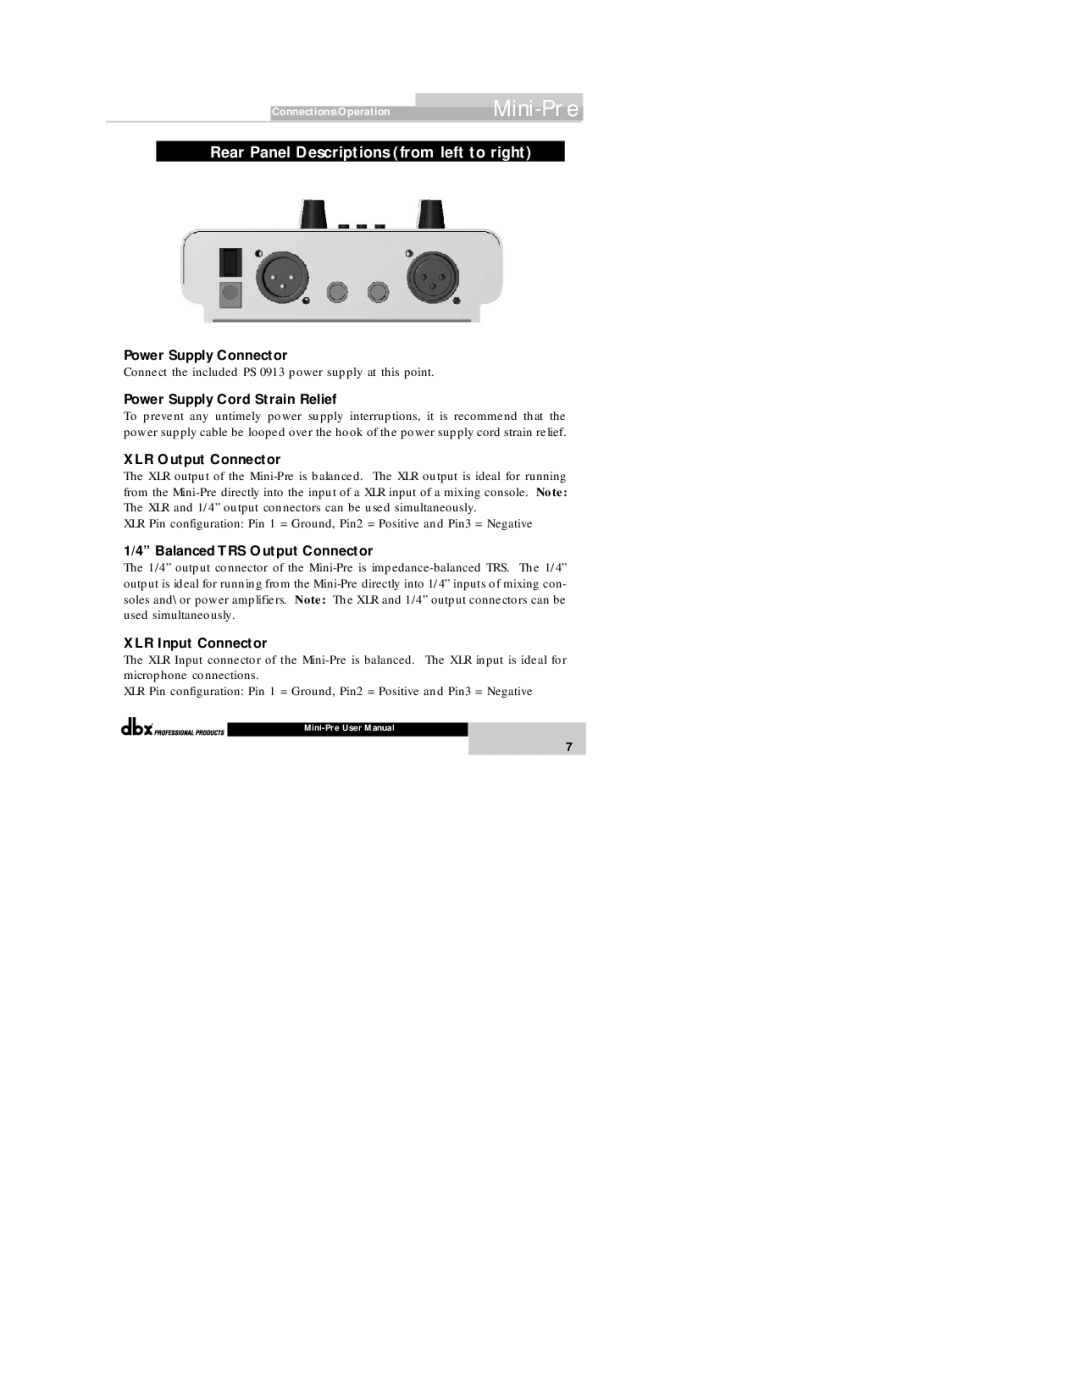
The build quality of the dbx Pro is equally impressive. Constructed with a robust metal chassis, it is designed to withstand the rigors of professional use while providing a reliable platform for high-quality audio capture. The preamp features balanced XLR inputs and outputs, ensuring compatibility with a wide range of studio gear and facilitating easy integration into existing setups.
In summary, the dbx Pro Vacuum Tube Microphone PreAmp stands out with its exceptional sound quality, vintage warmth, and practical features. With its dual vacuum tube circuitry, extensive gain range, integrated EQ, and sturdy construction, it is an ideal choice for audio engineers and musicians aiming to achieve professional results. Whether for tracking vocals, instruments, or adding nuance to live performances, this preamp is a valuable tool in any audio arsenal.

