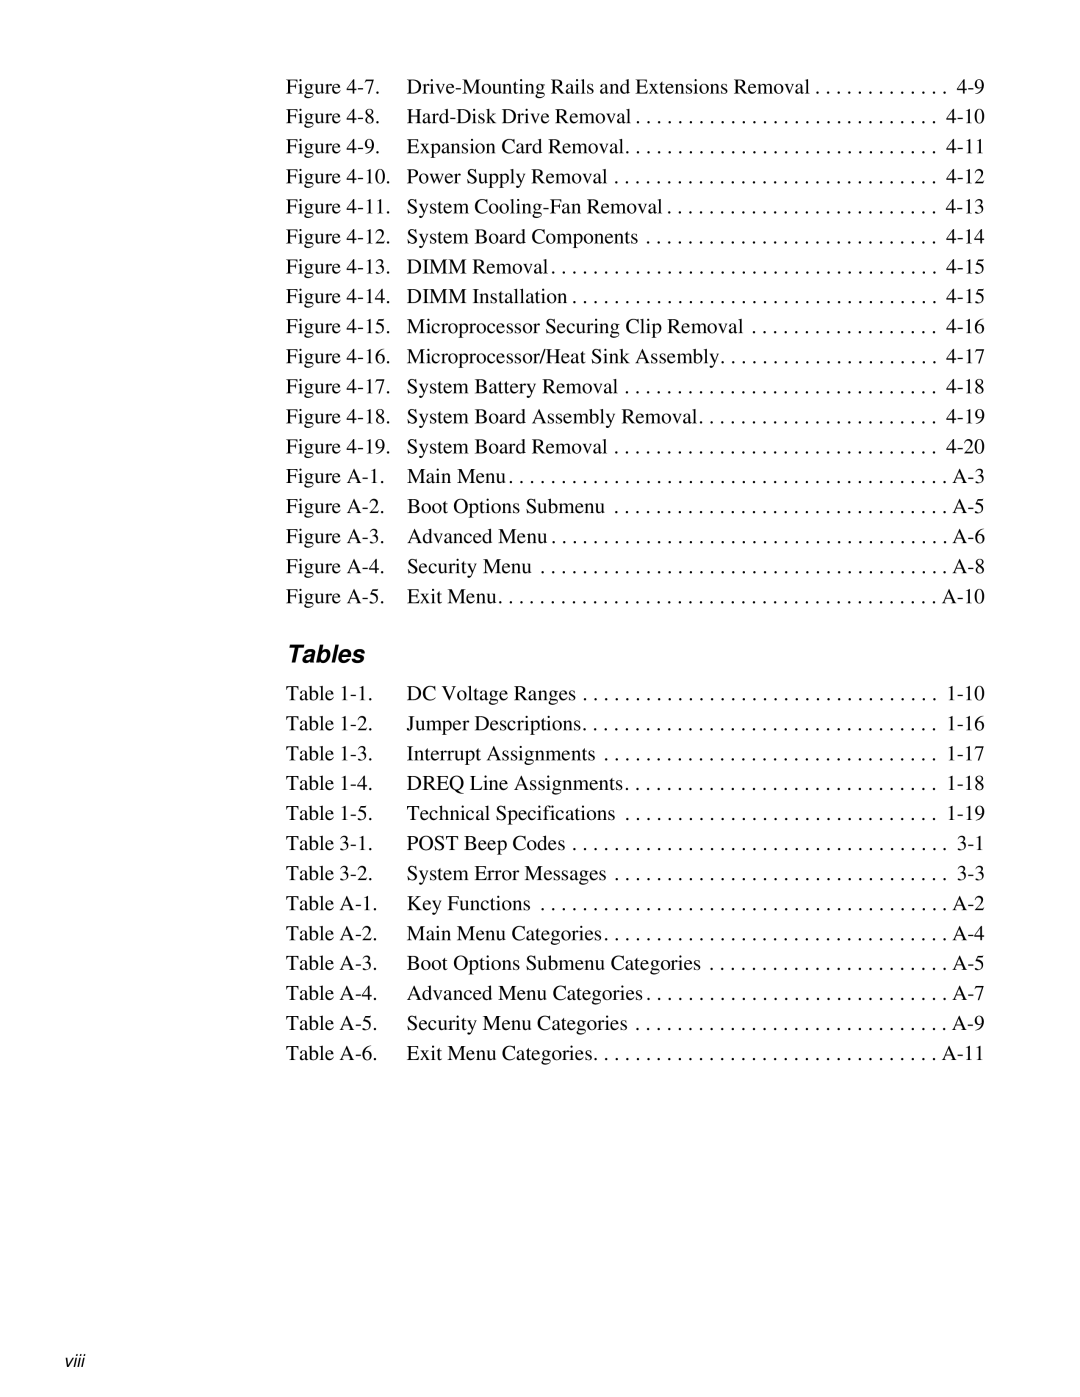
Figure 4-7.Drive-Mounting Rails and Extensions Removal . . . . . . . . . . . . . 4-9 Figure 4-8.Hard-Disk Drive Removal . . . . . . . . . . . . . . . . . . . . . . . . . . . . . 4-10 Figure 4-9. Expansion Card Removal. . . . . . . . . . . . . . . . . . . . . . . . . . . . . . 4-11 Figure 4-10. Power Supply Removal . . . . . . . . . . . . . . . . . . . . . . . . . . . . . . . 4-12 Figure 4-11. System Cooling-Fan Removal . . . . . . . . . . . . . . . . . . . . . . . . . . 4-13 Figure 4-12. System Board Components . . . . . . . . . . . . . . . . . . . . . . . . . . . . 4-14 Figure 4-13. DIMM Removal . . . . . . . . . . . . . . . . . . . . . . . . . . . . . . . . . . . . . 4-15 Figure 4-14. DIMM Installation . . . . . . . . . . . . . . . . . . . . . . . . . . . . . . . . . . . 4-15 Figure 4-15. Microprocessor Securing Clip Removal . . . . . . . . . . . . . . . . . . 4-16 Figure 4-16. Microprocessor/Heat Sink Assembly. . . . . . . . . . . . . . . . . . . . . 4-17 Figure 4-17. System Battery Removal . . . . . . . . . . . . . . . . . . . . . . . . . . . . . . 4-18 Figure 4-18. System Board Assembly Removal. . . . . . . . . . . . . . . . . . . . . . . 4-19 Figure 4-19. System Board Removal . . . . . . . . . . . . . . . . . . . . . . . . . . . . . . . 4-20Figure A-1. Main Menu . . . . . . . . . . . . . . . . . . . . . . . . . . . . . . . . . . . . . . . . . . A-3 Figure A-2. Boot Options Submenu . . . . . . . . . . . . . . . . . . . . . . . . . . . . . . . . A-5 Figure A-3. Advanced Menu . . . . . . . . . . . . . . . . . . . . . . . . . . . . . . . . . . . . . . A-6 Figure A-4. Security Menu . . . . . . . . . . . . . . . . . . . . . . . . . . . . . . . . . . . . . . . A-8 Figure A-5. Exit Menu. . . . . . . . . . . . . . . . . . . . . . . . . . . . . . . . . . . . . . . . . . A-10

Tables

Table 1-1. DC Voltage Ranges . . . . . . . . . . . . . . . . . . . . . . . . . . . . . . . . . . 1-10

Table 1-2. Jumper Descriptions. . . . . . . . . . . . . . . . . . . . . . . . . . . . . . . . . . 1-16

Table 1-3. Interrupt Assignments . . . . . . . . . . . . . . . . . . . . . . . . . . . . . . . . 1-17

Table 1-4. DREQ Line Assignments. . . . . . . . . . . . . . . . . . . . . . . . . . . . . . 1-18

Table 1-5. Technical Specifications . . . . . . . . . . . . . . . . . . . . . . . . . . . . . . 1-19

Table 3-1. POST Beep Codes . . . . . . . . . . . . . . . . . . . . . . . . . . . . . . . . . . . . 3-1

Table 3-2. System Error Messages . . . . . . . . . . . . . . . . . . . . . . . . . . . . . . . . 3-3Table A-1. Key Functions . . . . . . . . . . . . . . . . . . . . . . . . . . . . . . . . . . . . . . . A-2 Table A-2. Main Menu Categories. . . . . . . . . . . . . . . . . . . . . . . . . . . . . . . . . A-4 Table A-3. Boot Options Submenu Categories . . . . . . . . . . . . . . . . . . . . . . . A-5 Table A-4. Advanced Menu Categories . . . . . . . . . . . . . . . . . . . . . . . . . . . . . A-7 Table A-5. Security Menu Categories . . . . . . . . . . . . . . . . . . . . . . . . . . . . . . A-9Table A-6. Exit Menu Categories. . . . . . . . . . . . . . . . . . . . . . . . . . . . . . . . . A-11

viii

Page 15
Image 15
Dell 2100/180 service manual Viii

2100/180 specifications

The Dell 2100/200 and Dell 2100/180 are innovative offerings from Dell that cater to the demands of a variety of users, ranging from small businesses to larger enterprises. Both models are designed to deliver high performance and reliability, making them indispensable tools in the modern computing environment.

The Dell 2100/200 features an impressive Intel processor that ensures fast and efficient performance, making it suitable for multitasking and handling complex applications. Coupled with a generous RAM configuration, this model can easily manage demanding workloads, resulting in smoother performance and faster processing times. In contrast, the Dell 2100/180, while slightly less powerful, still maintains robust performance levels that are well-suited for general productivity tasks and everyday use.

Both models come equipped with ample storage options, featuring hard disk drives that provide significant space for data and application storage. Users can choose between traditional HDDs and solid-state drives (SSDs), allowing them to prioritize speed and performance based on their specific needs. The flexibility in storage options ensures that users can customize their systems according to their requirements, enhancing the overall user experience.

Connectivity is another area where the Dell 2100 series excels. Both models come with a range of ports including USB, HDMI, and Ethernet, allowing for seamless connectivity with various peripherals and networks. This versatility makes the machines ideal for environments where multiple devices need to be connected simultaneously, whether for presentations, data transfer, or internet access.

In terms of energy efficiency, both the Dell 2100/200 and Dell 2100/180 incorporate advanced cooling technologies that minimize energy consumption while maximizing performance. This not only helps reduce operational costs but also contributes to a more sustainable computing environment.

The design of these models is another distinguishing feature. With a compact form factor, they fit easily into office spaces while maintaining a professional appearance. Their durable build quality ensures longevity, making them a worthwhile investment for businesses.

Overall, the Dell 2100/200 and Dell 2100/180 serve as powerful and reliable machines that combine advanced technologies and user-centric designs. Whether for business or personal use, these models provide a solid foundation for effective computing, ensuring that users can achieve their goals efficiently and effectively.