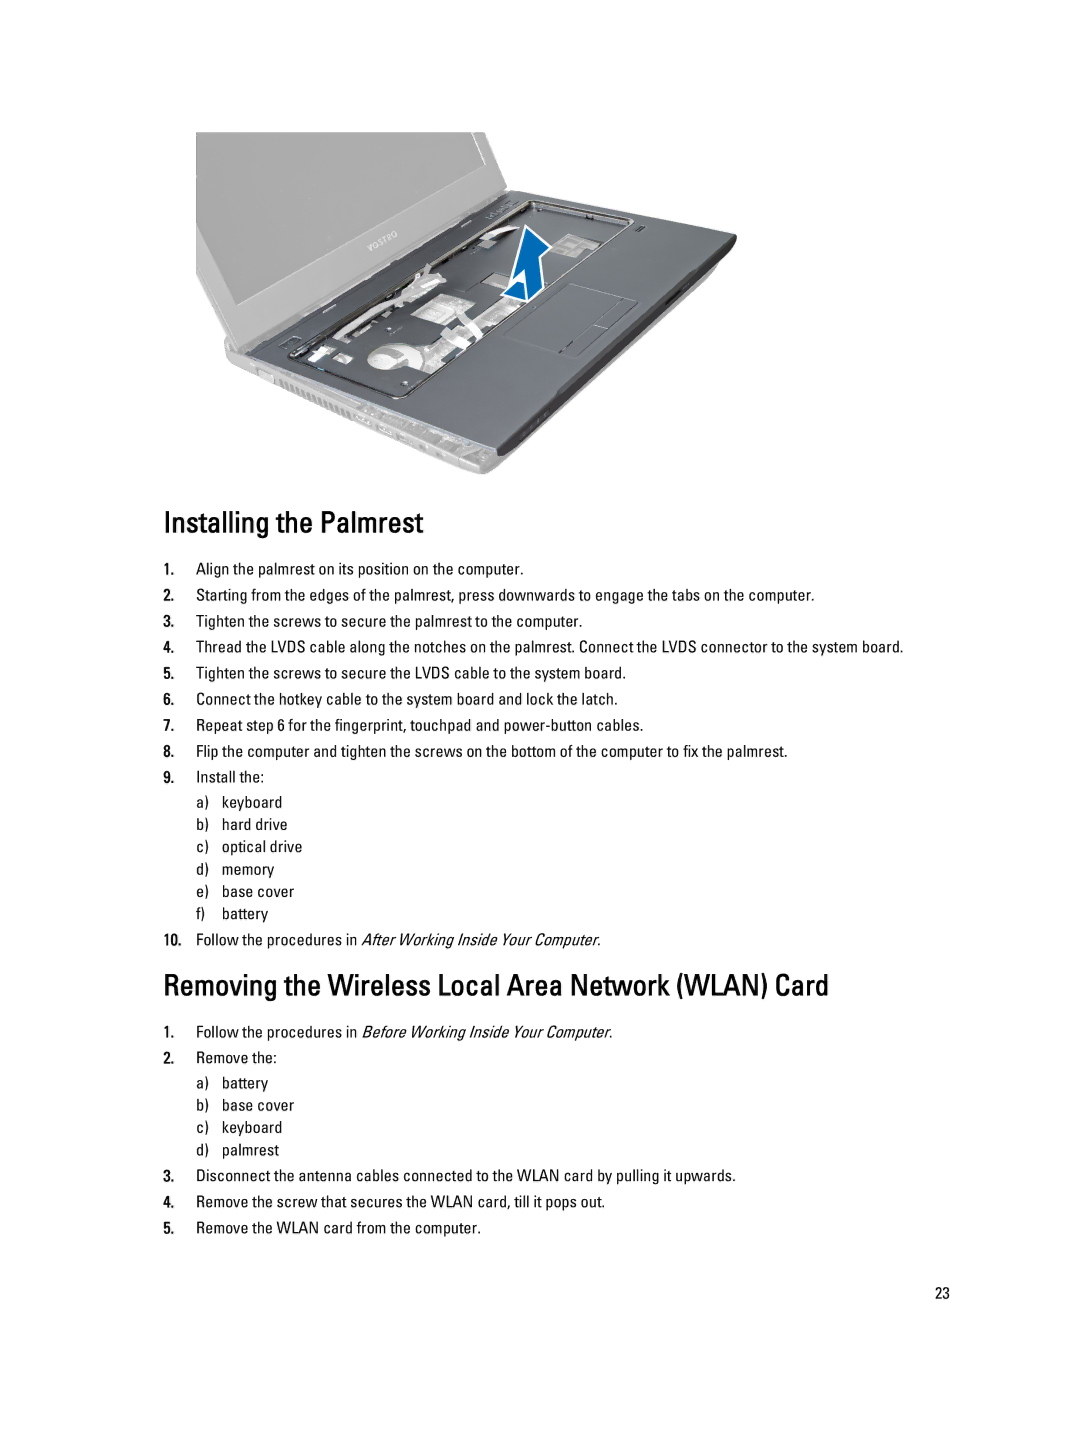
Installing the Palmrest
1.Align the palmrest on its position on the computer.
2.Starting from the edges of the palmrest, press downwards to engage the tabs on the computer.
3.Tighten the screws to secure the palmrest to the computer.
4.Thread the LVDS cable along the notches on the palmrest. Connect the LVDS connector to the system board.
5.Tighten the screws to secure the LVDS cable to the system board.
6.Connect the hotkey cable to the system board and lock the latch.
7.Repeat step 6 for the fingerprint, touchpad and
8.Flip the computer and tighten the screws on the bottom of the computer to fix the palmrest.
9.Install the:
a)keyboard
b)hard drive
c)optical drive
d)memory
e)base cover
f)battery
10.Follow the procedures in After Working Inside Your Computer.
Removing the Wireless Local Area Network (WLAN) Card
1.Follow the procedures in Before Working Inside Your Computer.
2.Remove the:
a)battery
b)base cover
c)keyboard
d)palmrest
3.Disconnect the antenna cables connected to the WLAN card by pulling it upwards.
4.Remove the screw that secures the WLAN card, till it pops out.
5.Remove the WLAN card from the computer.
23
