922 specifications
The Dell 922 is a multifunctional inkjet printer that has garnered attention for its affordability and capability to cater to a range of printing needs. Suitable for home offices and small businesses, this device combines printing, scanning, and copying functionalities, making it versatile and efficient.One of the standout features of the Dell 922 is its compact design. It occupies a minimal amount of space, which is ideal for those with limited work surfaces. This user-friendly printer is designed to be operational with minimal setup, allowing individuals to start printing almost instantly after installation.
The Dell 922 supports a variety of media sizes and types, enabling users to print documents, photos, and even labels. It accommodates paper sizes ranging from standard letter and legal formats to photo sizes, all while maintaining high-quality output. The printer boasts a maximum print resolution of up to 4800 x 1200 optimized dpi, ensuring sharp and vivid prints that capture intricate details and vibrant colors.
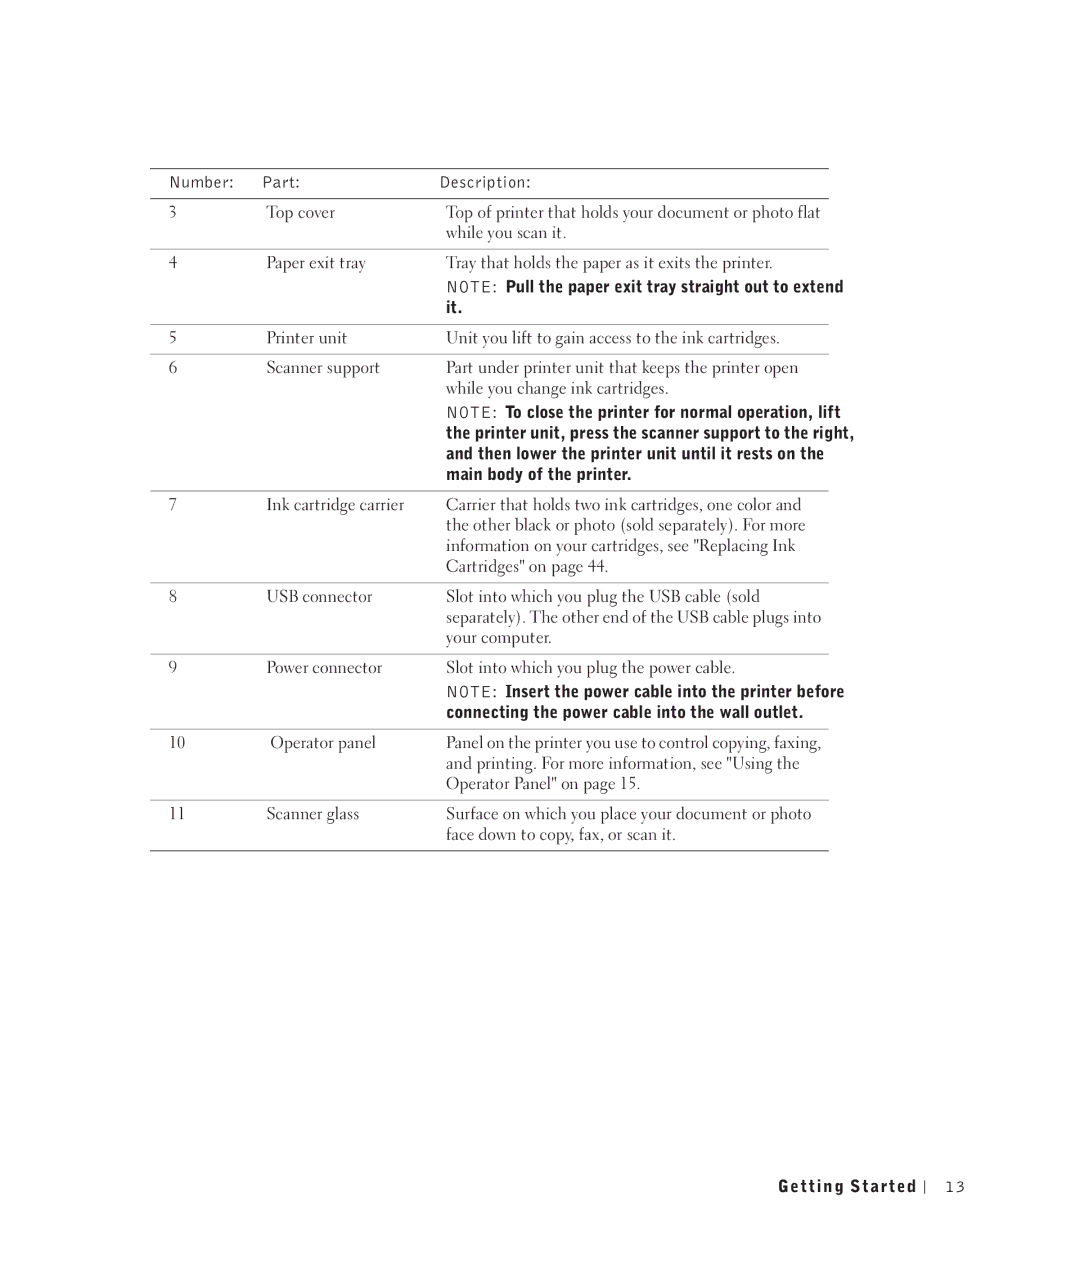
In terms of connectivity, the Dell 922 offers USB and parallel ports, providing flexible options for connecting to computers and other devices. While it lacks wireless capabilities, its direct connections make it stable and reliable for straightforward printing tasks. This can be particularly advantageous in environments where network security is paramount.
The printing speed of the Dell 922 is competitive, producing up to 20 pages per minute for black-and-white and up to 15 pages per minute for color documents. This efficiency makes it a practical choice for users who require decent volume printing without compromising quality.
Moreover, the Dell 922 features an intuitive user interface, including buttons for easy access to copy and scan functions. The flatbed scanner is a valuable addition, allowing for quick digitization of documents, as well as the ability to scan directly to email or other destinations.
Overall, the Dell 922 stands out as a reliable, cost-effective solution for individuals and small business users who need a multifunction printer. Its combination of high-quality output, efficient performance, and ease of use makes it a worthy contender in the compact printer market. With features catering to various needs, it remains a practical choice for everyday printing tasks.

