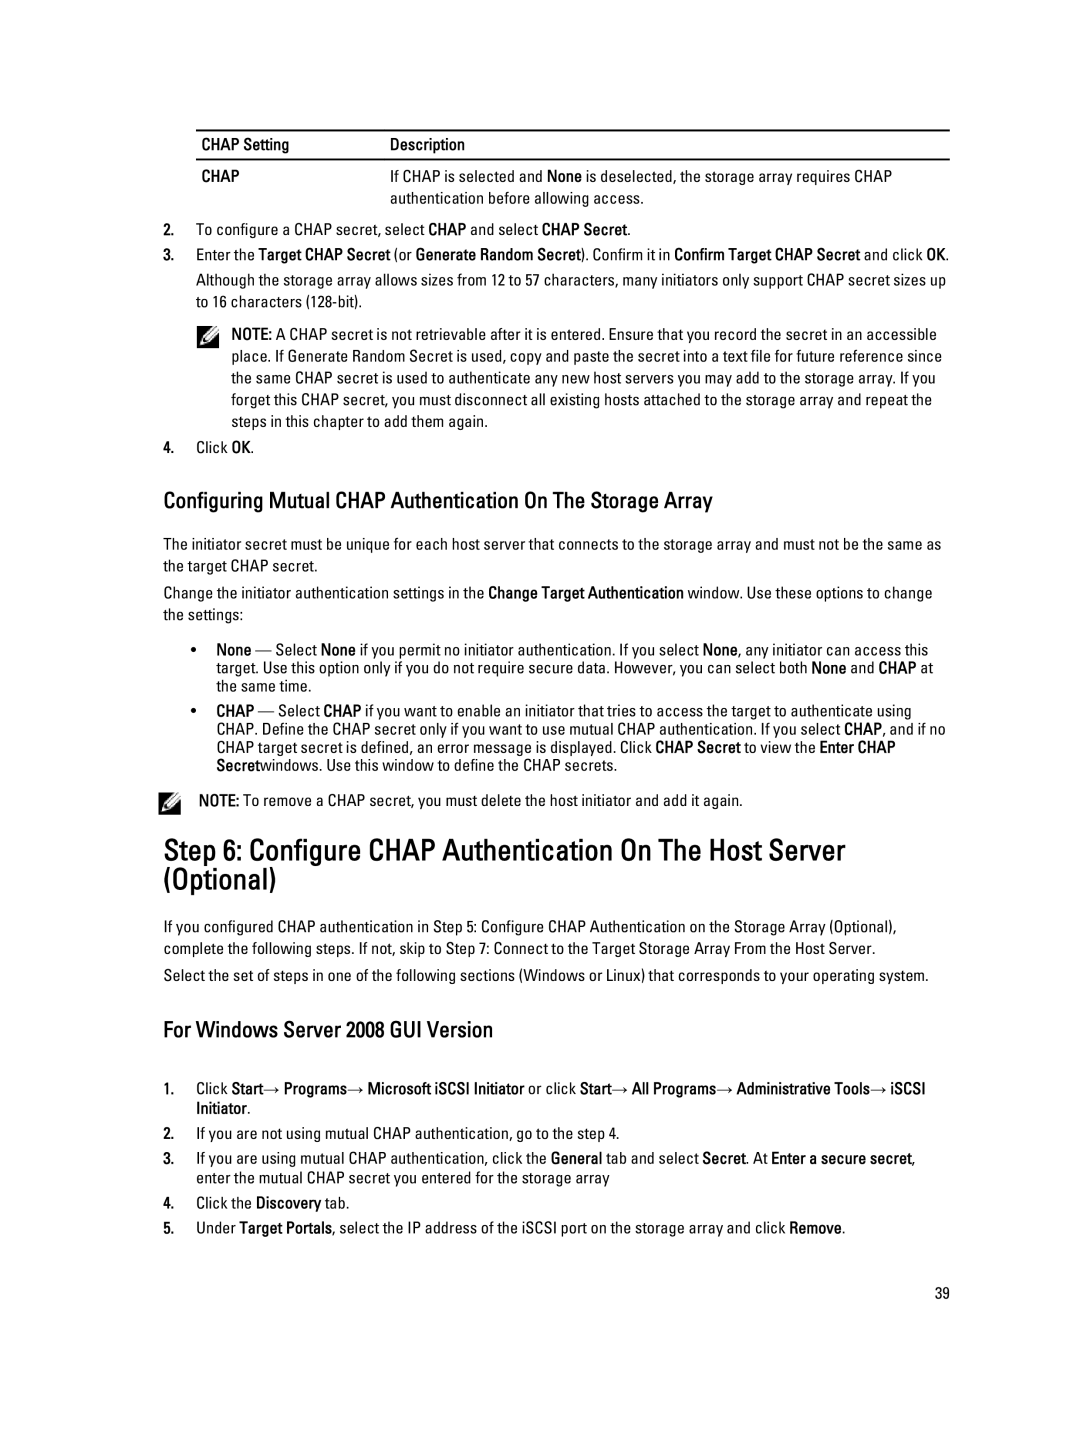
CHAP Setting | Description |
|
|
CHAP | If CHAP is selected and None is deselected, the storage array requires CHAP |
| authentication before allowing access. |
2.To configure a CHAP secret, select CHAP and select CHAP Secret.
3.Enter the Target CHAP Secret (or Generate Random Secret). Confirm it in Confirm Target CHAP Secret and click OK.
Although the storage array allows sizes from 12 to 57 characters, many initiators only support CHAP secret sizes up to 16 characters
NOTE: A CHAP secret is not retrievable after it is entered. Ensure that you record the secret in an accessible place. If Generate Random Secret is used, copy and paste the secret into a text file for future reference since the same CHAP secret is used to authenticate any new host servers you may add to the storage array. If you forget this CHAP secret, you must disconnect all existing hosts attached to the storage array and repeat the steps in this chapter to add them again.
4.Click OK.
Configuring Mutual CHAP Authentication On The Storage Array
The initiator secret must be unique for each host server that connects to the storage array and must not be the same as the target CHAP secret.
Change the initiator authentication settings in the Change Target Authentication window. Use these options to change the settings:
•None — Select None if you permit no initiator authentication. If you select None, any initiator can access this target. Use this option only if you do not require secure data. However, you can select both None and CHAP at the same time.
•CHAP — Select CHAP if you want to enable an initiator that tries to access the target to authenticate using CHAP. Define the CHAP secret only if you want to use mutual CHAP authentication. If you select CHAP, and if no CHAP target secret is defined, an error message is displayed. Click CHAP Secret to view the Enter CHAP Secretwindows. Use this window to define the CHAP secrets.
NOTE: To remove a CHAP secret, you must delete the host initiator and add it again.
Step 6: Configure CHAP Authentication On The Host Server (Optional)
If you configured CHAP authentication in Step 5: Configure CHAP Authentication on the Storage Array (Optional),
complete the following steps. If not, skip to Step 7: Connect to the Target Storage Array From the Host Server.
Select the set of steps in one of the following sections (Windows or Linux) that corresponds to your operating system.
For Windows Server 2008 GUI Version
1.Click Start→ Programs→ Microsoft iSCSI Initiator or click Start→ All Programs→ Administrative Tools→ iSCSI Initiator.
2.If you are not using mutual CHAP authentication, go to the step 4.
3.If you are using mutual CHAP authentication, click the General tab and select Secret. At Enter a secure secret, enter the mutual CHAP secret you entered for the storage array
4.Click the Discovery tab.
5.Under Target Portals, select the IP address of the iSCSI port on the storage array and click Remove.
39
