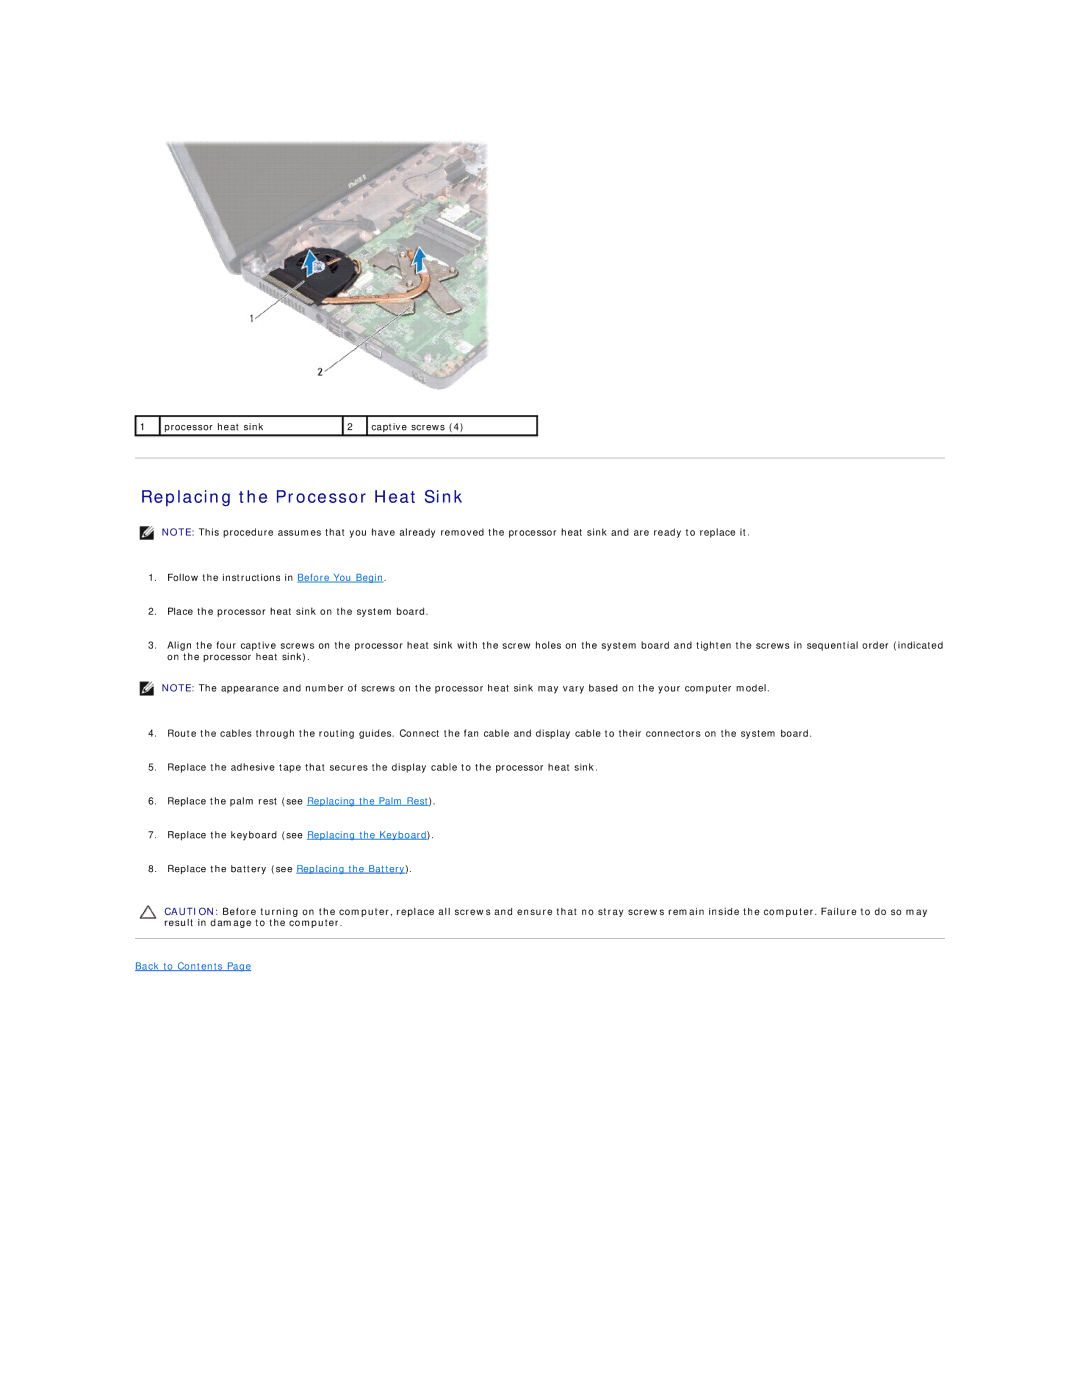
1 | processor heat sink | 2 | captive screws (4) |
|
|
|
|
|
|
Replacing the Processor Heat Sink
NOTE: This procedure assumes that you have already removed the processor heat sink and are ready to replace it.
1.Follow the instructions in Before You Begin.
2.Place the processor heat sink on the system board.
3.Align the four captive screws on the processor heat sink with the screw holes on the system board and tighten the screws in sequential order (indicated on the processor heat sink).
NOTE: The appearance and number of screws on the processor heat sink may vary based on the your computer model.
4.Route the cables through the routing guides. Connect the fan cable and display cable to their connectors on the system board.
5.Replace the adhesive tape that secures the display cable to the processor heat sink.
6.Replace the palm rest (see Replacing the Palm Rest).
7.Replace the keyboard (see Replacing the Keyboard).
8.Replace the battery (see Replacing the Battery).
CAUTION: Before turning on the computer, replace all screws and ensure that no stray screws remain inside the computer. Failure to do so may result in damage to the computer.