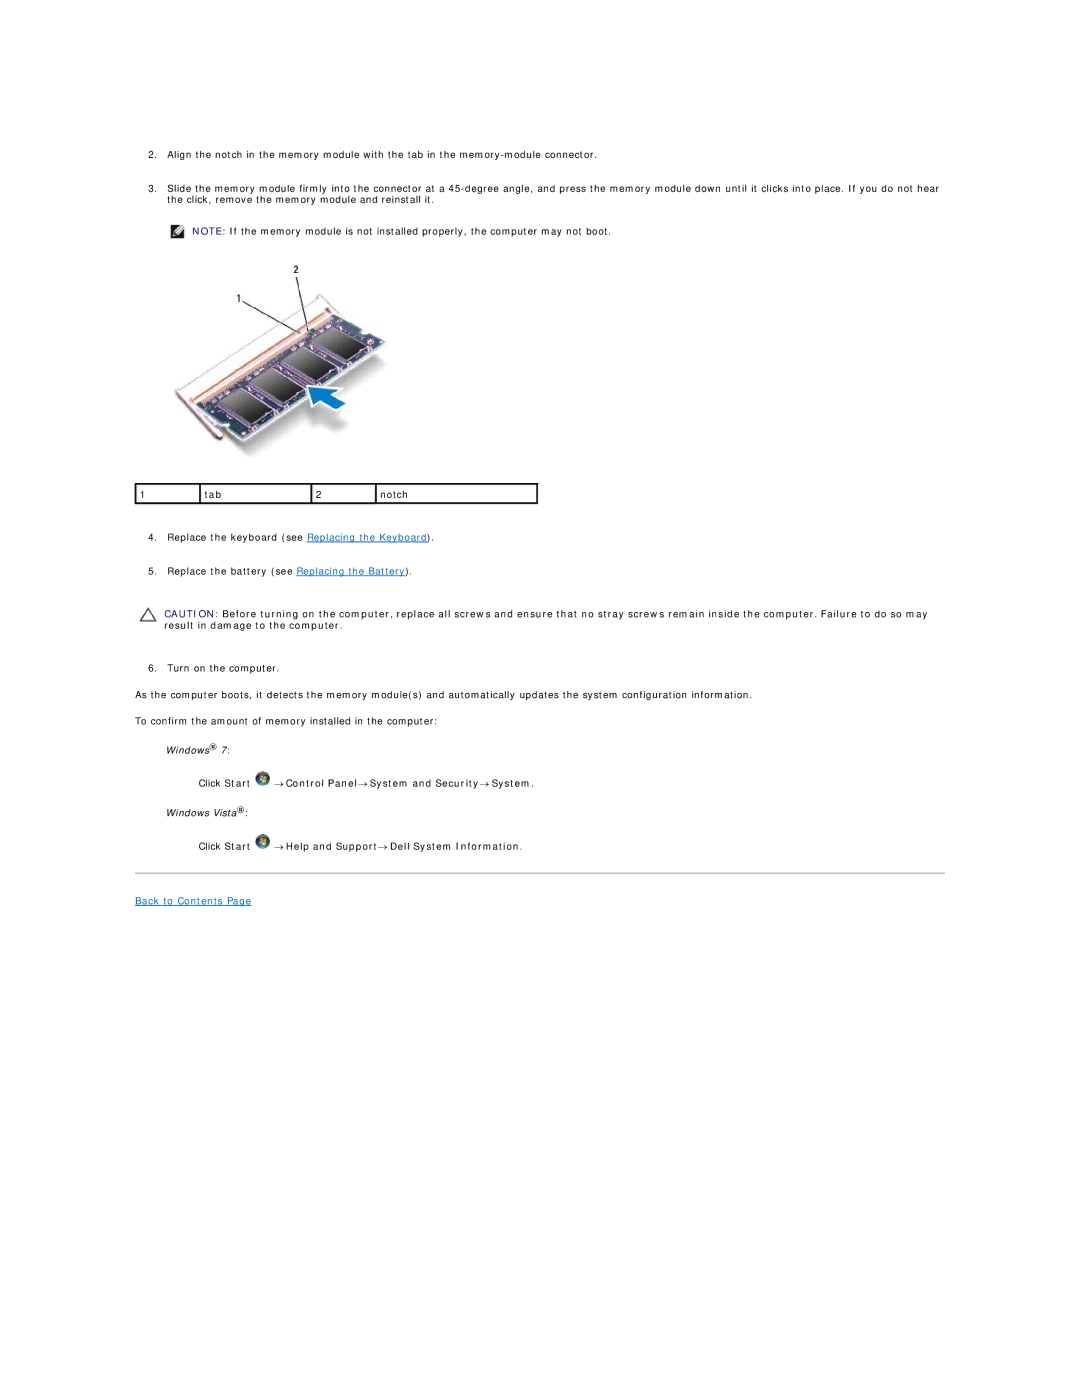
2.Align the notch in the memory module with the tab in the
3.Slide the memory module firmly into the connector at a
NOTE: If the memory module is not installed properly, the computer may not boot.
1 | tab | 2 | notch |
|
|
|
|
4.Replace the keyboard (see Replacing the Keyboard).
5.Replace the battery (see Replacing the Battery).
CAUTION: Before turning on the computer, replace all screws and ensure that no stray screws remain inside the computer. Failure to do so may result in damage to the computer.
6. Turn on the computer.
As the computer boots, it detects the memory module(s) and automatically updates the system configuration information.
To confirm the amount of memory installed in the computer:
Windows® 7:
Click Start  → Control Panel→ System and Security→ System.
Windows Vista®:
Click Start ![]() → Help and Support→ Dell System Information.
→ Help and Support→ Dell System Information.