SCREEN ![]()
![]()
![]()
![]()
![]()
![]()
![]()
![]()
![]()
![]()
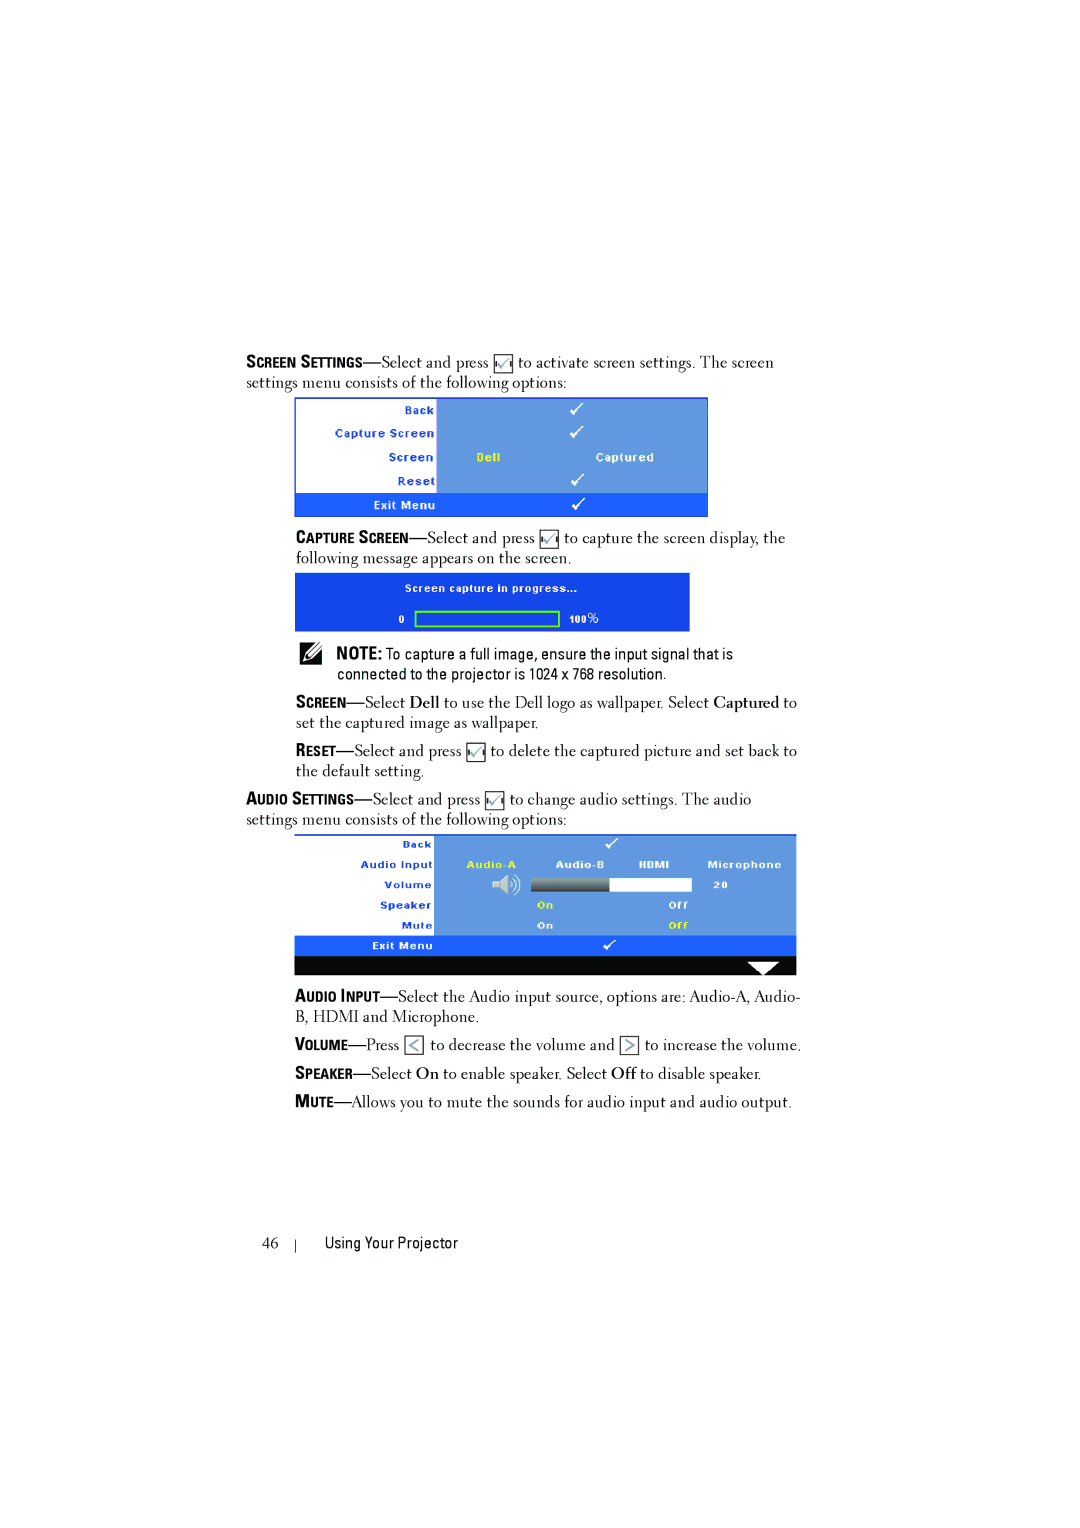
![]() to activate screen settings. The screen settings menu consists of the following options:
to activate screen settings. The screen settings menu consists of the following options:
CAPTURE ![]()
![]()
![]()
![]()
![]()
![]()
![]()
![]()
![]()
![]()
![]() to capture the screen display, the following message appears on the screen.
to capture the screen display, the following message appears on the screen.
NOTE: To capture a full image, ensure the input signal that is connected to the projector is 1024 x 768 resolution.
![]()
![]()
![]()
![]()
![]()
![]()
![]()
![]()
![]()
![]()
![]() to delete the captured picture and set back to the default setting.
to delete the captured picture and set back to the default setting.
AUDIO ![]()
![]()
![]()
![]()
![]()
![]()
![]()
![]()
![]()
![]()
![]() to change audio settings. The audio settings menu consists of the following options:
to change audio settings. The audio settings menu consists of the following options:
AUDIO
![]()
![]()
![]()
![]()
![]() to decrease the volume and
to decrease the volume and ![]() to increase the volume.
to increase the volume.
46