GB 16-12-2002 15:15 Pagina 14
Chapter 2 - Using the control and setting the modes
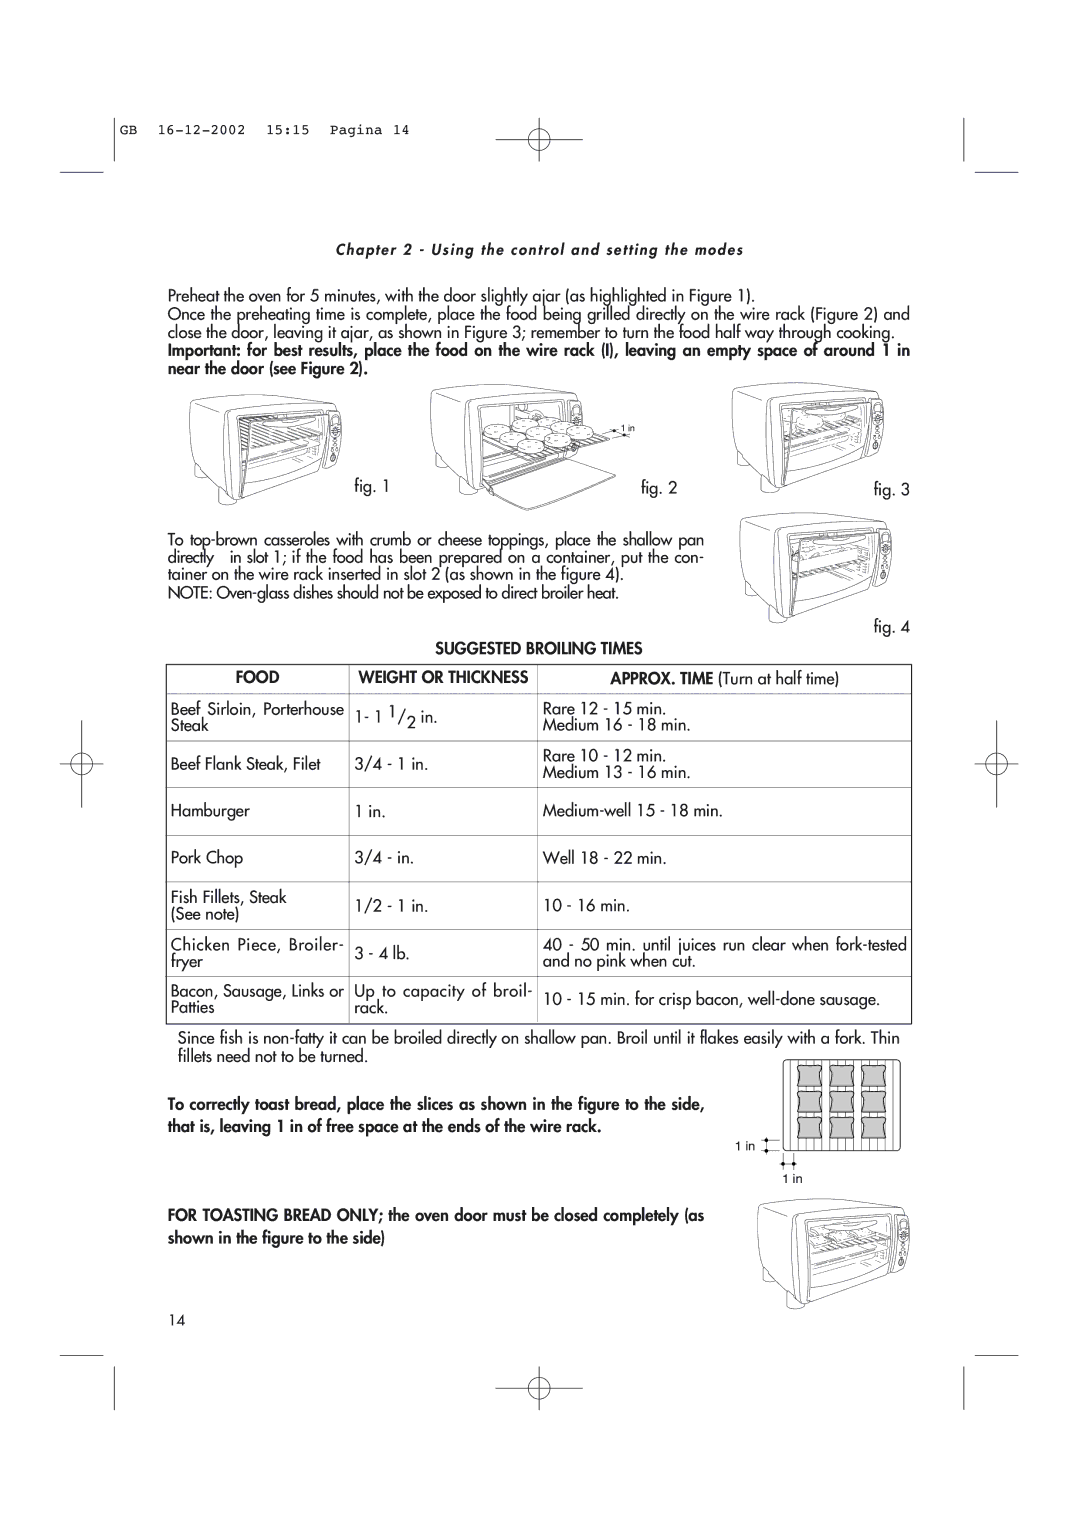
Preheat the oven for 5 minutes, with the door slightly ajar (as highlighted in Figure 1).
Once the preheating time is complete, place the food being grilled directly on the wire rack (Figure 2) and close the door, leaving it ajar, as shown in Figure 3; remember to turn the food half way through cooking. Important: for best results, place the food on the wire rack (I), leaving an empty space of around 1 in near the door (see Figure 2).
1 in
fig. 1 | fig. 2 | fig. 3 |
To
NOTE:
fig. 4
SUGGESTED BROILING TIMES
FOOD | WEIGHT OR THICKNESS | APPROX. TIME (Turn at half time) | |
|
|
| |
Beef Sirloin, Porterhouse | 1- 1 1/2 in. | Rare 12 - 15 min. | |
Steak | Medium 16 - 18 min. | ||
Beef Flank Steak, Filet | 3/4 - 1 in. | Rare 10 - 12 min. | |
Medium 13 - 16 min. | |||
|
| ||
|
|
| |
Hamburger | 1 in. | ||
|
|
| |
Pork Chop | 3/4 - in. | Well 18 - 22 min. | |
|
|
| |
Fish Fillets, Steak | 1/2 - 1 in. | 10 - 16 min. | |
(See note) | |||
|
| ||
|
|
| |
Chicken Piece, Broiler- | 3 - 4 lb. | 40 - 50 min. until juices run clear when | |
fryer |
| and no pink when cut. | |
Bacon, Sausage, Links or | Up to capacity of broil- | 10 - 15 min. for crisp bacon, | |
Patties | rack. |
|
Since fish is
To correctly toast bread, place the slices as shown in the figure to the side, that is, leaving 1 in of free space at the ends of the wire rack.
1 in
1 in
FOR TOASTING BREAD ONLY; the oven door must be closed completely (as shown in the figure to the side)
14