
ESAM6700 specifications
The DeLonghi ESAM6700, a premium fully automatic coffee machine, redefines the experience of brewing espresso and coffee at home. With its sleek design and advanced features, this machine caters to both novice coffee enthusiasts and experienced baristas alike.One of the standout characteristics of the ESAM6700 is its patented "Cappuccino System," which allows users to create perfectly frothed milk for lattes and cappuccinos. This system includes an adjustable milk frother that delivers creamy, textured milk, ensuring that every cup is café-quality. Users can easily customize the milk frothing capabilities to achieve their desired level of foam, making it versatile for various coffee drinks.
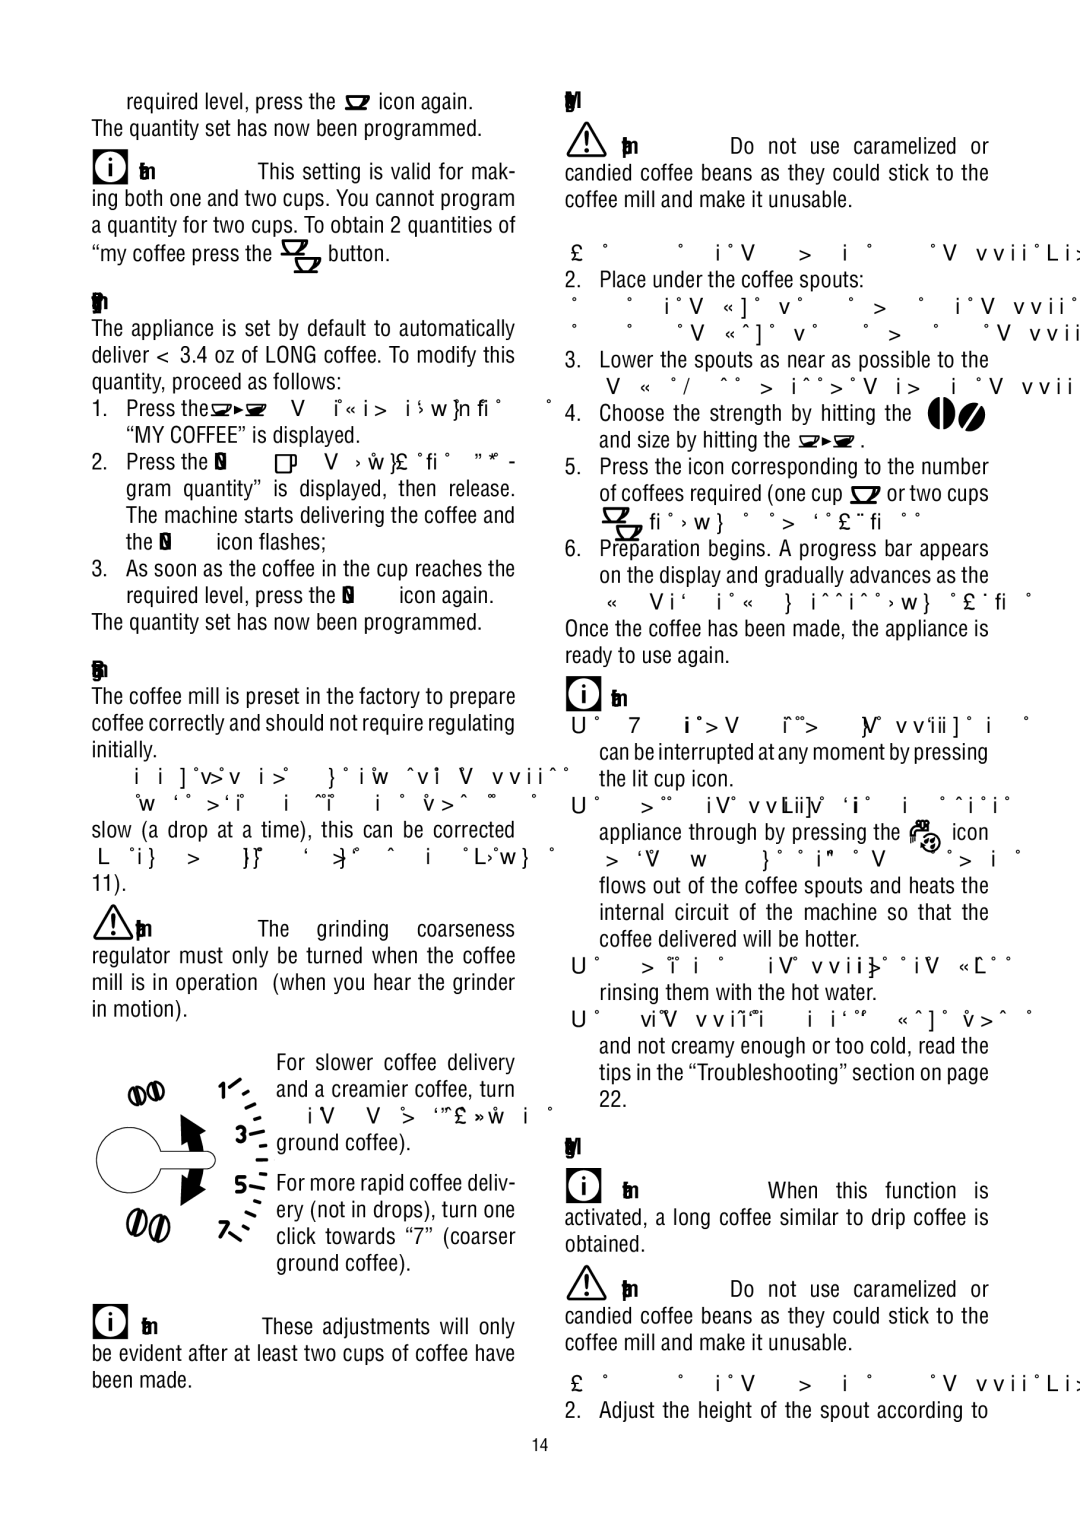
Equipped with a high-quality grind system, the ESAM6700 incorporates a conical burr grinder that offers seven different grind settings, allowing users to select the coarseness of their coffee beans. This feature ensures that every coffee lover can enjoy their drink tailored to their specific taste preferences, whether they prefer a fine or coarse grind.
The intuitive control panel is another highlight, featuring a user-friendly interface with an easy-to-read display. The controls allow users to select from a wide range of coffee styles, including espresso, long coffee, cappuccino, and more. The customizable settings enable users to adjust the strength, temperature, and volume of their coffee, ensuring a personalized brewing experience.
In addition to its brewing capabilities, the ESAM6700 offers a built-in water filtration system that enhances the flavor of the coffee while prolonging the lifespan of the machine. This feature is particularly beneficial for users in areas with hard water, as it prevents scale build-up and reduces maintenance requirements.
Another notable technology in the ESAM6700 is its energy-saving standby mode, which activates automatically after a specified period of inactivity. This eco-friendly approach not only conserves energy but also ensures the machine is ready to use as soon as it's needed.
Moreover, cleaning and maintenance are made easy with the removable brewing unit and integrated cleaning programs. Users can easily remove the brewing unit for thorough cleaning, while automatic cleaning cycles help maintain optimal performance without the hassle.
In conclusion, the DeLonghi ESAM6700 combines advanced technology and user-friendly features to deliver an exceptional coffee-making experience. Its versatile brewing options, customizable settings, and convenient maintenance make it a favorite among coffee lovers who wish to enjoy café-style beverages from the comfort of their homes. With this machine, the art of coffee is just a button away.