HOW TO USE THE MATERIAL REMOVAL GAUGE
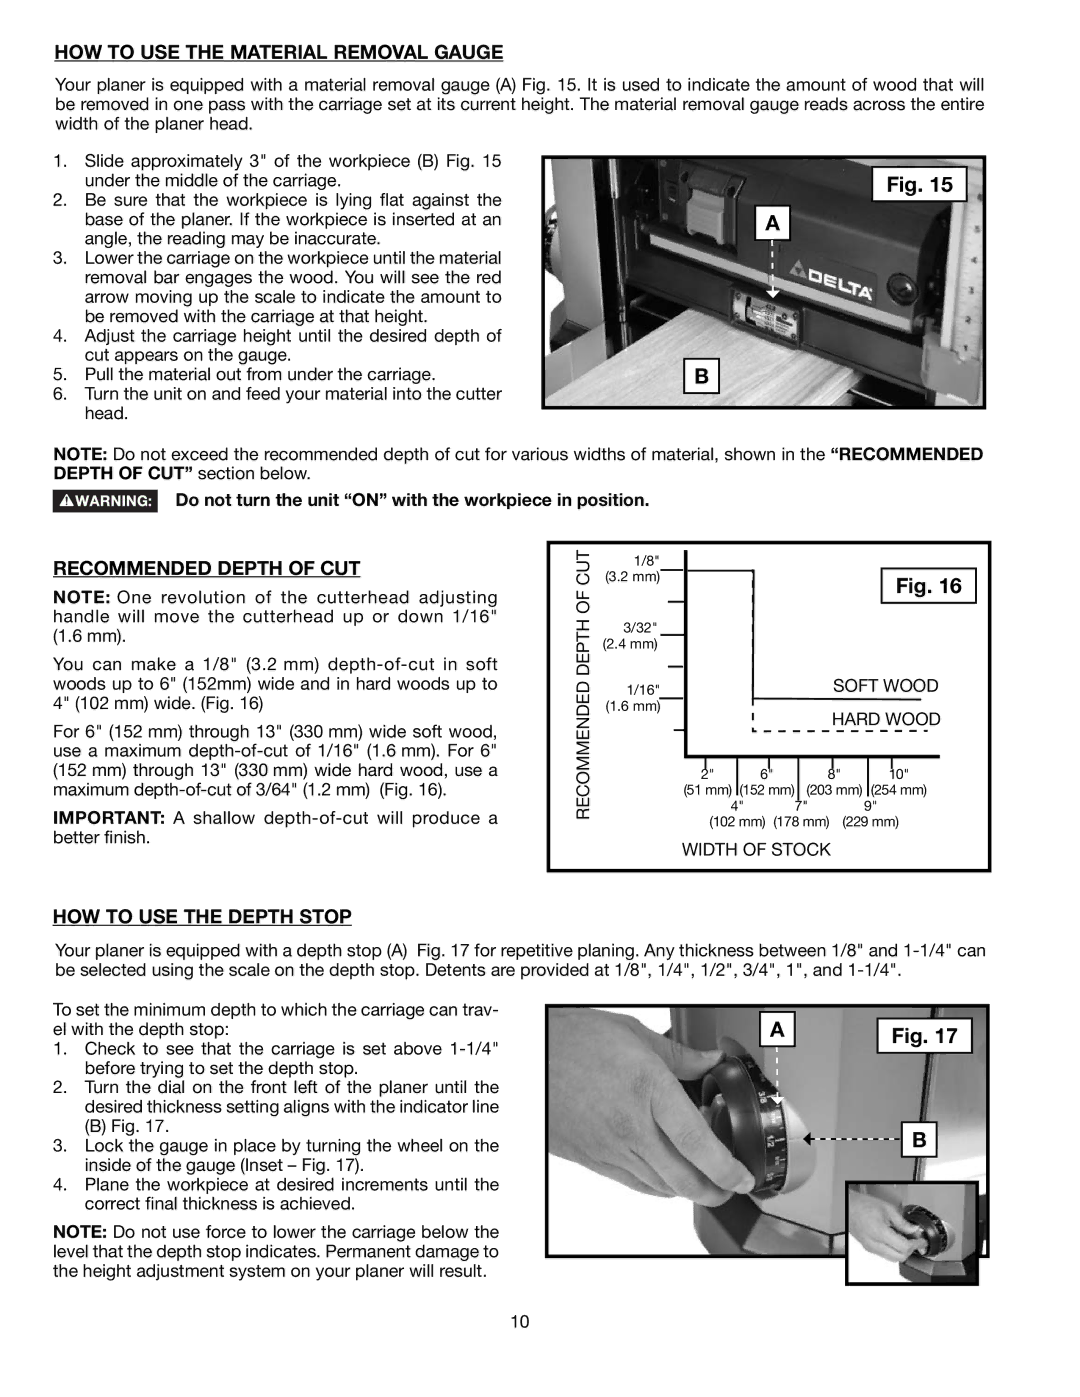
Your planer is equipped with a material removal gauge (A) Fig. 15. It is used to indicate the amount of wood that will be removed in one pass with the carriage set at its current height. The material removal gauge reads across the entire width of the planer head.
1.Slide approximately 3" of the workpiece (B) Fig. 15 under the middle of the carriage.
2.Be sure that the workpiece is lying flat against the base of the planer. If the workpiece is inserted at an angle, the reading may be inaccurate.
3.Lower the carriage on the workpiece until the material removal bar engages the wood. You will see the red arrow moving up the scale to indicate the amount to be removed with the carriage at that height.
4.Adjust the carriage height until the desired depth of cut appears on the gauge.
5.Pull the material out from under the carriage.
6.Turn the unit on and feed your material into the cutter head.
Fig. 15
A
B
NOTE: Do not exceed the recommended depth of cut for various widths of material, shown in the “RECOMMENDED DEPTH OF CUT” section below.
Do not turn the unit “ON” with the workpiece in position.
RECOMMENDED DEPTH OF CUT
NOTE: One revolution of the cutterhead adjusting handle will move the cutterhead up or down 1/16" (1.6 mm).
You can make a 1/8" (3.2 mm)
For 6" (152 mm) through 13" (330 mm) wide soft wood, use a maximum
IMPORTANT: A shallow
RECOMMENDED DEPTH OF CUT
1/8"
(3.2 mm)
3/32" (2.4 mm)
1/16" (1.6 mm)
Fig. 16
SOFT WOOD
HARD WOOD
2" | 6" | 8" | 10" |
(51 mm) (152 mm) | (203 mm) (254 mm) | ||
| 4" | 7" | 9" |
(102 mm) (178 mm) | (229 mm) | ||
WIDTH OF STOCK
HOW TO USE THE DEPTH STOP
Your planer is equipped with a depth stop (A) Fig. 17 for repetitive planing. Any thickness between 1/8" and
To set the minimum depth to which the carriage can trav- el with the depth stop:
1.Check to see that the carriage is set above
2.Turn the dial on the front left of the planer until the desired thickness setting aligns with the indicator line
(B) Fig. 17.
3.Lock the gauge in place by turning the wheel on the inside of the gauge (Inset – Fig. 17).
4.Plane the workpiece at desired increments until the correct final thickness is achieved.
NOTE: Do not use force to lower the carriage below the level that the depth stop indicates. Permanent damage to the height adjustment system on your planer will result.
A
Fig. 17
![]()
![]() B
B
10