OWNER’S MANUAL

OPERATION

WARNING: Review and un- derstand the warnings in the Safety Information Section. They are needed to safely operate this heater.

TO START HEATER

1.Follow all ventilation and safety infor- mation.

2.Fill fuel tank with kerosene or No. 1 fuel oil.

3.Attach fuel cap.

4.Set thermostat dial to desired tempera- ture. Note: Thermostat setting must be higher than surrounding air temperature.

5.Plug power cord of heater into three- prong, grounded extension cord. Exten- sion cord must be at least six feet long.

WARNING: Use only a three- prong, grounded extension cord. Use cord with proper wire size to assure 120 volt operation. See Extension Cord Wire Size Re- quirements below.

Extension Cord Wire Size

Requirements

6 to 100 feet long, use 14 AWG rated cord

101 to 200 feet long, use 12 AWG rated cord

201 to 300 feet long, use 10 AWG rated cord

301 to 400 feet long, use 8 AWG rated cord

401 to 500 feet long, use 6 AWG rated cord

6.Plug extension cord into standard 120 volt/60 hertz, three-hole, grounded outlet.

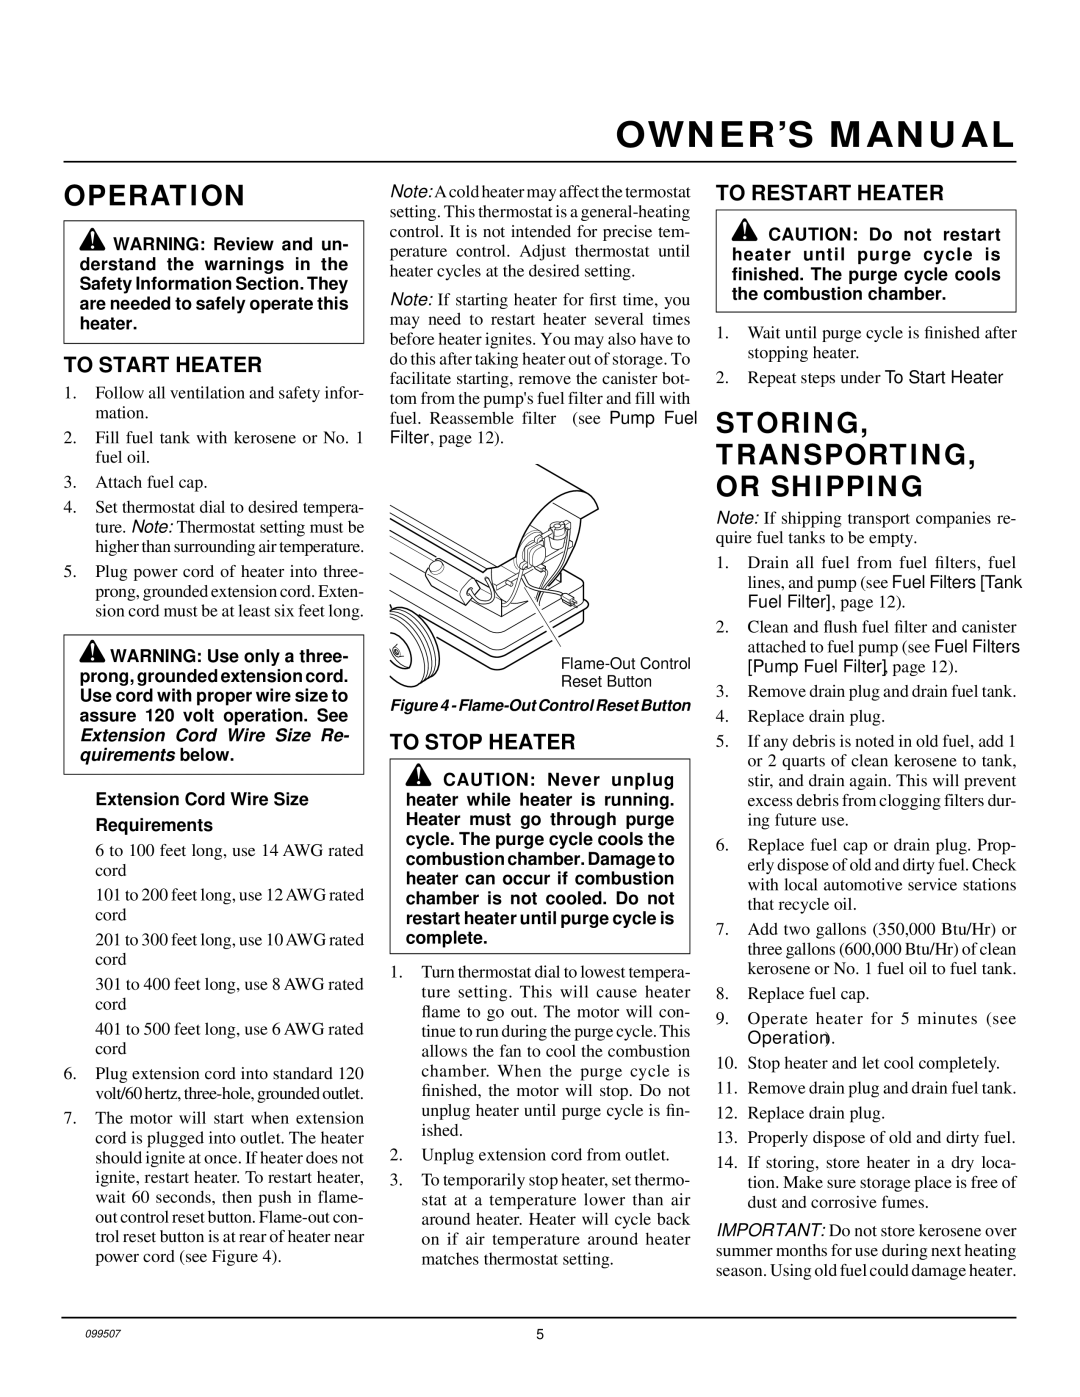
7.The motor will start when extension cord is plugged into outlet. The heater should ignite at once. If heater does not ignite, restart heater. To restart heater, wait 60 seconds, then push in flame- out control reset button. Flame-out con- trol reset button is at rear of heater near power cord (see Figure 4).

Note: A cold heater may affect the termostat setting. This thermostat is a general-heating control. It is not intended for precise tem- perature control. Adjust thermostat until heater cycles at the desired setting.

Note: If starting heater for first time, you may need to restart heater several times before heater ignites. You may also have to do this after taking heater out of storage. To facilitate starting, remove the canister bot- tom from the pump's fuel filter and fill with fuel. Reassemble filter (see Pump Fuel Filter, page 12).

Flame-Out Control

Reset Button

Figure 4 - Flame-Out Control Reset Button

TO STOP HEATER

CAUTION: Never unplug heater while heater is running. Heater must go through purge cycle. The purge cycle cools the combustion chamber. Damage to heater can occur if combustion chamber is not cooled. Do not restart heater until purge cycle is complete.

1.Turn thermostat dial to lowest tempera- ture setting. This will cause heater flame to go out. The motor will con- tinue to run during the purge cycle. This allows the fan to cool the combustion chamber. When the purge cycle is finished, the motor will stop. Do not unplug heater until purge cycle is fin- ished.

2.Unplug extension cord from outlet.

3.To temporarily stop heater, set thermo- stat at a temperature lower than air around heater. Heater will cycle back on if air temperature around heater matches thermostat setting.

TO RESTART HEATER

CAUTION: Do not restart heater until purge cycle is finished. The purge cycle cools the combustion chamber.

1.Wait until purge cycle is finished after stopping heater.

2.Repeat steps under To Start Heater.

STORING,

TRANSPORTING, OR SHIPPING

Note: If shipping transport companies re- quire fuel tanks to be empty.

1.Drain all fuel from fuel filters, fuel lines, and pump (see Fuel Filters [Tank Fuel Filter], page 12).

2.Clean and flush fuel filter and canister attached to fuel pump (see Fuel Filters [Pump Fuel Filter], page 12).

3.Remove drain plug and drain fuel tank.

4.Replace drain plug.

5.If any debris is noted in old fuel, add 1 or 2 quarts of clean kerosene to tank, stir, and drain again. This will prevent excess debris from clogging filters dur- ing future use.

6.Replace fuel cap or drain plug. Prop- erly dispose of old and dirty fuel. Check with local automotive service stations that recycle oil.

7.Add two gallons (350,000 Btu/Hr) or three gallons (600,000 Btu/Hr) of clean kerosene or No. 1 fuel oil to fuel tank.

8.Replace fuel cap.

9.Operate heater for 5 minutes (see Operation).

10.Stop heater and let cool completely.

11.Remove drain plug and drain fuel tank.

12.Replace drain plug.

13.Properly dispose of old and dirty fuel.

14.If storing, store heater in a dry loca- tion. Make sure storage place is free of dust and corrosive fumes.

IMPORTANT: Do not store kerosene over summer months for use during next heating season. Using old fuel could damage heater.

099507

5

Page 5
Image 5
Desa B350D, B600D owner manual Storing TRANSPORTING, or Shipping, To Start Heater, To Stop Heater, To Restart Heater

B350D, B600D specifications

The Desa B350D and B600D are two cutting-edge heating appliances designed to meet modern demands for efficiency, performance, and user convenience. These models, known for their reliable heating capabilities, incorporate advanced technologies that enhance both functionality and comfort in various environments.

The Desa B350D is a mid-range option that is ideal for smaller spaces. It boasts a compact design that allows it to fit seamlessly into any room, while still delivering substantial heating power. The B350D features an adjustable thermostat, which gives users complete control over their heating needs. With a maximum output of 35,000 BTUs, it can effectively heat areas up to approximately 1,200 square feet. The unit is equipped with an innovative multi-fuel system that allows it to operate on natural gas, propane, or liquid fuel, providing versatility and convenience to users.

On the other hand, the Desa B600D is a more powerful option, designed for larger spaces requiring higher heating capacities. With an output capacity of 60,000 BTUs, it efficiently warms areas up to 2,000 square feet, making it a perfect choice for workshops, garages, or large living spaces. Just like its smaller counterpart, the B600D features a user-friendly adjustable thermostat for personalized comfort.

Both models integrate safety features such as a tilt switch, which automatically shuts off the unit if it is tipped over, ensuring peace of mind when in use. Additionally, these units are designed with a durable exterior that is built to withstand the rigors of frequent usage.

Energy efficiency is a critical consideration in today's eco-conscious market, and the Desa B350D and B600D deliver on this front as well. Both models feature an efficient burner system that maximizes fuel utilization, reducing overall consumption and lowering heating costs.

In terms of maintenance, both models are designed for easy access to components, allowing users to perform routine checks and maintenance without hassle. The user manuals provide clear instructions, ensuring that even those with minimal technical expertise can keep their units in optimal working condition.

In summary, the Desa B350D and B600D stand out in the heating appliance market for their powerful performance, versatile fuel options, and user-friendly features. Whether for residential or commercial applications, these models represent a reliable choice for those seeking efficient and effective heating solutions.