7. Remove the four wing nuts which hold the Wick Assembly to the heater and carefully lift the Wick Assembly from the heater.
10. Remove the Wick while folding it to the inside. Remove the Wick Sleeve together with the Wick.
NEVER LEAVE THE HEATER
UNATTENDED WHILE BURNING!
8. Replace the Wick Adjustment Knob temporarily.
Turn the Knob CLOCKWISE to raise the Wick.
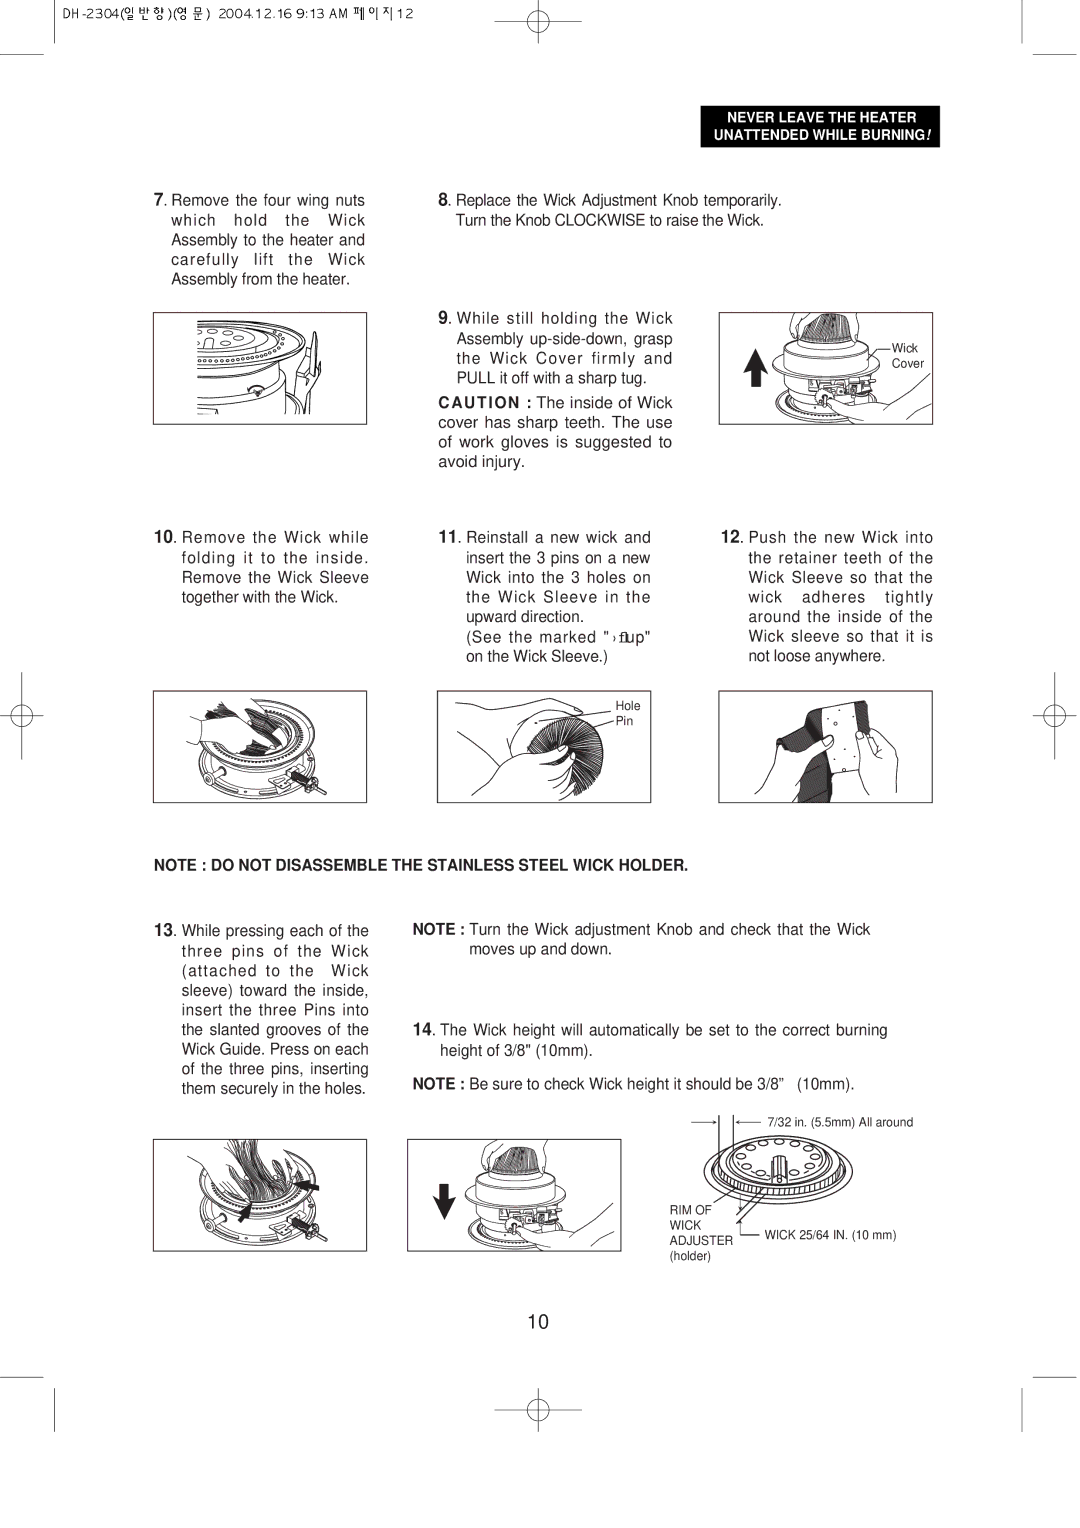
9. While still holding the Wick |
| |
Assembly | Wick | |
the Wick Cover firmly and | ||
Cover | ||
PULL it off with a sharp tug. |
|
CAUTION : The inside of Wick cover has sharp teeth. The use of work gloves is suggested to avoid injury.
11. Reinstall a new wick and | 12. Push the new Wick into |
insert the 3 pins on a new | the retainer teeth of the |
Wick into the 3 holes on | Wick Sleeve so that the |
the Wick Sleeve in the | wick adheres tightly |
upward direction. | around the inside of the |
(See the marked "›flup" | Wick sleeve so that it is |
on the Wick Sleeve.) | not loose anywhere. |
Hole |
|
Pin |
|
NOTE : DO NOT DISASSEMBLE THE STAINLESS STEEL WICK HOLDER.
13. While pressing each of the three pins of the Wick (attached to the Wick sleeve) toward the inside, insert the three Pins into the slanted grooves of the Wick Guide. Press on each of the three pins, inserting them securely in the holes.
NOTE : Turn the Wick adjustment Knob and check that the Wick moves up and down.
14. The Wick height will automatically be set to the correct burning height of 3/8" (10mm).
NOTE : Be sure to check Wick height it should be 3/8” (10mm).
![]() 7/32 in. (5.5mm) All around
7/32 in. (5.5mm) All around
RIM OF |
| |
WICK | WICK 25/64 IN. (10 mm) | |
ADJUSTER | ||
| ||
(holder) |
|
10