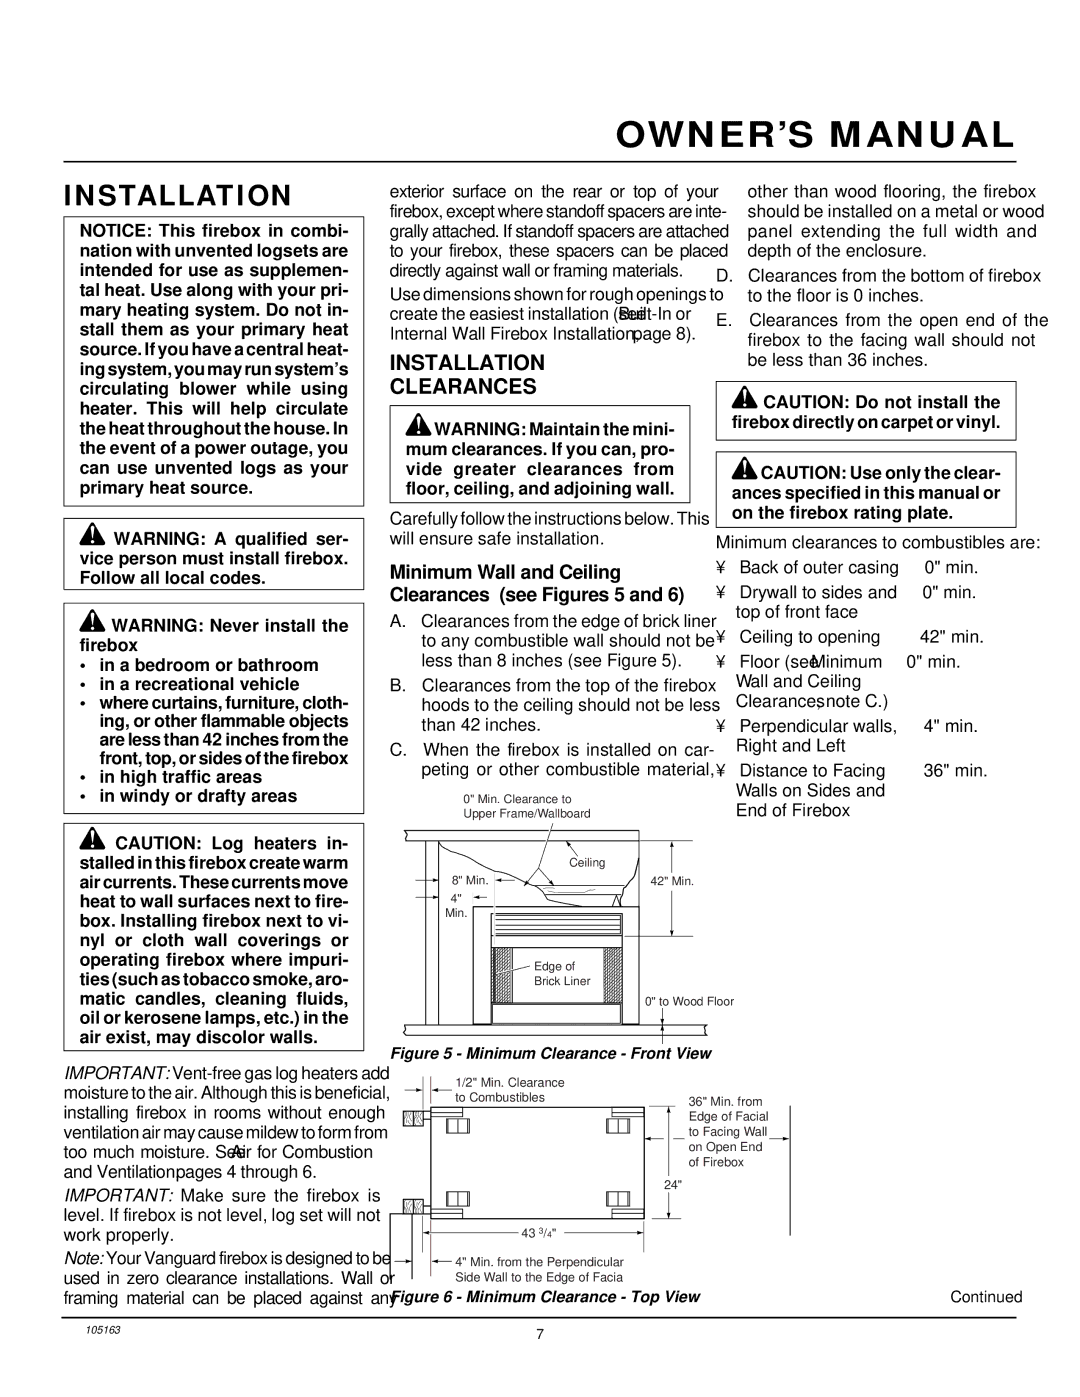
FBPS specifications
Desa FBPS, or Flexible Building Production System, is an innovative approach to construction that leverages advanced technologies to enhance efficiency, sustainability, and adaptability in building design and construction. This system is gaining traction in the industry due to its versatility and ability to integrate new methodologies suitable for various construction environments.One of the main features of Desa FBPS is its modular design. This allows for the construction of buildings using pre-fabricated components, which can be assembled on-site with minimal disruption. This modularity not only speeds up the construction process but also reduces waste, as components are manufactured in a controlled environment where precision and quality can be more easily maintained.
Another significant characteristic of Desa FBPS is its use of smart technologies. The system incorporates IoT (Internet of Things) devices, enabling real-time monitoring of building conditions, energy consumption, and other critical parameters. This data-driven approach facilitates timely decision-making and maintenance, improving the overall longevity and functionality of the buildings.
Sustainability is a core principle of Desa FBPS. The system prioritizes eco-friendly materials and energy-efficient designs, often utilizing renewable energy sources and advanced insulation technologies. This focus on sustainability not only lowers the carbon footprint of construction but also results in long-term savings on energy costs for occupants.
Desa FBPS also emphasizes flexibility in design. Buildings constructed using this system can be easily expanded or modified to adapt to changing needs. This flexibility is particularly advantageous in urban areas where space is at a premium and evolving residential or commercial demands necessitate rapid responses from developers.
Additionally, the integration of Building Information Modeling (BIM) technology plays a crucial role in Desa FBPS. BIM allows for the visualization of a building throughout its lifecycle, facilitating better planning, collaboration among stakeholders, and improved project management.
In summary, Desa FBPS represents a paradigm shift in construction practices, characterized by modular design, smart technology integration, sustainability, and design flexibility. Its forward-thinking approach positions it as a leader in modern construction, addressing the growing demands for efficient and adaptable building solutions in a rapidly evolving world.

