NOTE: Reverse the procedure to remove the column extension.
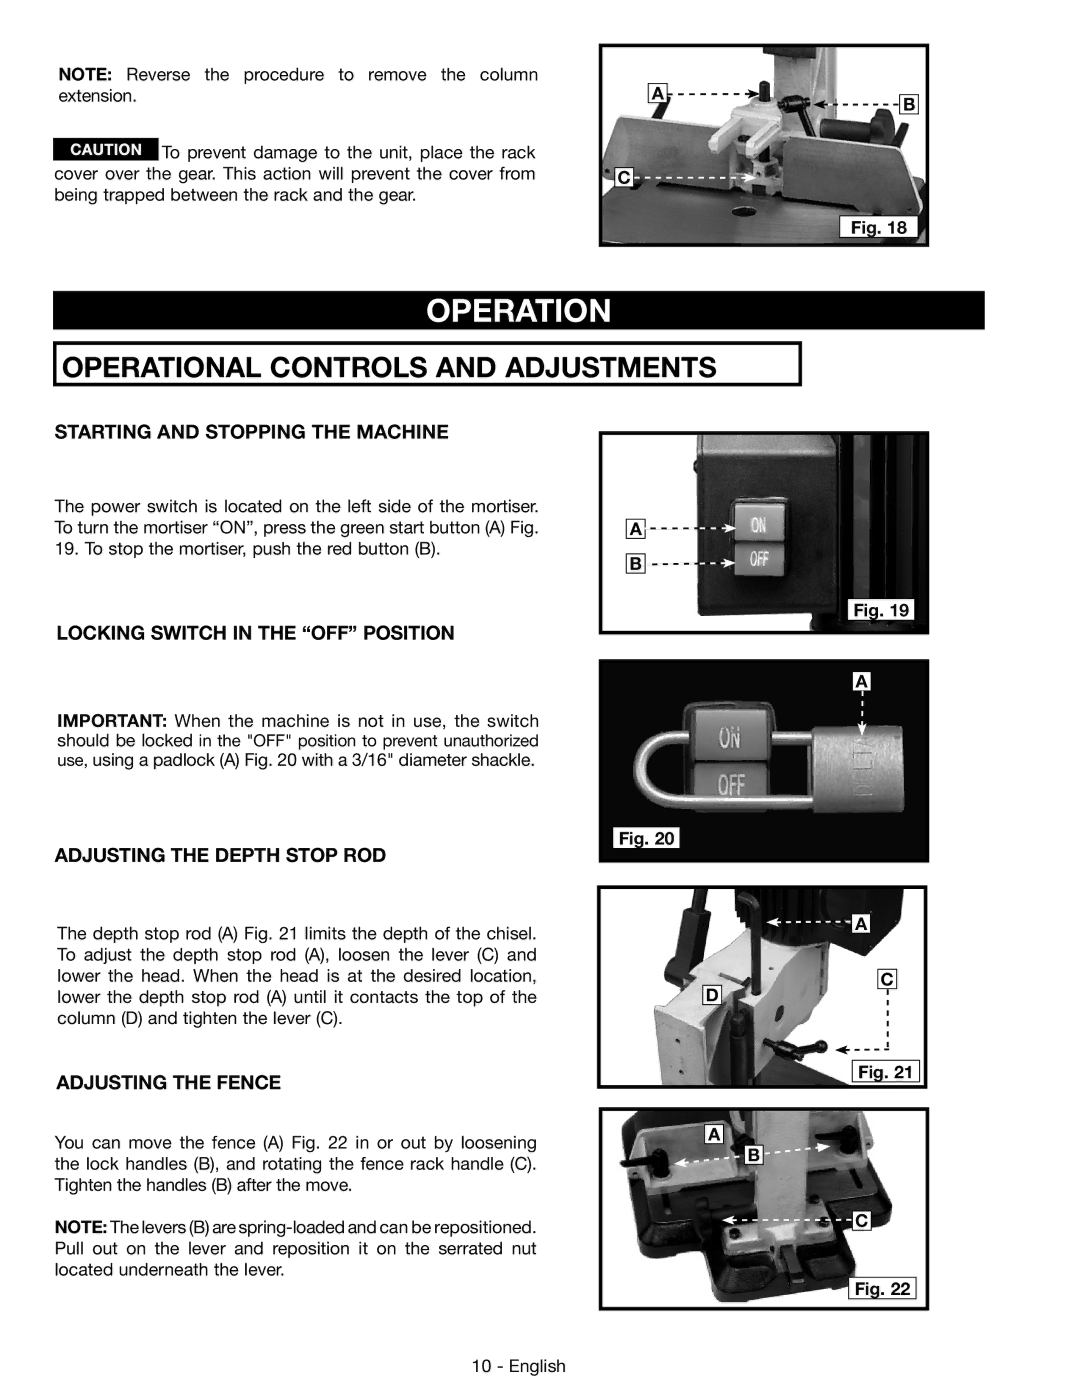
![]() To prevent damage to the unit, place the rack cover over the gear. This action will prevent the cover from being trapped between the rack and the gear.
To prevent damage to the unit, place the rack cover over the gear. This action will prevent the cover from being trapped between the rack and the gear.
A
B
C ![]()
![]()
Fig. 18
OPERATION
OPERATIONAL CONTROLS AND ADJUSTMENTS
STARTING AND STOPPING THE MACHINE
The power switch is located on the left side of the mortiser. To turn the mortiser “ON”, press the green start button (A) Fig. 19. To stop the mortiser, push the red button (B).
LOCKING SWITCH IN THE “OFF” POSITION
IMPORTANT: When the machine is not in use, the switch should be locked in the "OFF" position to prevent unauthorized use, using a padlock (A) Fig. 20 with a 3/16" diameter shackle.
ADJUSTING THE DEPTH STOP ROD
The depth stop rod (A) Fig. 21 limits the depth of the chisel. To adjust the depth stop rod (A), loosen the lever (C) and lower the head. When the head is at the desired location, lower the depth stop rod (A) until it contacts the top of the column (D) and tighten the lever (C).
ADJUSTING THE FENCE
You can move the fence (A) Fig. 22 in or out by loosening the lock handles (B), and rotating the fence rack handle (C). Tighten the handles (B) after the move.
NOTE: The levers (B) are
A![]()
![]()
B![]()
![]()
Fig. 19
A
Fig. 20
![]()
![]() A
A
C
D
Fig. 21
A
B
C
Fig. 22
10 - English