
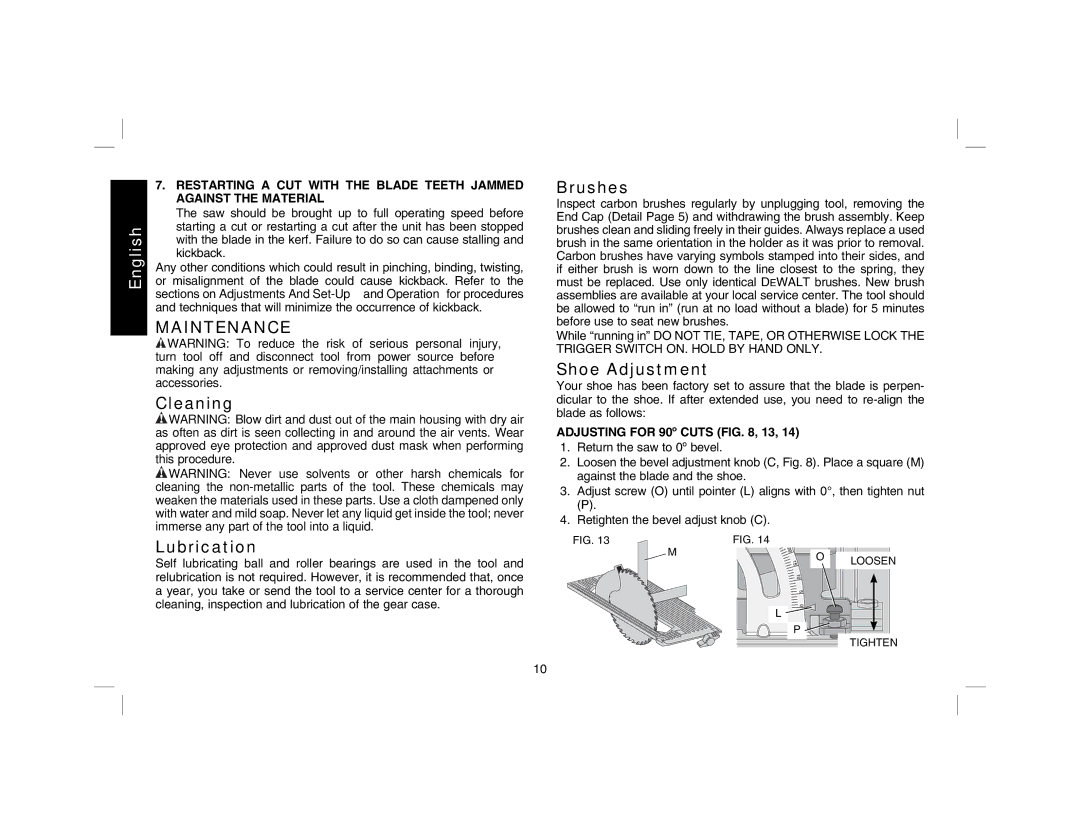
DW366 specifications
The DeWalt DW366 is a powerful and versatile cordless jig saw designed for both professionals and DIY enthusiasts. This tool is part of the DeWalt 18V battery platform, ensuring that it is compatible with a range of other DeWalt cordless tools. As a user-friendly and efficient saw, the DW366 offers several features that enhance precision and performance, making it ideal for a variety of cutting applications.One of the standout features of the DeWalt DW366 is its ergonomic design. The tool is lightweight, which reduces user fatigue during extended periods of use. The rubber over-molded handle provides a comfortable grip, allowing for better control and maneuverability. Additionally, the saw includes a variable speed dial, enabling users to adjust the cutting speed according to the material being worked on, from softer woods to tougher materials.
The DW366 is equipped with a powerful motor that delivers up to 3,000 strokes per minute, providing quick and efficient cuts. This high-speed operation helps to enhance productivity on the job. The saw's unique orbital action feature further boosts cutting efficiency by enabling a more aggressive cutting motion. Users can select from multiple orbital settings to cater to specific tasks, whether it's cutting curves or making straight cuts.
Another impressive aspect of the DeWalt DW366 is its tool-free blade change system. This feature allows users to quickly and easily swap out blades without the need for additional tools, reducing downtime and increasing job efficiency. The saw also offers a built-in dust blower, which helps keep the cutting line clear and visible, ensuring enhanced accuracy during cutting operations.
Additionally, the DW366 has a durable construction, equipped to handle job site demands. The robust design, combined with a replaceable shoe cover, helps protect the tool from wear and tear, prolonging its lifespan.
In summary, the DeWalt DW366 offers an exceptional combination of power, versatility, and user-friendly features. Its ergonomic design, variable speed settings, orbital action, and tool-free blade changes make it an excellent choice for anyone in need of a reliable and efficient jig saw, whether for professional projects or home improvement tasks. With the added assurance of being part of the DeWalt 18V system, users can expect consistent performance and compatibility across various tools.