
DWE46102 specifications
The DeWalt DWE46102 is a formidable addition to the world of power tools, designed to meet the needs of both professionals and DIY enthusiasts alike. As a high-performance corded grinder, it excels in various applications, including metal grinding, cutting, and concrete surface preparation.One of the standout features of the DWE46102 is its powerful 13-amp motor. This robust motor delivers up to 10,500 RPM, providing users with the speed and efficiency required for demanding jobs. The grinder’s high-performance capabilities are further enhanced by its low-profile design, which allows for better maneuverability in tight spaces while ensuring maximum control during operation.
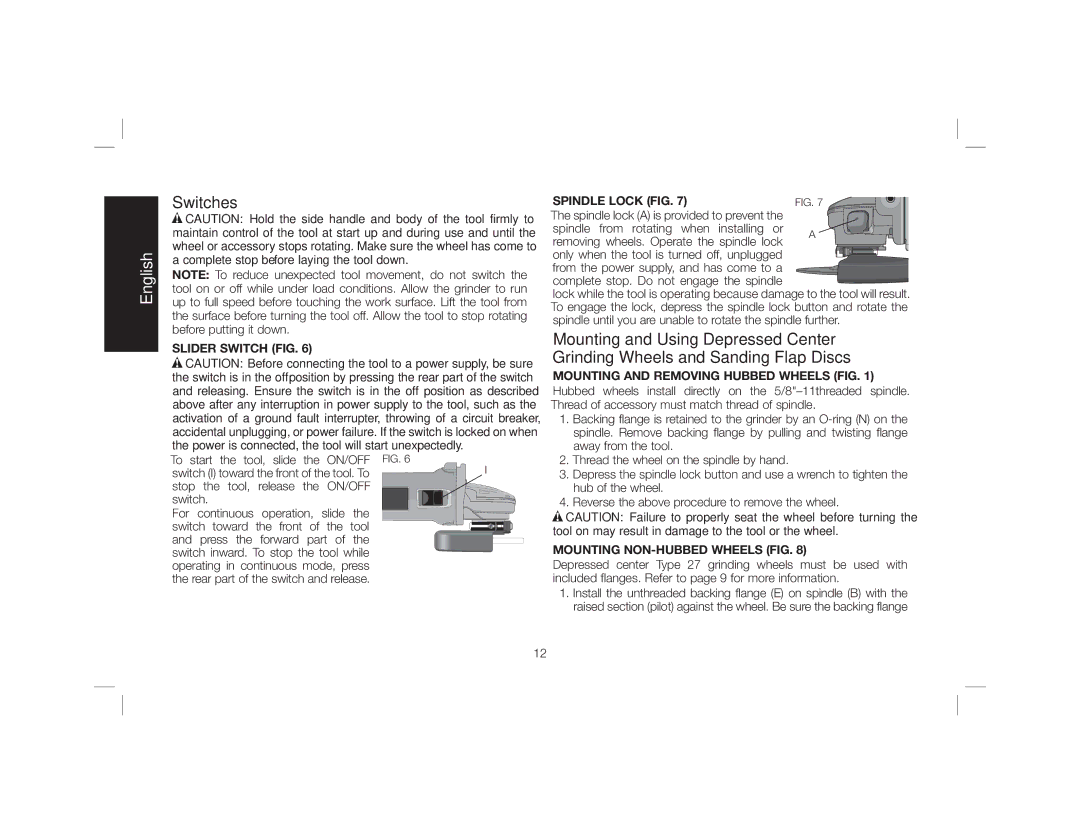
The DWE46102 is equipped with advanced technology aimed at maximizing user safety and comfort. Notably, it incorporates a Dust Ejection System, which is designed to prevent dust and debris from entering the motor, thereby extending its life and maintaining optimal performance. Additionally, the grinder features a lock-on switch, which enables continuous operation during prolonged use, reducing user fatigue.
Another impressive characteristic of the DWE46102 is its incorporated Active Vibration Control technology. This innovation significantly reduces vibration felt by the user, improving comfort and reducing fatigue, especially during long periods of operation. This is particularly beneficial in professional environments where tools are often used for extended durations.
Furthermore, the DeWalt DWE46102 is designed with durability in mind. Constructed with high-quality materials, it is built to withstand tough job site conditions. Its removable front guard facilitates easy tool-free adjustments and enhances versatility, allowing users to switch between cutting and grinding tasks smoothly.
The ergonomic design of the tool includes a comfortable grip and a side handle that can be positioned in multiple ways, providing better control and comfort for the operator. This attention to usability makes the DWE46102 not just efficient but also user-friendly.
In summary, the DeWalt DWE46102 is a powerful, versatile grinder that stands out due to its impressive motor, innovative technologies, and user-centric design. Whether you're working on metal, concrete, or other tough materials, this tool is engineered to deliver reliable performance, making it a valuable asset for anyone looking to tackle demanding projects.