DWS535T, DWS535 specifications
The DeWalt DWS535 is a powerful and versatile circular saw that is designed to meet the rigorous demands of professionals and DIY enthusiasts alike. Known for its solid construction and cutting-edge technology, the DWS535 showcases the brand's commitment to quality and innovation in woodworking tools.One of the standout features of the DWS535 is its robust 15-amp motor, which delivers a remarkable no-load speed of 5,300 RPM. This ensures users can tackle a variety of cutting tasks with ease and confidence, whether working with lumber, engineered wood products, or other materials. The high-speed blade cuts through even the toughest materials quickly and efficiently, making it ideal for framing, decking, and general carpentry projects.
The DWS535 is equipped with a 7-1/4 inch carbide-tipped blade that enhances cutting accuracy and durability. The blade's design allows for smooth and clean cuts, reducing the need for post-processing. Additionally, the saw’s integrated electric brake stops the blade quickly after the trigger is released. This safety feature not only enhances user control but also minimizes the risk of accidental injuries, making it a safer choice for operators.
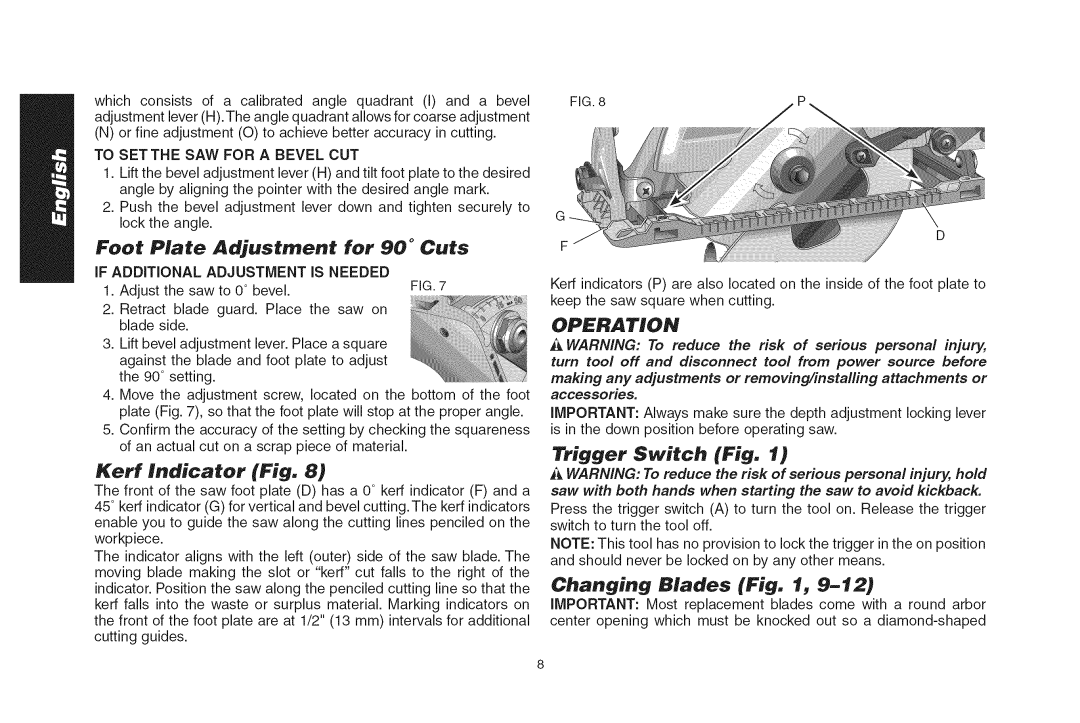
Comfort and usability are also central to the design of the DWS535. It features a lightweight, well-balanced construction that allows for easy maneuverability. Furthermore, the ergonomic handle is designed to reduce fatigue during extended use, providing better grip and control. The saw’s bevel capacity of 0° to 45° contributes to its versatility, enabling users to achieve angled cuts with precision.
Incorporating advanced technologies, the DWS535 features a built-in rafter hook that provides convenient storage and accessibility. Additionally, the saw is designed with a durable protective blade guard that enhances safety while allowing users to easily visualize their cutting line. The tool’s dust port is another thoughtful addition, helping to keep the workspace clean and free from debris, ultimately improving visibility for better accuracy.
Overall, the DeWalt DWS535 stands out in a crowded market of circular saws with its powerful performance, safety features, and user-friendly design. Whether you’re a seasoned professional or a weekend warrior, this tool is engineered to deliver efficiency, accuracy, and safety on every job site. With its remarkable combination of features, the DWS535 proves to be a wise investment for anyone serious about woodworking or construction.

