and squeeze the brake lever to make sure the brake is functioning correctly.
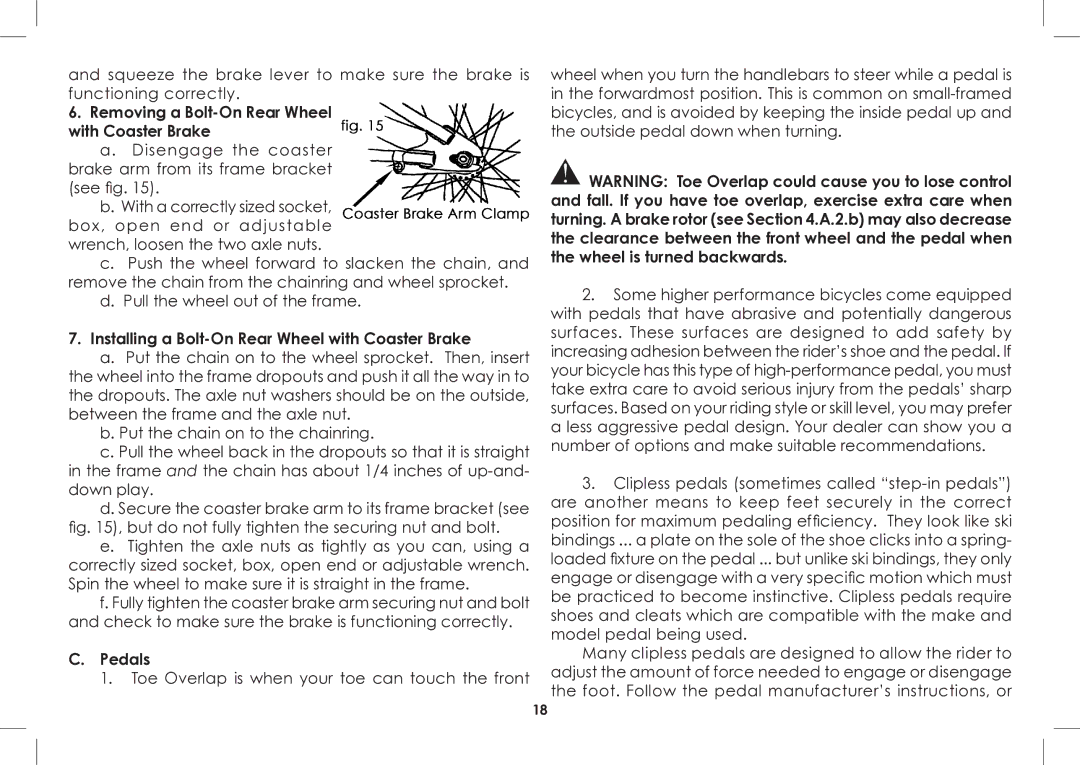
6.Removing a Bolt‑On Rear Wheel with Coaster Brake
a.Disengage the coaster brake arm from its frame bracket
(see fig. 15).
b.With a correctly sized socket, box, open end or adjustable wrench, loosen the two axle nuts.
c.Push the wheel forward to slacken the chain, and remove the chain from the chainring and wheel sprocket.
d.Pull the wheel out of the frame.
7.Installing a Bolt‑On Rear Wheel with Coaster Brake
a.Put the chain on to the wheel sprocket. Then, insert the wheel into the frame dropouts and push it all the way in to the dropouts. The axle nut washers should be on the outside, between the frame and the axle nut.
b.Put the chain on to the chainring.
c.Pull the wheel back in the dropouts so that it is straight in the frame and the chain has about 1/4 inches of
d.Secure the coaster brake arm to its frame bracket (see fig. 15), but do not fully tighten the securing nut and bolt.
e.Tighten the axle nuts as tightly as you can, using a correctly sized socket, box, open end or adjustable wrench. Spin the wheel to make sure it is straight in the frame.
f.Fully tighten the coaster brake arm securing nut and bolt and check to make sure the brake is functioning correctly.
C.Pedals
1. Toe Overlap is when your toe can touch the front
wheel when you turn the handlebars to steer while a pedal is in the forwardmost position. This is common on
!WARNING: Toe Overlap could cause you to lose control and fall. If you have toe overlap, exercise extra care when turning. A brake rotor (see Section 4.A.2.b) may also decrease the clearance between the front wheel and the pedal when the wheel is turned backwards.
2.Some higher performance bicycles come equipped with pedals that have abrasive and potentially dangerous surfaces. These surfaces are designed to add safety by increasing adhesion between the rider’s shoe and the pedal. If your bicycle has this type of
3.Clipless pedals (sometimes called
Many clipless pedals are designed to allow the rider to adjust the amount of force needed to engage or disengage the foot. Follow the pedal manufacturer’s instructions, or
18