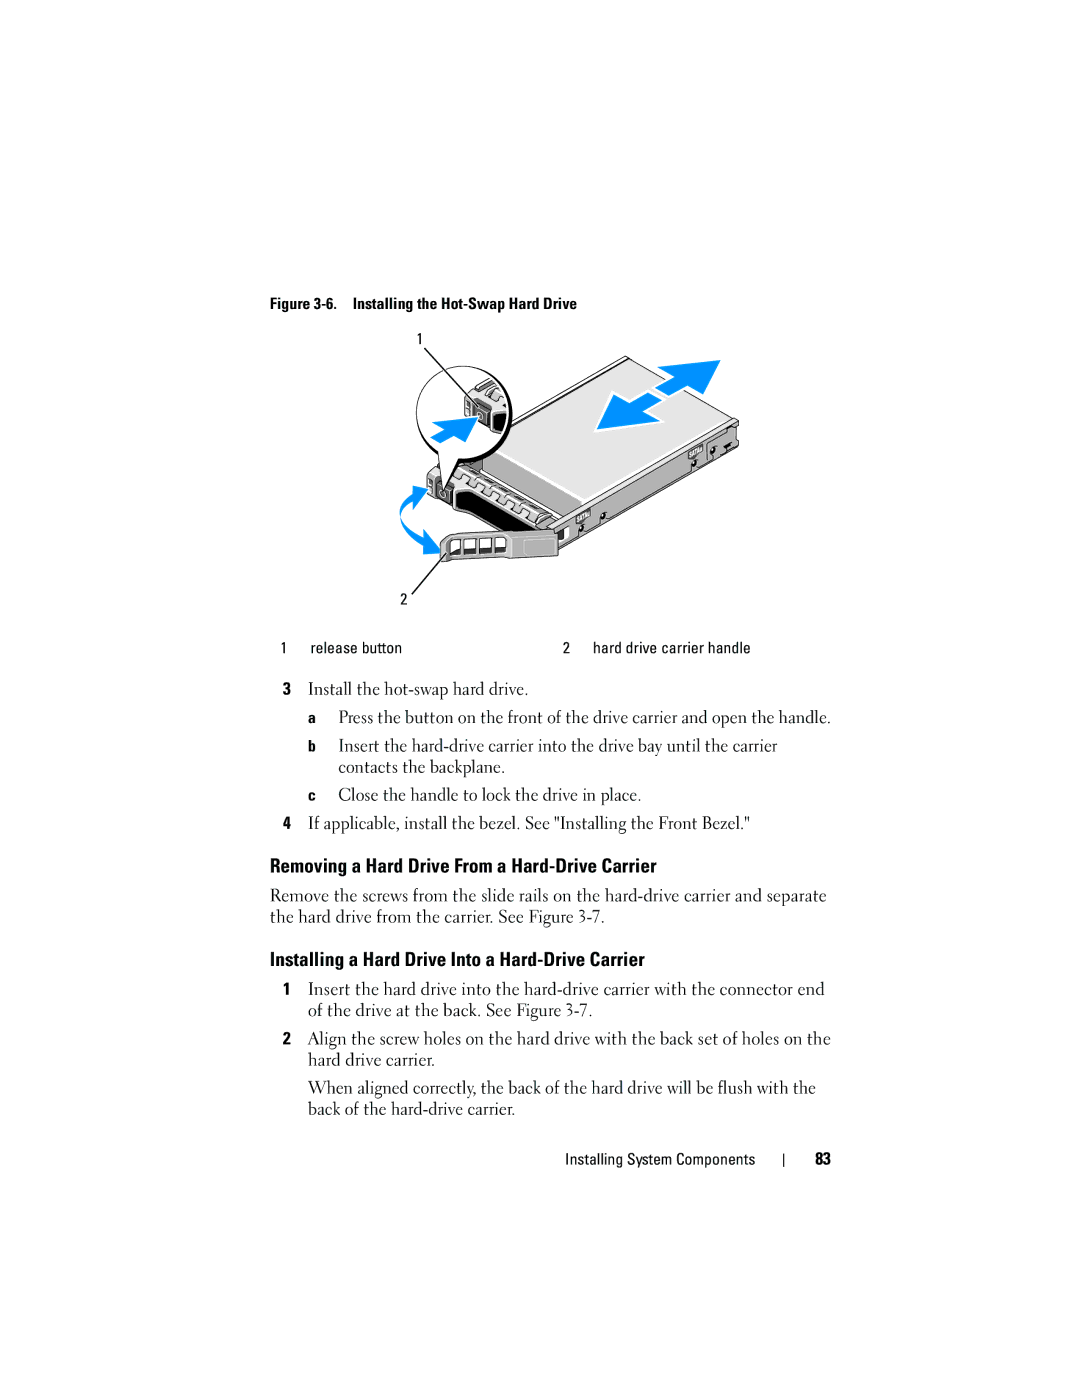
Figure 3-6. Installing the Hot-Swap Hard Drive
1
2
1 | release button | 2 | hard drive carrier handle |
3Install the
a Press the button on the front of the drive carrier and open the handle.
b Insert the
c Close the handle to lock the drive in place.
4If applicable, install the bezel. See "Installing the Front Bezel."
Removing a Hard Drive From a Hard-Drive Carrier
Remove the screws from the slide rails on the
Installing a Hard Drive Into a Hard-Drive Carrier
1Insert the hard drive into the
2Align the screw holes on the hard drive with the back set of holes on the hard drive carrier.
When aligned correctly, the back of the hard drive will be flush with the back of the
Installing System Components
83