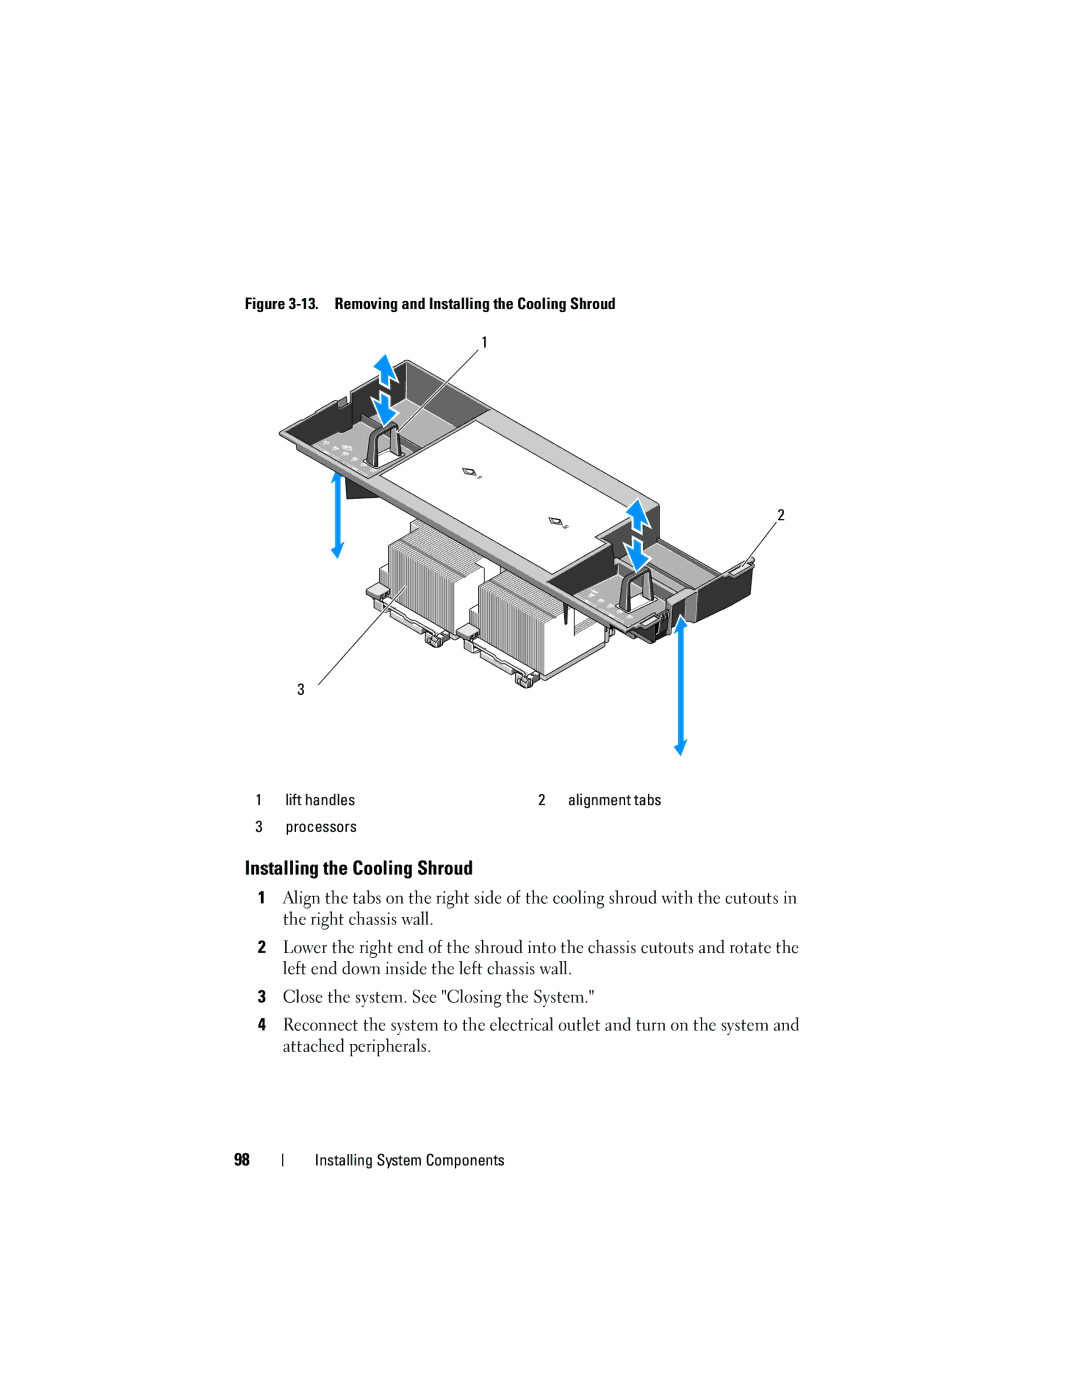
Figure 3-13. Removing and Installing the Cooling Shroud
1
2
3
1 | lift handles | 2 | alignment tabs |
3 | processors |
|
|
Installing the Cooling Shroud
1Align the tabs on the right side of the cooling shroud with the cutouts in the right chassis wall.
2Lower the right end of the shroud into the chassis cutouts and rotate the left end down inside the left chassis wall.
3Close the system. See "Closing the System."
4Reconnect the system to the electrical outlet and turn on the system and attached peripherals.
98