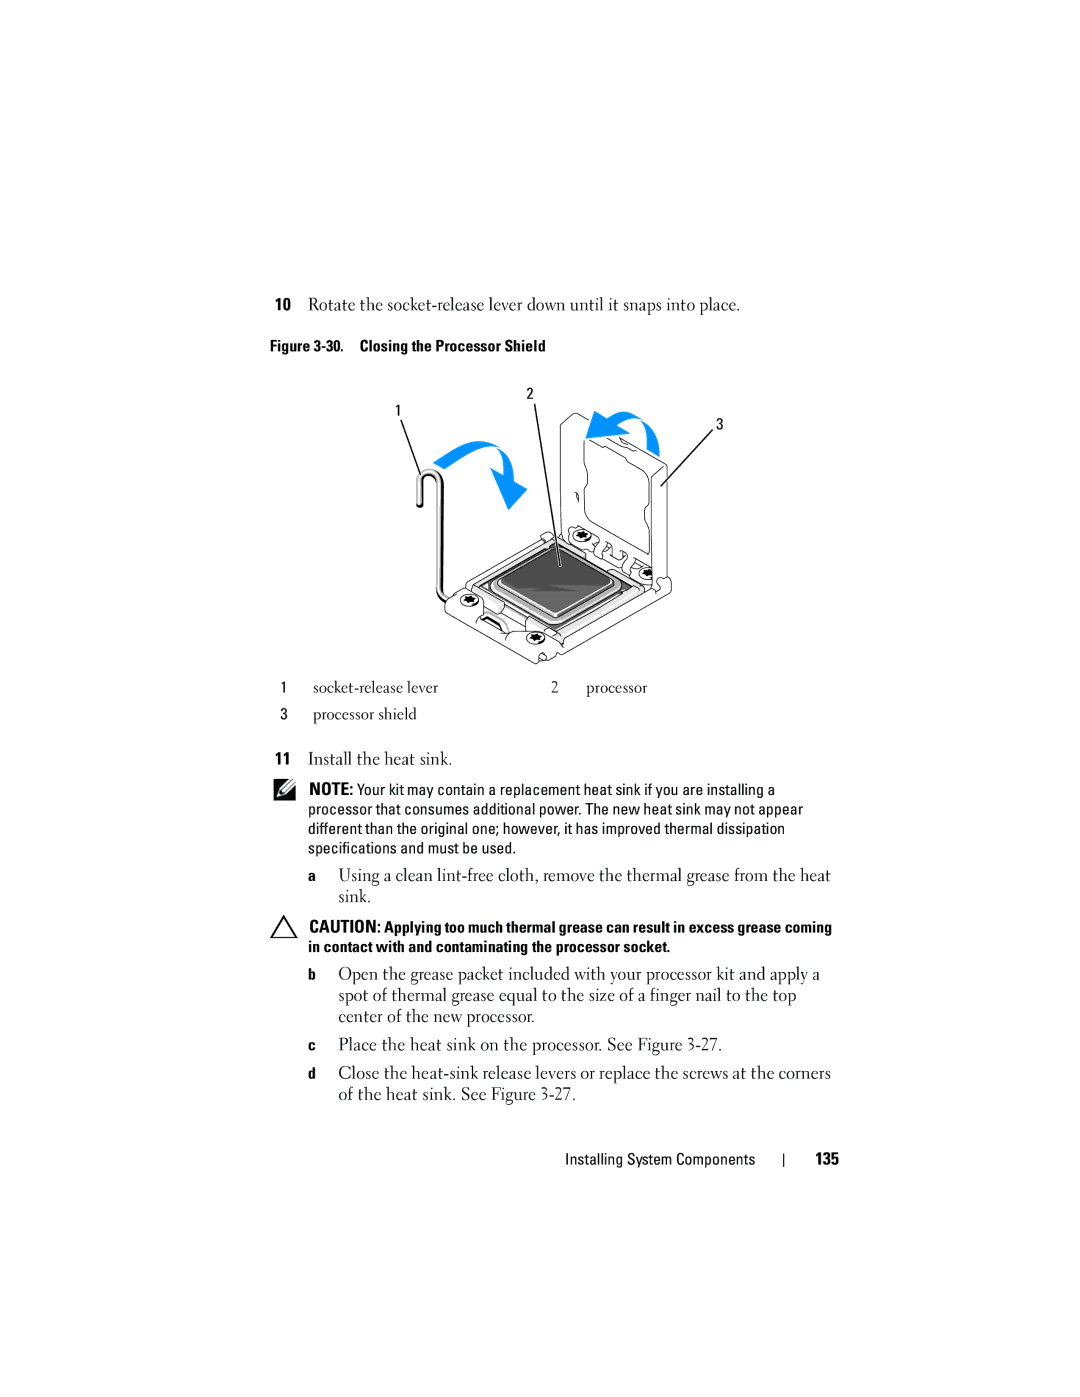
10Rotate the
Figure 3-30. Closing the Processor Shield
2
1
3
1 |
| 2 | processor |
3processor shield
11Install the heat sink.
NOTE: Your kit may contain a replacement heat sink if you are installing a processor that consumes additional power. The new heat sink may not appear different than the original one; however, it has improved thermal dissipation specifications and must be used.
aUsing a clean
CAUTION: Applying too much thermal grease can result in excess grease coming in contact with and contaminating the processor socket.
bOpen the grease packet included with your processor kit and apply a spot of thermal grease equal to the size of a finger nail to the top center of the new processor.
cPlace the heat sink on the processor. See Figure
dClose the