DTS Pro Series Network Encoder for MAC OSX – Manager and User Guide
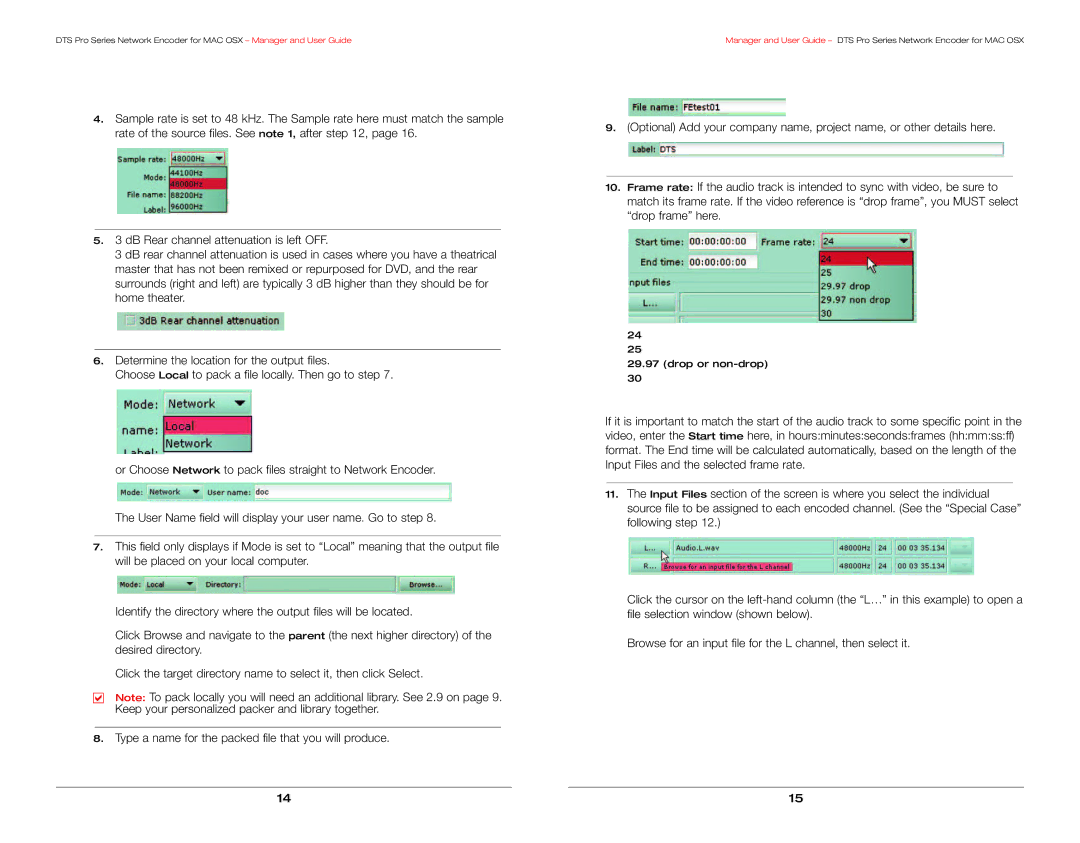
4.Sample rate is set to 48 kHz. The Sample rate here must match the sample rate of the source files. See note 1, after step 12, page 16.
5.3 dB Rear channel attenuation is left OFF.
3 dB rear channel attenuation is used in cases where you have a theatrical master that has not been remixed or repurposed for DVD, and the rear surrounds (right and left) are typically 3 dB higher than they should be for home theater.
6.Determine the location for the output files.
Choose Local to pack a file locally. Then go to step 7.
or Choose Network to pack files straight to Network Encoder.
The User Name field will display your user name. Go to step 8.
7.This field only displays if Mode is set to “Local” meaning that the output file will be placed on your local computer.
Identify the directory where the output files will be located.
Click Browse and navigate to the parent (the next higher directory) of the desired directory.
Click the target directory name to select it, then click Select.
αχ Note: To pack locally you will need an additional library. See 2.9 on page 9. Keep your personalized packer and library together.
8.Type a name for the packed file that you will produce.
Manager and User Guide – DTS Pro Series Network Encoder for MAC OSX
9.(Optional) Add your company name, project name, or other details here.
10.Frame rate: If the audio track is intended to sync with video, be sure to match its frame rate. If the video reference is “drop frame”, you MUST select “drop frame” here.
24
25
29.97(drop or non-drop)
30
If it is important to match the start of the audio track to some specific point in the video, enter the Start time here, in hours:minutes:seconds:frames (hh:mm:ss:ff) format. The End time will be calculated automatically, based on the length of the Input Files and the selected frame rate.
11.The Input Files section of the screen is where you select the individual source file to be assigned to each encoded channel. (See the “Special Case” following step 12.)
Click the cursor on the
Browse for an input file for the L channel, then select it.
14 | 15 |
