Chapter 8 File Transfers
8-1 How to Transfer Files
Use the Mass Storage function in the PC Connection menu to connect and transfer files via USB. Note: Windows XP and Windows 2000 users do not need to install the camera driver to transfer files.
1.Turn the camera on by sliding the lens cover.
2.Set the Mode Dial ![]() to PC
to PC
3.On the camera’s LCD display, highlight “Mass Storage” (in blue)
4.Press the Enter Button on the
![]()
![]()
![]() to select Mass Storage; a flashing USB cable icon appears on the display.
to select Mass Storage; a flashing USB cable icon appears on the display.
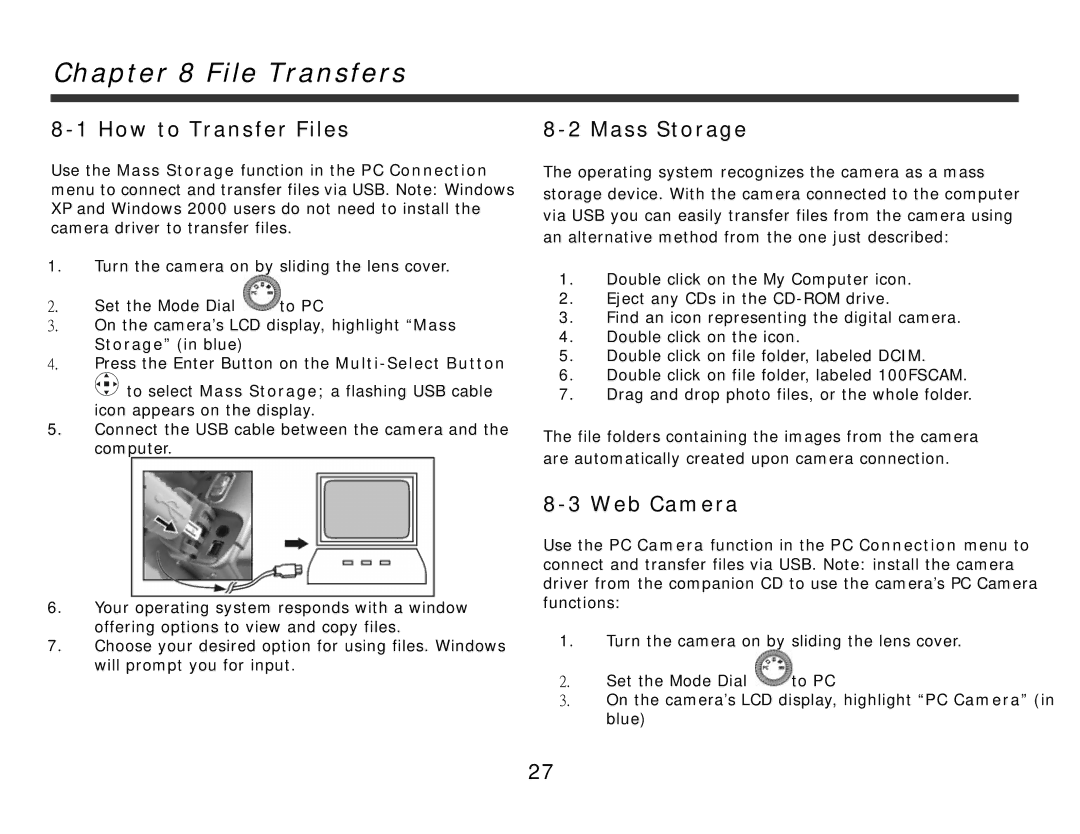
5.Connect the USB cable between the camera and the computer.
6.Your operating system responds with a window offering options to view and copy files.
7.Choose your desired option for using files. Windows will prompt you for input.
8-2 Mass Storage
The operating system recognizes the camera as a mass storage device. With the camera connected to the computer via USB you can easily transfer files from the camera using an alternative method from the one just described:
1.Double click on the My Computer icon.
2.Eject any CDs in the
3.Find an icon representing the digital camera.
4.Double click on the icon.
5.Double click on file folder, labeled DCIM.
6.Double click on file folder, labeled 100FSCAM.
7.Drag and drop photo files, or the whole folder.
The file folders containing the images from the camera are automatically created upon camera connection.
8-3 Web Camera
Use the PC Camera function in the PC Connection menu to connect and transfer files via USB. Note: install the camera driver from the companion CD to use the camera’s PC Camera functions:
1.Turn the camera on by sliding the lens cover.
2.Set the Mode Dial ![]() to PC
to PC
3.On the camera’s LCD display, highlight “PC Camera” (in blue)
27