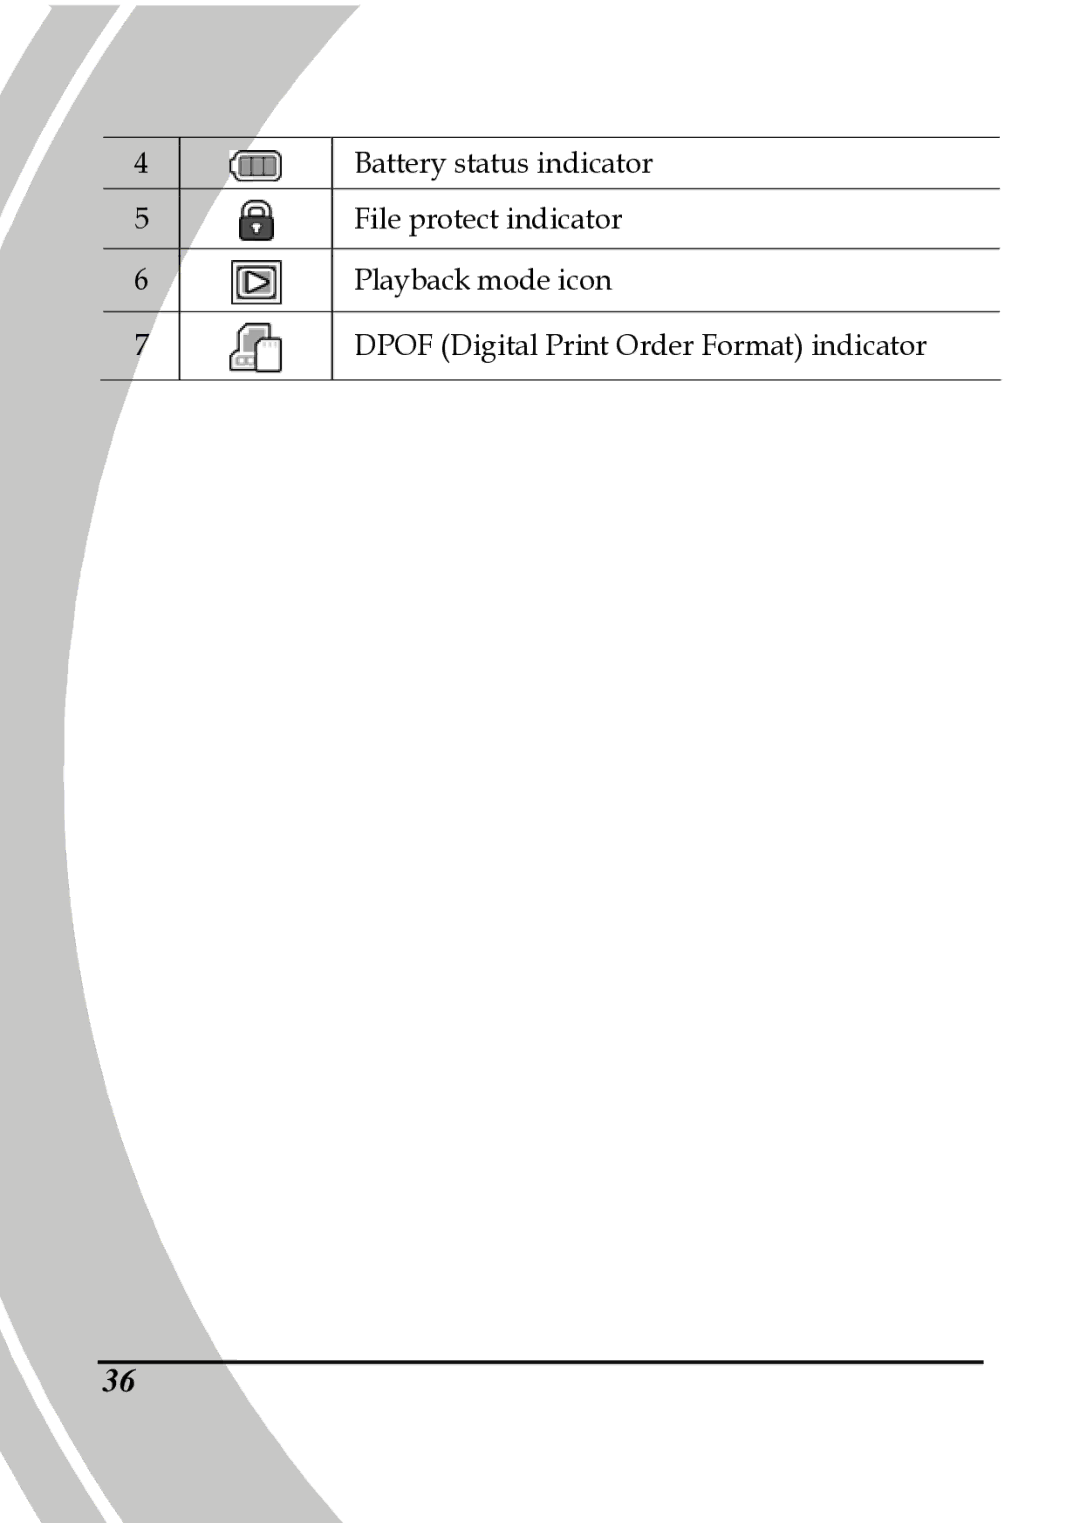
Manuals
/
DXG Technology
/
Photography
/
Camcorder
DXG Technology
DXG-517V HD Battery status indicator File protect indicator Playback mode icon
Models:
DXG-517V HD
1
46
84
84
Download
84 pages
425 b
43
44
45
46
47
48
49
50
<
>
Troubleshooting
Specs
Install
Connecting to a computer
Default
Lens Self-timer LED LED Flash light Microphone
Adjusting the LCD display
Tripod mount Battery compartment
Setting the date and time
Resolution
Page 46
Image 46
4
5
6
7
Battery status indicator
File protect indicator
Playback mode icon
DPOF (Digital Print Order Format) indicator
36
Page 45
Page 47
Page 46
Image 46
Page 45
Page 47
Contents
DXG-517V HD User’s Manual
DXG USA
Page
Table of Contents
Introducing the camera
Getting started
Using the camera
Using the menus
Installing the software
Appendix
About this manual
Preface
Copyright
Precautions
General precautions
Notes on the LCD Screen
Power supply
Operation conditions
Take some test shots before performing a formal recording
Before You Start
Copyright information
1.1 System requirements
1.2 Features
1 Introducing the camera
Max. 3X digital zoom
Pouch
1.3 Unpacking the video camera
Video camera
USB & AV cable
1.4.2 Top view
1.4 About the camera
1.4.1 Front view
Lens Self-timer LED LED Flash light Microphone
Tripod mount Battery compartment
1.4.3 Bottom view
1.4.4 Right view
Shutter button Zoom / Volume button
LCD screen cover
Macro switch
1.4.5 Left view
1.4.6 Back view
REC. / Power LED Mode dial REC. / STOP button
1.4.7 Adjusting the LCD display
Name
z In Photo Playback mode
Button
Function
Shutter
switch
z In Movie Playback mode
button
z In Movie Playback mode
z In Photo Playback mode
Zoom button
Self-timer
1.4.8 About the LEDs
Power
Color
2 Getting started
2.1 Inserting an SD card SD card sold separately
3. Press down the SD card compartment cover
4. Push the SD card compartment cover inwards
2.2 Inserting the batteries
2.4 Changing modes
2.3 Turning on the video camera
Press and hold the power button to turn the video camera on/off
2.5.1 Setting the date and time
2.5 Before you start
2.5.2 Setting the language
2. Use the scroll wheel to select the following languages
2.5.3 Setting the beep
2.6 Shoot/Playback video
2.6.1 Shooting a video clip
Video resolution
2.6.2 Playing a video clip
2.7.1 Taking a still picture
2.7 Taking/viewing pictures
Photo mode
2.7.2 Viewing images
2.8 Connecting to a computer
2.9 Connecting to a standard TV
Connect the video camera to a DVD player with the AV cable provided
2.10 Connecting to a DVD Player
2.11 Connecting to an HDTV
Connect the video camera to an HDTV as shown with an HDMI cable
3.1.1 Movie and voice recorder mode
3 Using the camera
3.1 Movie and voice recorder mode
Movie mode
Voice recorder mode
3.1.3 Using the zoom function
3.1.2 Using the macro function
3.1.4 Using the LED flash light
3.1.5 Quick access controls
3.2 Photo mode
3.2.1 Photo mode icons
3.2.4 Using the LED flash light
3.2.2 Using the macro function
3.2.3 Using the zoom function
3.2.5 Quick access controls
Movie mode
3.3 Movie Playback mode
3.3.1 Movie Playback mode icons
Voice recorder mode
Voice Recorder mode
Battery status indicator File protect indicator Voice playback mode
Displays the file number of the audio clip
3.4 Photo Playback mode
3.4.1 Photo Playback mode icons
Battery status indicator File protect indicator Playback mode icon
DPOF Digital Print Order Format indicator
3.5 Thumbnail mode
3.6 USB mode
4.1 Movie menu
4 Using the menus
4.1.1. White balance
4.1.2. Video resolution
4.1.3. Color effect
4.1.4. Night mode
4.1.5. Stabilizer
4.1.6. Capture mode
4.2 Movie playback menu
4.2.1 Delete
4. Press the MENU button again to exit the menu
4.2.2 Protect
4.2.3 Autoplay
4.3 Photo menu
4.3.1 White balance
4.3.2 Resolution
4.3.3 Color effect
4.3.4 Night mode
4.3.5 Self timer
4.4 Photo playback menu
4.4.1 Delete
4. Press the MENU button again to exit the menu
4.4.2 Protect
4.4.3 Slide show
4.4.4 DPOF
4.5.2 Histogram Mode
4.5.1 Setting the beep
4.5 System menu
4.5.3 Auto power off
4.5.4 TV standard
4.5.5 Format
4.5.6 Default
4.5.7 Language
4.5.8 Frequency
4.5.9 Date/time
5 Installing the software
5.1 Presto! Video Works
5.2 Presto! Mr. Photo
Install button
5.3 Quick Time
Appendix
Specifications
General
General
General
PC interface
Solution
Troubleshooting
Problem
Possible Cause
self-timer
battery power
image using
or macro mode
Short circuit
connecting the
All buttons are
inactive
Page
Website
DXG USA