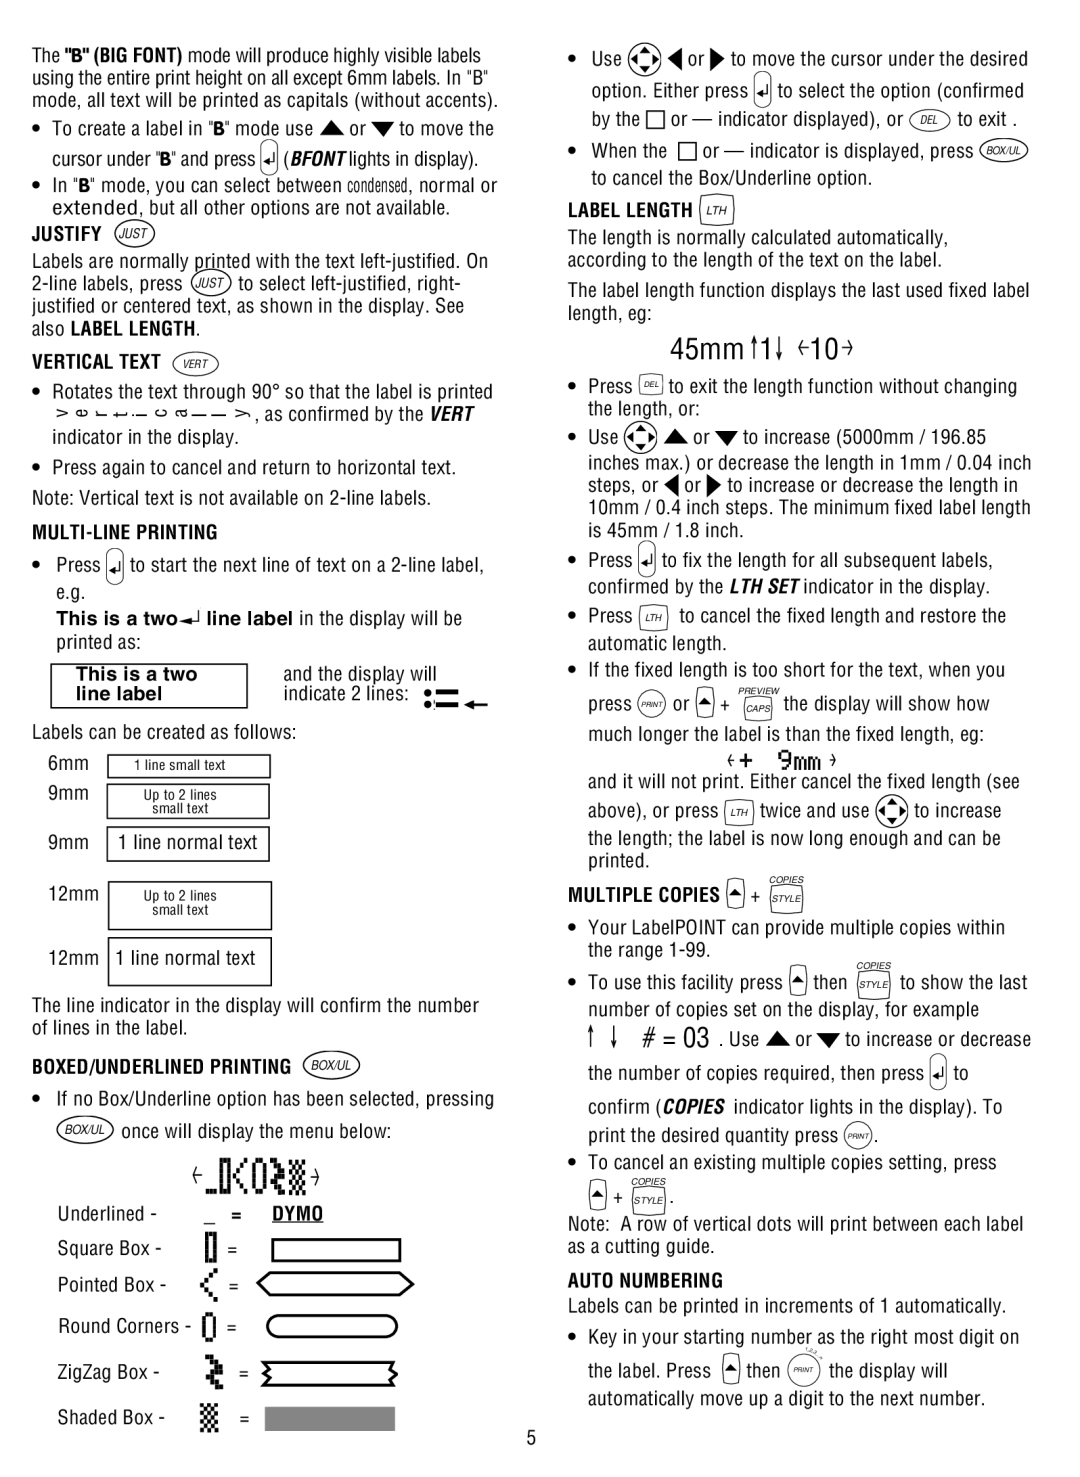
The "B" (BIG FONT) mode will produce highly visible labels using the entire print height on all except 6mm labels. In "B" mode, all text will be printed as capitals (without accents).
•To create a label in "B" mode use ![]() or
or ![]() to move the cursor under "B" and press
to move the cursor under "B" and press ![]() (BFONT lights in display).
(BFONT lights in display).
•In "B" mode, you can select between condensed, normal or extended, but all other options are not available.
JUSTIFY JUST
Labels are normally printed with the text
VERTICAL TEXT VERT
•Rotates the text through 90° so that the label is printed
ve r t i c a l l y , as confirmed by the VERT indicator in the display.
•Press again to cancel and return to horizontal text. Note: Vertical text is not available on
MULTI-LINE PRINTING
• Press ![]() to start the next line of text on a
to start the next line of text on a
This is a two![]() line label in the display will be
line label in the display will be
printed as:
| This is a two |
| and the display will | |||
| line label |
| indicate 2 lines: • |
| ||
|
|
| ||||
|
|
|
|
| •2 |
|
|
|
|
|
|
| |
Labels can be created as follows: | ||||||
6mm |
|
|
|
| ||
| 1 line small text |
|
| |||
9mm |
|
|
|
| ||
| Up to 2 lines |
|
| |||
|
|
| small text |
|
| |
|
|
|
|
|
|
|
9mm |
| 1 line normal text |
|
| ||
12mm |
|
|
|
| ||
|
|
|
| |||
| Up to 2 lines |
|
| |||
|
|
| small text |
|
| |
|
|
|
| |||
|
|
|
|
|
|
|
12mm | 1 line normal text |
|
| |||
|
|
|
|
|
|
|
The line indicator in the display will confirm the number of lines in the label.
BOXED/UNDERLINED PRINTING BOX/UL
•If no Box/Underline option has been selected, pressing
BOX/UL once will display the menu below:
• Use | or to move the cursor under the desired | ||
option. Either press |
| to select the option (confirmed | |
| |||
| |||
by the | or — indicator displayed), or DEL to exit . | ||
•When the ![]() or — indicator is displayed, press BOX/UL to cancel the Box/Underline option.
or — indicator is displayed, press BOX/UL to cancel the Box/Underline option.
LABEL LENGTH LTH
The length is normally calculated automatically, according to the length of the text on the label.
The label length function displays the last used fixed label length, eg:
45mm  1
1 10
10
•Press DEL to exit the length function without changing the length, or:
•Use ![]()
![]() or
or ![]() to increase (5000mm / 196.85 inches max.) or decrease the length in 1mm / 0.04 inch
to increase (5000mm / 196.85 inches max.) or decrease the length in 1mm / 0.04 inch
steps, or ![]() or
or ![]() to increase or decrease the length in 10mm / 0.4 inch steps. The minimum fixed label length is 45mm / 1.8 inch.
to increase or decrease the length in 10mm / 0.4 inch steps. The minimum fixed label length is 45mm / 1.8 inch.
•Press ![]() to fix the length for all subsequent labels, confirmed by the LTH SET indicator in the display.
to fix the length for all subsequent labels, confirmed by the LTH SET indicator in the display.
•Press LTH to cancel the fixed length and restore the automatic length.
•If the fixed length is too short for the text, when you
PREVIEW
press PRINT or ![]() + CAPS the display will show how much longer the label is than the fixed length, eg:
+ CAPS the display will show how much longer the label is than the fixed length, eg:
and it will not print. Either cancel the fixed length (see
above), or press LTH twice and use ![]() to increase
to increase
the length; the label is now long enough and can be printed.
COPIES
MULTIPLE COPIES  + STYLE
•Your LabelPOINT can provide multiple copies within the range
COPIES
•To use this facility press ![]() then STYLE to show the last number of copies set on the display, for example
then STYLE to show the last number of copies set on the display, for example
![]()
![]() # = 03 . Use
# = 03 . Use ![]() or
or ![]() to increase or decrease the number of copies required, then press
to increase or decrease the number of copies required, then press ![]() to confirm (COPIES indicator lights in the display). To print the desired quantity press PRINT .
to confirm (COPIES indicator lights in the display). To print the desired quantity press PRINT .
•To cancel an existing multiple copies setting, press
COPIES
+STYLE .
Underlined -
—
=
DYMO
Note: A row of vertical dots will print between each label
Square Box -
Pointed Box -
Round Corners -
ZigZag Box -
Shaded Box -
=
=
=
=
=
5
as a cutting guide.
AUTO NUMBERING
Labels can be printed in increments of 1 automatically.
•Key in your starting number as the right most digit on
| 1,2, |
| 3... |
the label. Press | n |
then PRINT the display will |
automatically move up a digit to the next number.
