| 1,2, |
| 3... |
Press | n |
then PRINT to continue the sequence. |
•It is also possible to include auto numbering when printing multiple copies.
•Key in your starting number, eg. LABEL 1A .
• Next press | COPIES |
|
then STYLE followed by | until the |
desired number of copies are displayed, eg.10, or use ![]() or
or ![]() to move the cursor under the number digits
to move the cursor under the number digits
and key in the number required. Press ![]()
![]() to confirm.
to confirm.
1,
Now press ![]() then PRINT . This will print ten labels -
then PRINT . This will print ten labels -
LABEL 1A to LABEL 10A. While using fixed length setting, the LabelPOINT will stop printing when the label exceeds the fixed length.
STYLE STYLE
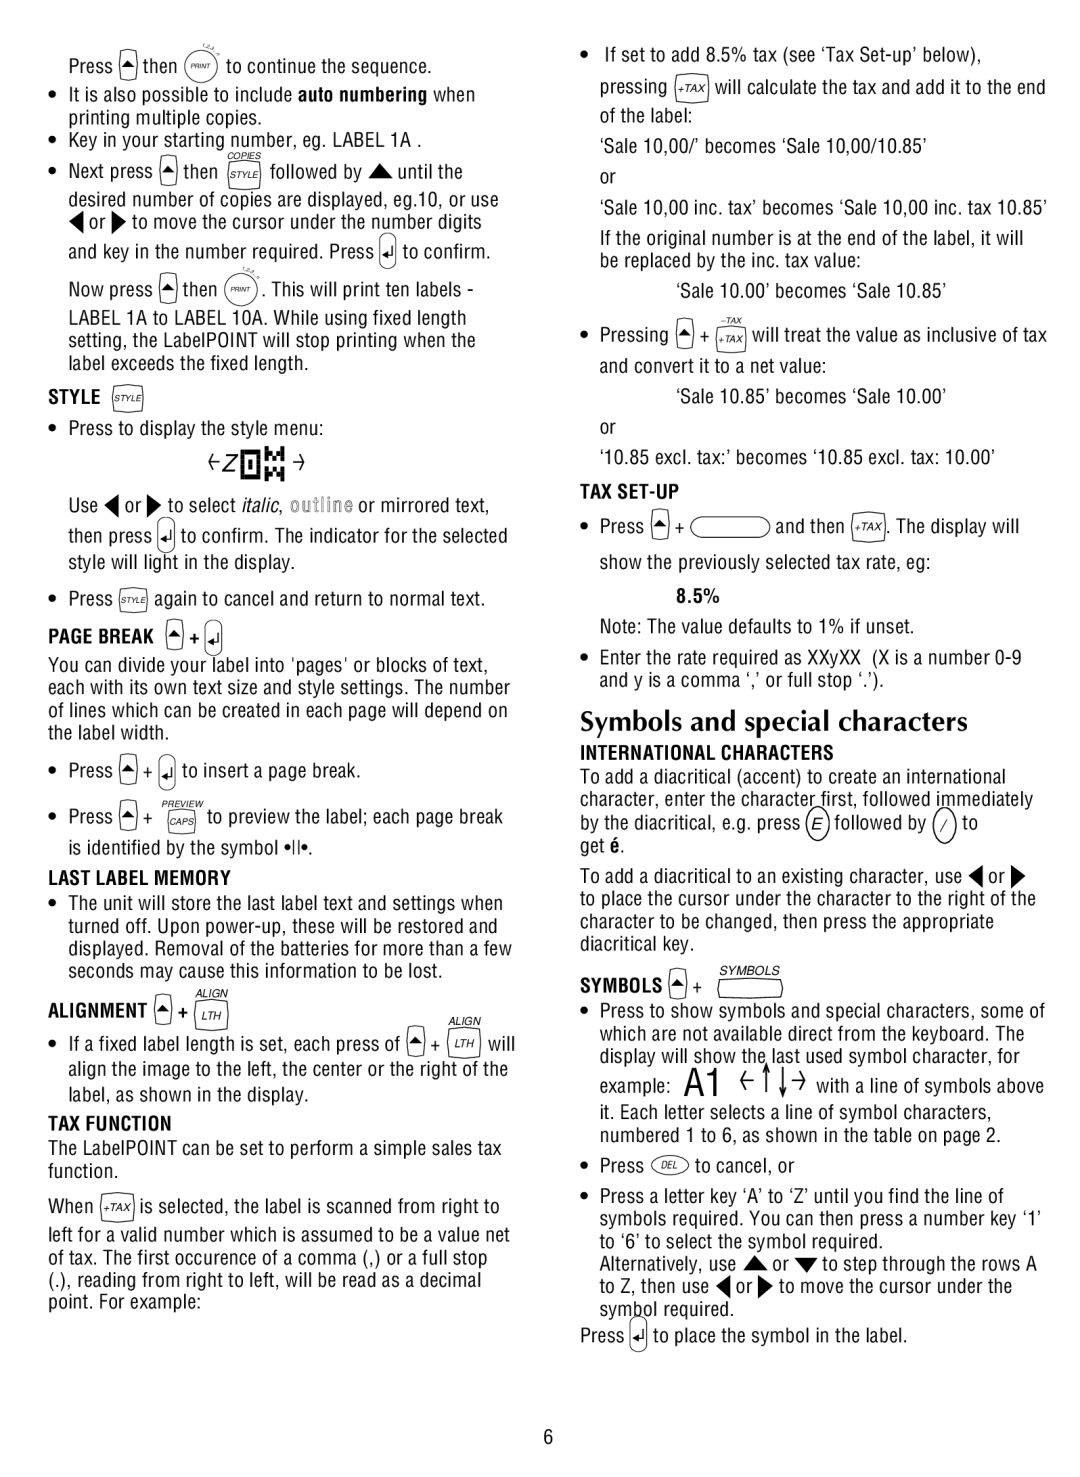
•Press to display the style menu:
Z ![]()
![]()
![]()
![]()
![]()
![]()
![]()
Use ![]() or
or ![]() to select italic, outline or mirrored text, then press
to select italic, outline or mirrored text, then press ![]() to confirm. The indicator for the selected style will light in the display.
to confirm. The indicator for the selected style will light in the display.
•Press STYLE again to cancel and return to normal text.
PAGE BREAK  +
+ 
You can divide your label into 'pages' or blocks of text, each with its own text size and style settings. The number of lines which can be created in each page will depend on the label width.
•Press ![]() +
+ ![]() to insert a page break.
to insert a page break.
• Press | PREVIEW |
+ CAPS to preview the label; each page break |
is identified by the symbol ••.
LAST LABEL MEMORY
•The unit will store the last label text and settings when turned off. Upon
seconds may cause this information to be lost.
ALIGN
ALIGNMENT  + LTH
+ LTH
ALIGN
• If a fixed label length is set, each press of | + LTH will |
align the image to the left, the center or the right of the label, as shown in the display.
TAX FUNCTION
The LabelPOINT can be set to perform a simple sales tax function.
When +TAX is selected, the label is scanned from right to
left for a valid number which is assumed to be a value net of tax. The first occurence of a comma (,) or a full stop (.), reading from right to left, will be read as a decimal point. For example:
•If set to add 8.5% tax (see ‘Tax
pressing +TAX will calculate the tax and add it to the end of the label:
‘Sale 10,00/’ becomes ‘Sale 10,00/10.85’ or
‘Sale 10,00 inc. tax’ becomes ‘Sale 10,00 inc. tax 10.85’
If the original number is at the end of the label, it will be replaced by the inc. tax value:
‘Sale 10.00’ becomes ‘Sale 10.85’
•Pressing ![]() + +TAX will treat the value as inclusive of tax and convert it to a net value:
+ +TAX will treat the value as inclusive of tax and convert it to a net value:
‘Sale 10.85’ becomes ‘Sale 10.00’
or
‘10.85 excl. tax:’ becomes ‘10.85 excl. tax: 10.00’
TAX SET-UP
•Press ![]() +
+ ![]() and then +TAX . The display will show the previously selected tax rate, eg:
and then +TAX . The display will show the previously selected tax rate, eg:
8.5%
Note: The value defaults to 1% if unset.
•Enter the rate required as XXyXX (X is a number
Symbols and special characters
INTERNATIONAL CHARACTERS
To add a diacritical (accent) to create an international character, enter the character first, followed immediately
by the diacritical, e.g. press E followed by / | to |
get é. |
|
To add a diacritical to an existing character, use | or |
to place the cursor under the character to the right of the character to be changed, then press the appropriate diacritical key.
SYMBOLS
SYMBOLS  +
+
•Press to show symbols and special characters, some of which are not available direct from the keyboard. The
display will show the last used symbol character, for
example: A1 ![]()
![]()
![]() with a line of symbols above it. Each letter selects a line of symbol characters, numbered 1 to 6, as shown in the table on page 2.
with a line of symbols above it. Each letter selects a line of symbol characters, numbered 1 to 6, as shown in the table on page 2.
• Press DEL to cancel, or
•Press a letter key ‘A’ to ‘Z’ until you find the line of symbols required. You can then press a number key ‘1’
to ‘6’ to select the symbol required.
Alternatively, use ![]() or
or ![]() to step through the rows A to Z, then use
to step through the rows A to Z, then use ![]() or
or ![]() to move the cursor under the symbol required.
to move the cursor under the symbol required.
Press ![]()
![]() to place the symbol in the label.
to place the symbol in the label.
6