•Contrast–Lets you increase or decrease the contrast of the picture. Increase the contrast to adjust the white areas of the picture or decrease the contrast to adjust the black areas of the picture.
•Saturation–Lets you adjust the intensity of the colors.
•Hue–Lets you adjust the overall color of the picture.
•Sharpness –Lets you increase the sharpness level for clearer images or decrease the sharpness level for smoother images.
•Color temperature–Lets you change the color temperature. You can select the color temperature from three options: Cool, Standard, or Warm.
•Advanced Video–Lets you access and adjust advanced video settings, such as DNR, Black
Level, Extender, White Peak Limiter, Flesh Tone, Adaptive Luma Control and Overscan (only in HDMI).
Choosing the display format
To choose the display format:
•Press ZOOM repeatedly to cycle through the available display formats. Options include:
•Normal–Picture is displayed in a 4:3 aspect ratio.
•Zoom–Picture is displayed to cover the entire screen.
•Wide–Picture uses a widescreen aspect ratio.
•Cinema–Picture is displayed in a 21:9 aspect ratio.
Adjusting the sound
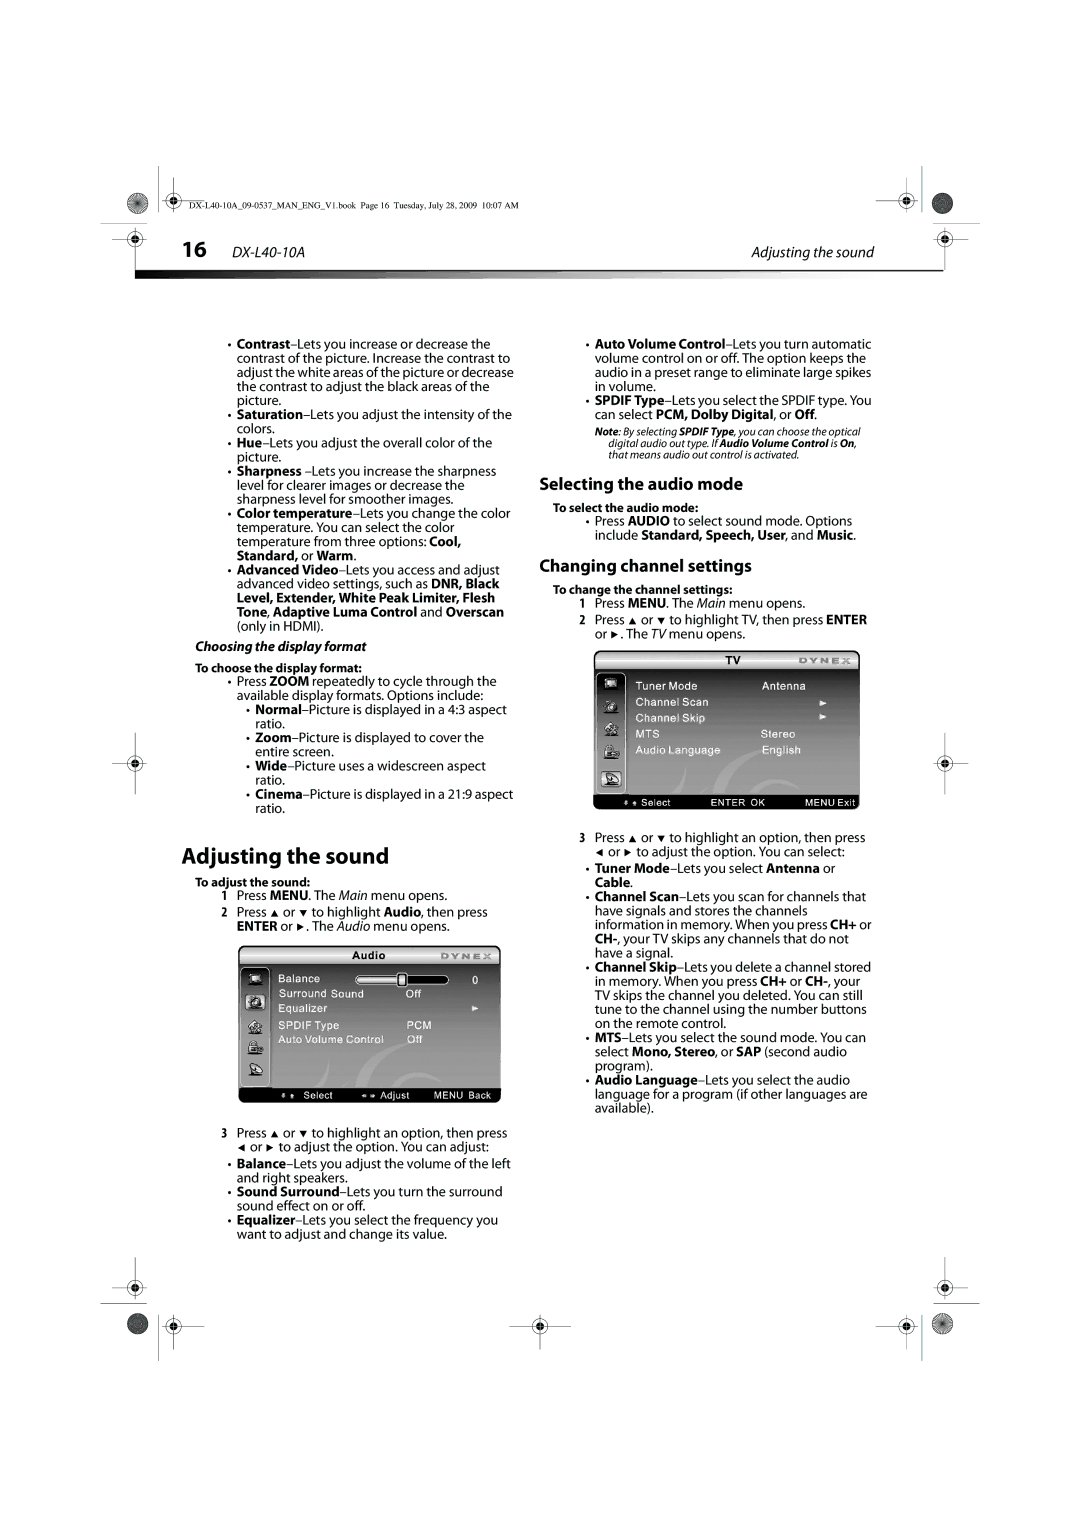
To adjust the sound:
1Press MENU. The Main menu opens.
2Press  or
or  to highlight Audio, then press ENTER or
  . The Audio menu opens.
3Press  or
or  to highlight an option, then press
 or
or  to adjust the option. You can adjust:
•Balance–Lets you adjust the volume of the left and right speakers.
•Sound Surround–Lets you turn the surround sound effect on or off.
•Equalizer–Lets you select the frequency you want to adjust and change its value.
•Auto Volume Control–Lets you turn automatic volume control on or off. The option keeps the audio in a preset range to eliminate large spikes in volume.
•SPDIF Type–Lets you select the SPDIF type. You can select PCM, Dolby Digital, or Off.
Note: By selecting SPDIF Type, you can choose the optical digital audio out type. If Audio Volume Control is On, that means audio out control is activated.
Selecting the audio mode
To select the audio mode:
•Press AUDIO to select sound mode. Options include Standard, Speech, User, and Music.
Changing channel settings
To change the channel settings:
1Press MENU. The Main menu opens.
2Press  or
or  to highlight TV, then press ENTER or
  . The TV menu opens.
3Press  or
or  to highlight an option, then press
 or
or  to adjust the option. You can select:
•Tuner Mode–Lets you select Antenna or Cable.
•Channel Scan–Lets you scan for channels that have signals and stores the channels information in memory. When you press CH+ or CH-, your TV skips any channels that do not have a signal.
•Channel Skip–Lets you delete a channel stored in memory. When you press CH+ or CH-, your TV skips the channel you deleted. You can still tune to the channel using the number buttons on the remote control.
•MTS–Lets you select the sound mode. You can select Mono, Stereo, or SAP (second audio program).
•Audio Language–Lets you select the audio language for a program (if other languages are available).

![]() or
or ![]() to highlight Audio, then press ENTER or
to highlight Audio, then press ENTER or ![]() . The Audio menu opens.
. The Audio menu opens.![]() or
or ![]() to highlight an option, then press
to highlight an option, then press![]() or
or ![]() to adjust the option. You can adjust:
to adjust the option. You can adjust:![]() or
or ![]() to highlight TV, then press ENTER or
to highlight TV, then press ENTER or ![]() . The TV menu opens.
. The TV menu opens.![]() or
or ![]() to highlight an option, then press
to highlight an option, then press![]() or
or ![]() to adjust the option. You can select:
to adjust the option. You can select: