| 8. At this point the filter cartridge in the pressure chamber base can be | |
| removed with pliers and cleaned (fig 4). | |
| 9. The pressure chamber | |
| ||
Figure 4 | ||
chamber. Apply petroleum jelly to the | ||
| asembly into the tank (fig. 3b). | |
| 10. Reassemble backwards from step 7 thru 2, performing each step in | |
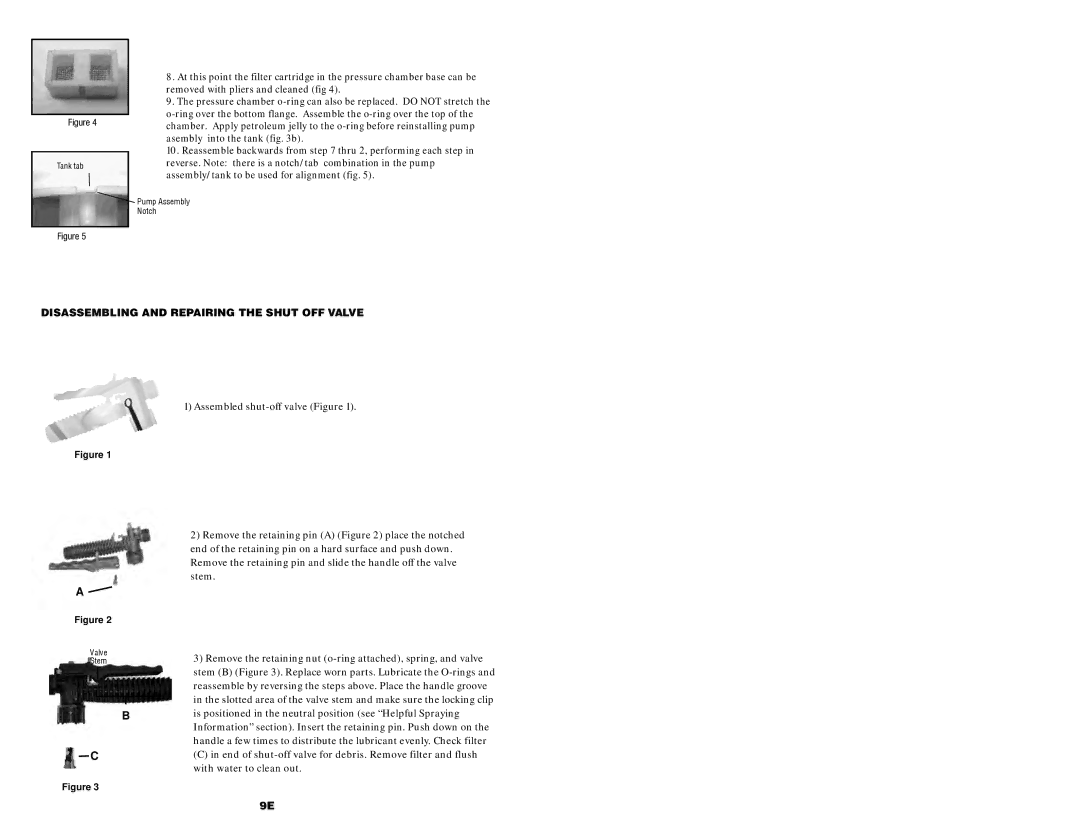
Tank tab | reverse. Note: there is a notch/tab combination in the pump | |
assembly/tank to be used for alignment (fig. 5). | ||
| ||
| Pump Assembly | |
| Notch | |
|
| |
Figure 5 |
|
DISASSEMBLING AND REPAIRING THE SHUT OFF VALVE
Figure 1
A ![]()
Figure 2
Valve
Stem
B
C
Figure 3
1) Assembled
2)Remove the retaining pin (A) (Figure 2) place the notched end of the retaining pin on a hard surface and push down. Remove the retaining pin and slide the handle off the valve stem.
3)Remove the retaining nut
(C) in end of
9E