SRM - 280U specifications
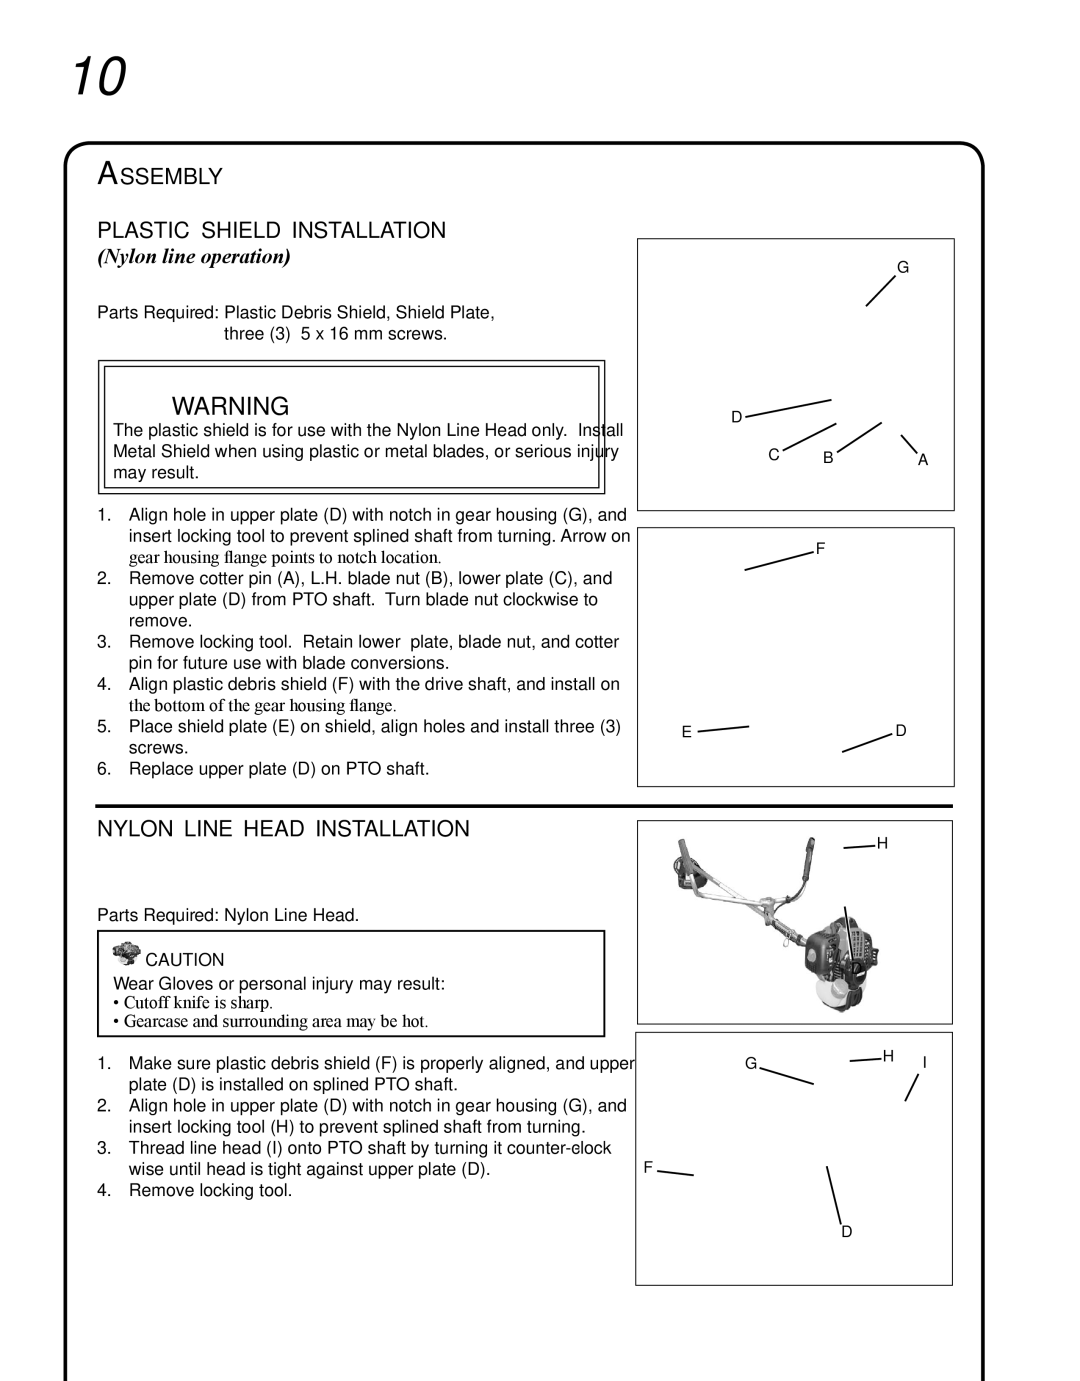
The Echo SRM-280U is a robust and versatile string trimmer designed to meet the demands of both residential users and professional landscapers. Its innovative features and cutting-edge technologies make it a standout option in the market for those seeking efficiency, durability, and exceptional performance in a lightweight package.One of the key characteristics of the SRM-280U is its powerful engine. Equipped with a 28.1 cc, 2-stroke, air-cooled engine, this trimmer delivers reliable power and impressive torque, allowing users to tackle thick grass and dense weeds with ease. The engine is designed with a sophisticated fuel system that promotes better fuel efficiency and reduced emissions, contributing to a lower environmental impact while providing strong performance.
The SRM-280U also features an ergonomic design that enhances user comfort during extended usage. Its lightweight construction, combined with a well-balanced frame, allows for reduced operator fatigue, ensuring that users can complete their trimming tasks without strain. The curved shaft design adds to the ease of maneuverability, making it perfect for reaching tight spaces and navigating around obstacles.
Another notable feature of the SRM-280U is its advanced Easy Start system, which significantly reduces the amount of effort needed to start the engine. This system is particularly beneficial for users who may find traditional pull-start systems challenging. The ignition coil produces a strong spark, facilitating quick starts and providing confidence even in cold weather.
The trimmer is also equipped with a high-capacity, 0.095-inch diameter cutting line, optimized for durability and cutting efficiency. The dual-line head allows for quicker trimming, enabling users to cover larger areas in a shorter amount of time. Additionally, the SRM-280U supports a range of attachments, transforming it into a versatile tool capable of performing multiple landscaping tasks, from edging to brush clearing.
Durability is a hallmark of the Echo SRM-280U, as it is built with high-quality materials designed to withstand rigorous use. The trimmer’s components are constructed to resist wear and tear, ensuring that the tool remains reliable over the years. Coupled with Echo’s renowned customer service and support, the SRM-280U offers peace of mind with every purchase.
In summary, the Echo SRM-280U string trimmer is an excellent choice for users seeking a blend of power, comfort, and versatility. With its robust engine, ergonomic design, advanced starting system, and durable construction, it represents a smart investment for both home and professional gardening needs. Whether for routine yard maintenance or tackling tough landscaping challenges, the SRM-280U stands out as a top-performing solution.

