Manuals
/
Eiki
/
Computer Equipment
/
Projector
Eiki
owner manual
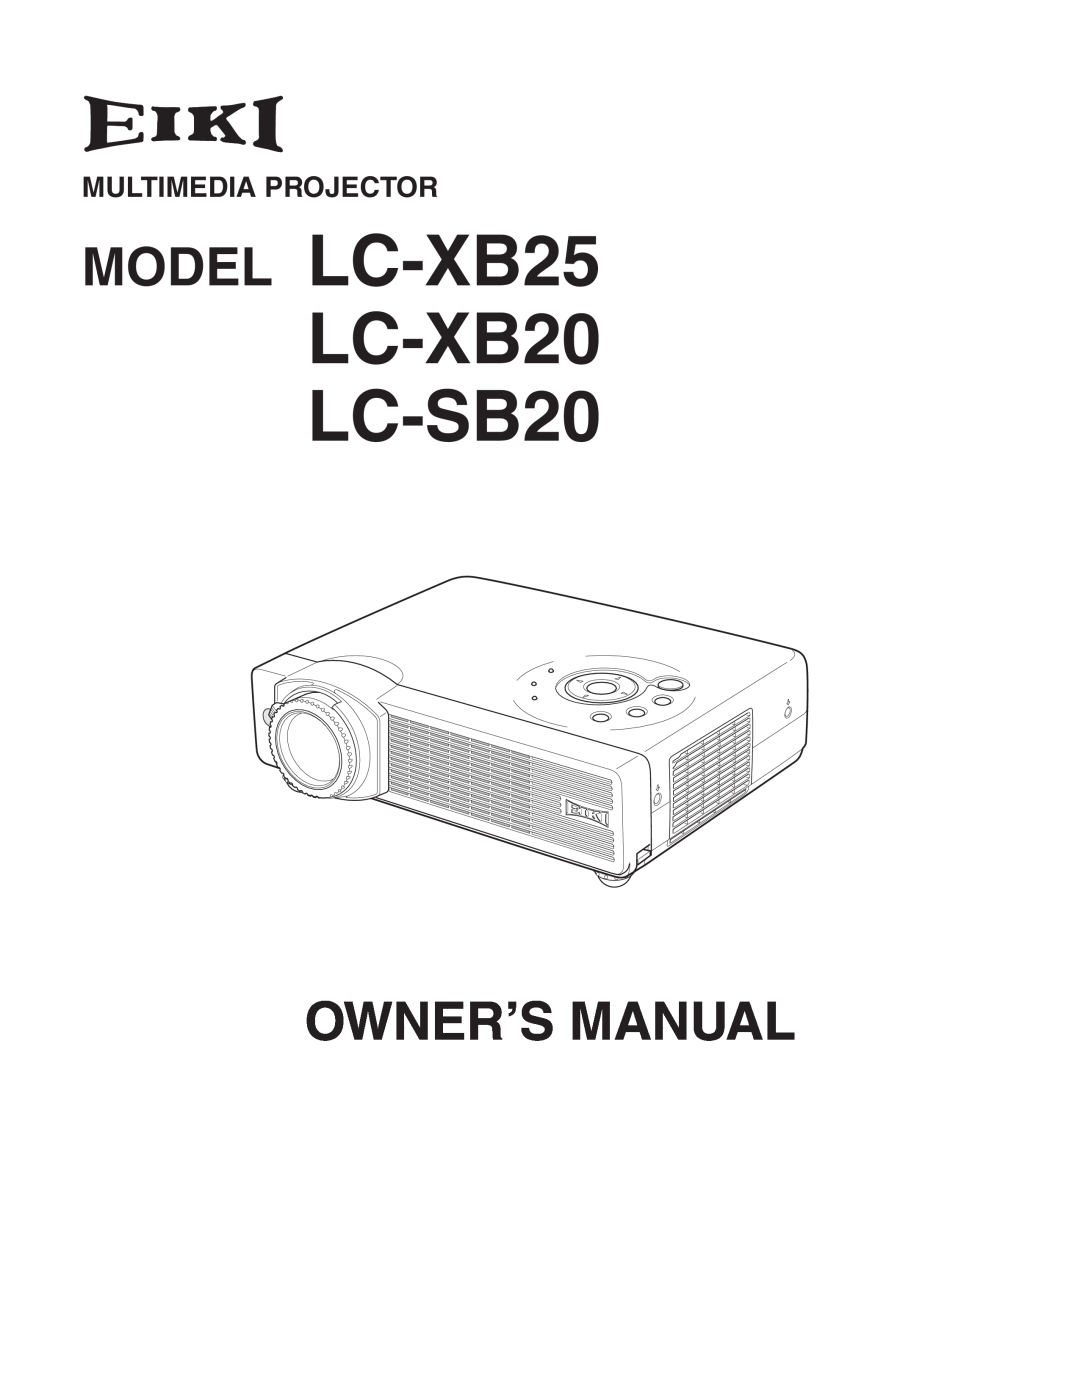
MODEL LC-XB25 LC-XB20 LC-SB20, Multimedia Projector
Models:
LC-XB20
LC-XB25
LC-SB20
1
1
56
56
Download
56 pages
27.85 Kb
1
2
3
4
5
6
7
8
Troubleshooting
Specs
Install
Component Video Signal Format
P-Timer Function
Warning Indicator
Wireless Mouse Operation
Configurations of Terminals
Reset
r Adjustable Feet
Page 1
Image 1
MULTIMEDIA PROJECTOR
MODEL
LC-XB25
LC-XB20
LC-SB20
OWNER’S MANUAL
Page 1
Page 2
Page 1
Image 1
Page 1
Page 2
Contents
MULTIMEDIA PROJECTOR
MODEL LC-XB25 LC-XB20 LC-SB20
Table of Contents
To the Owner
Safety Precaution
RISK OF ELECTRIC SHOCK DO NOT OPEN
Voor de klanten in Nederland
Safety Instructions
Bij dit product zijn batterijen geleverd
Installing the Projector in Proper Position
Safety Instructions
Air Circulation
Moving the Projector
Compliance
AC POWER CORD REQUIREMENT
Federal Communication Commission Notice
Projector side
Compliance
AC Outlet side
Connecting the AC Power Cord
Features and Design
Front
Part Names and Functions
Back
Bottom
Terminal
Part Names and Functions
u i o
This projector has control buttons and indicators on its top
Remote Control
Pointer Function
Laser Pointer Function
Wireless Mouse Operation
Remote Control Code
To initialize the remote control code for the remote control
While pressing the MENU button, press the IMAGE button
Remote Control Batteries Installation
Remote Control Operating Range
16.4’ 5 m
Adjustable Feet
Installation
Positioning the Projector
300”
Connecting to a Computer
Installation
USB Cable MAC Adapter When connecting to Macintosh computer
This terminal is switchable. Set the terminal
condition of connecting both the S-VIDEO jack and the VIDEO
Connecting to Video Equipment
jack when selecting AUTO in the Input Menu
Select COMPUTER 2 in the Setting Menu when the
Turning On the Projector
Basic Operation
Turning Off the Projector
Focus Adjustment
Zoom Adjustment
Keystone Adjustment
Basic Operation
Sound Adjustment
P-Timer Function
No Show Function
Volume
Remote Control
On-Screen Menu
Top Control
On-Screen Menu
volume or mute
Menu Bar
image level among
Sharpness / Gamma p30
Input Source Selection
Computer Input
INPUT button Computer Computer Video COMPUTER button Computer
Computer
Computer System Selection
Computer Input
PC System Menu
To store adjustment data
Computer Adjustment Auto
Auto PC Adj
Fine sync
Computer Adjustment Manual
Total dots
Horizontal
Display area To store adjustment data
Reset
To clear adjustment data
Display area
Standard
Image Level Selection
Real
IMAGE 1~4
Image Adjust Menu
Image Level Adjustment
Contrast
Brightness
Normal
Screen Size Adjustment
True
Wide
Input Source Selection Video, S-Video
Video Input
INPUT button Video Computer Computer VIDEO button Video
Auto
Input Source Selection Component, RGB Scart 21-Pin
Video Input
INPUT button Computer Computer Video COMPUTER button Computer
COMPONENT VIDEO SIGNAL FORMAT
Video System Selection
PAL / SECAM / NTSC / NTSC4.43 / PAL-M / PAL-N
AV System Menu Video or S-Video
IMAGE button Standard Cinema Image Image Image
Cinema
Image
Tint
Color
Progressive
Reset
Setting
Setting
Setting Menu Language
Language
Power management
Setting
Ceiling
Rear
Pointer Remote control
Remote control
Lamp counter reset
Factory default
Warning Indicator
Maintenance and Cleaning
The projector is shut down and the WARNING indicator is flashing red
The projector is shut down and the WARNING indicator lights red
Cleaning the Air Filters
Maintenance and Cleaning
Cleaning the Projection Lens
Cleaning the Projector Cabinet
ORDER REPLACEMENT LAMP
Lamp Replacement
Replacement Lamp Type No
Reset the Lamp replace counter
LAMP HANDLING PRECAUTIONS
Lamp Replace Counter
Appendix
Troubleshooting
Problem No power Image is out of focus No image No sound
Some displays are not seen during the Operation
Problem Computer 2 cannot be selected
Appendix
The Terminal item cannot be selected The Remote Control does not work
Indicators and Projector Condition
Indicators
Projector Condition
PC Adjust
Menu Tree
Image Select Image Adjust Screen
Input
Image Adjust
575pSetting
Image Select
Screen
RESOLUTION
Compatible Computer Specifications
H-Freq
V-Freq
Technical Specifications
Terminal HDB15-PIN Pin Configuration
Configurations of Terminals
Terminal DVI-I Pin Configuration
COMPUTER INPUT/COMPONENT INPUT/MONITOR OUTPUT TERMINAL ANALOG
Terminal Mini DIN 8-PIN Pin Configuration
Optional Parts
Pin Configuration
Lens Cover String for the lens cover
Attaching the Lens Cover
Secure it to the hole with a screw
Hole
Page
U.S.A
A-key to better communications
Canada
Deutschland & Österreich
Top
Page
Image
Contents