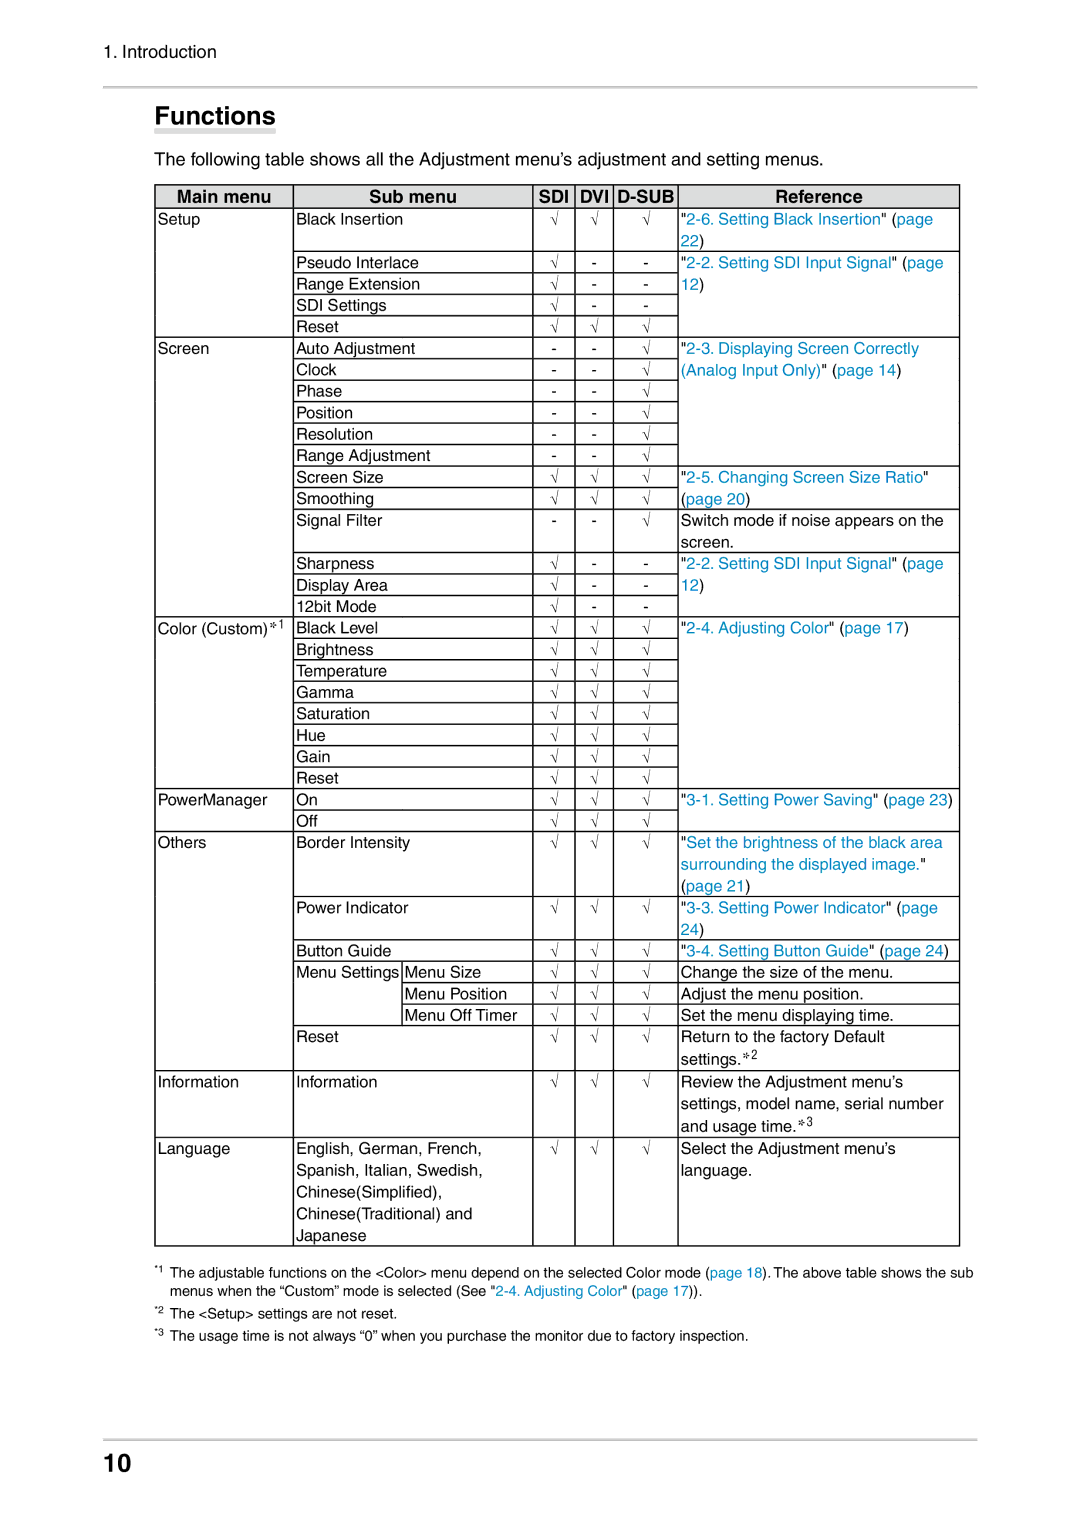
CG232W specifications
The Eizo CG232W is a professional-grade monitor that shines in various fields like graphic design, video editing, and photography, wherein color accuracy is paramount. This 23-inch display is known for its exceptional performance and features custom-tailored for creative professionals requiring precise color reproduction.At the heart of the CG232W lies its advanced LCD technology, utilizing a wide-gamut IPS panel that covers 99% of the Adobe RGB color space and 100% of the sRGB. This wide color gamut ensures that the colors displayed are vibrant and true to life, enabling designers and editors to see their work as it is intended to be seen. With a resolution of 1920 x 1200 pixels, the CG232W delivers sharp, crisp images that enhance detail perception.
One of the standout features of the Eizo CG232W is its built-in calibration sensor, which facilitates automated calibration. This sensor ensures consistent color accuracy over time, a crucial aspect for professionals who depend on accurate representation in their work processes. The monitor supports a variety of calibration methods, catering to both novice users and more experienced professionals.
In addition, the monitor offers a variety of connectivity options including HDMI, DisplayPort, and DVI-D, making it compatible with a wide range of devices and ensuring versatility in its use. The CG232W also features a robust design with adjustable height, tilt, and swivel capabilities, allowing users to customize their workspace ergonomically.
Furthermore, the Eizo CG232W employs a 10-bit color depth, allowing for over a billion colors to be displayed. This capability is further enhanced by Eizo's ColorEdge technology, which minimizes color shifts and ensures that gradients are smooth and transitions seamless. The monitor also features a uniformity correction technology, which balances brightness and color across the entire screen, reducing discrepancies that could affect the final output.
Lastly, the CG232W is designed for long hours of use, featuring flicker-free technology and a low blue light mode, promoting a comfortable viewing experience without causing eye strain. With its blend of advanced technology, comprehensive features, and professional-grade output, the Eizo CG232W stands out as an indispensable tool for creative professionals who require unmatched performance and color accuracy in their work.

