Technical data 27
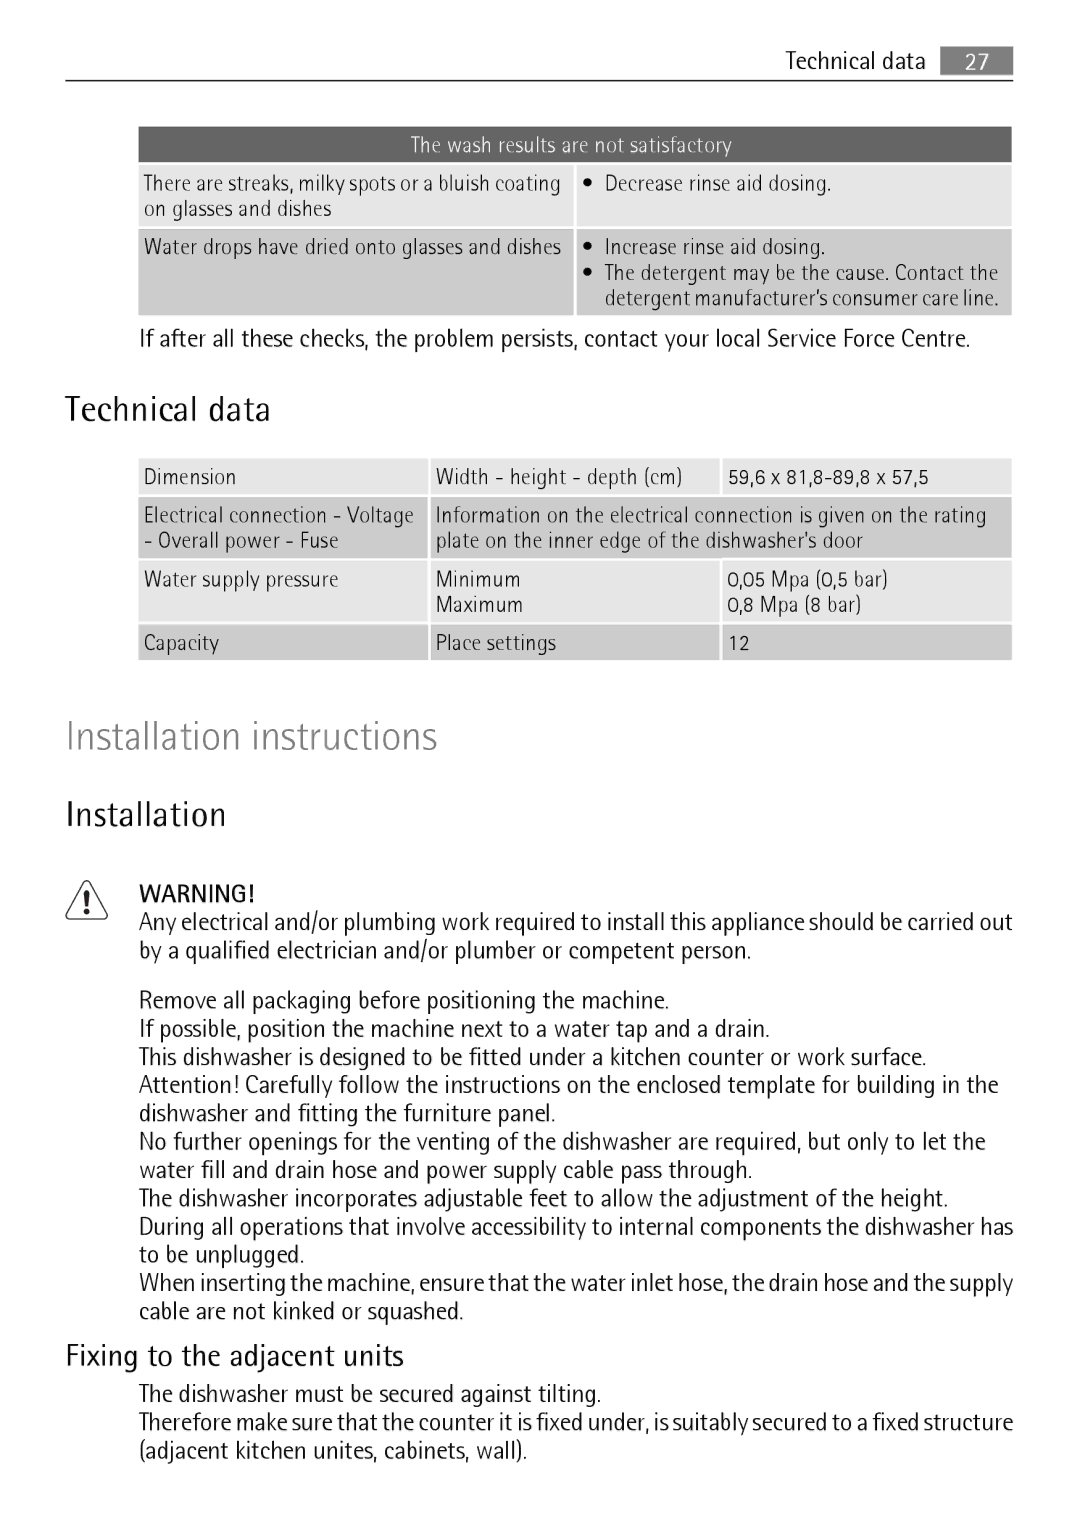
The wash results are not satisfactory
There are streaks, milky spots or a bluish coating on glasses and dishes
Water drops have dried onto glasses and dishes
•Decrease rinse aid dosing.
•Increase rinse aid dosing.
•The detergent may be the cause. Contact the detergent manufacturer’s consumer care line.
If after all these checks, the problem persists, contact your local Service Force Centre.
Technical data
Dimension | Width - height - depth (cm) |
| 59,6 x |
|
| ||
Electrical connection - Voltage | Information on the electrical connection is given on the rating | ||
- Overall power - Fuse | plate on the inner edge of the dishwasher's door | ||
|
|
|
|
Water supply pressure | Minimum |
| 0,05 Mpa (0,5 bar) |
| Maximum |
| 0,8 Mpa (8 bar) |
|
|
| |
Capacity | Place settings |
| 12 |
|
|
|
|
Installation instructions
Installation
WARNING!
Any electrical and/or plumbing work required to install this appliance should be carried out by a qualified electrician and/or plumber or competent person.
Remove all packaging before positioning the machine.
If possible, position the machine next to a water tap and a drain.
This dishwasher is designed to be fitted under a kitchen counter or work surface. Attention! Carefully follow the instructions on the enclosed template for building in the dishwasher and fitting the furniture panel.
No further openings for the venting of the dishwasher are required, but only to let the water fill and drain hose and power supply cable pass through.
The dishwasher incorporates adjustable feet to allow the adjustment of the height. During all operations that involve accessibility to internal components the dishwasher has to be unplugged.
When inserting the machine, ensure that the water inlet hose, the drain hose and the supply cable are not kinked or squashed.
Fixing to the adjacent units
The dishwasher must be secured against tilting.
Therefore make sure that the counter it is fixed under, is suitably secured to a fixed structure (adjacent kitchen unites, cabinets, wall).
